The Twisted Ribbon Technique is a fun way to use designer paper or card stock scraps.
Designed to look like a piece of ribbon twisted to show the under and top sides of the ribbon.
Be sure to watch my Twisted Ribbon How-To Video Here
Instructions:
1. Cut panel for twisted ribbon out of Basic White card stock measuring 5 1/2” x 2”.
2. Score panel along the long edge every 1/2”. These 1/2” score lines will be your guide for the
placement of the "ribbon" and will be hidden once the strips of paper are added.
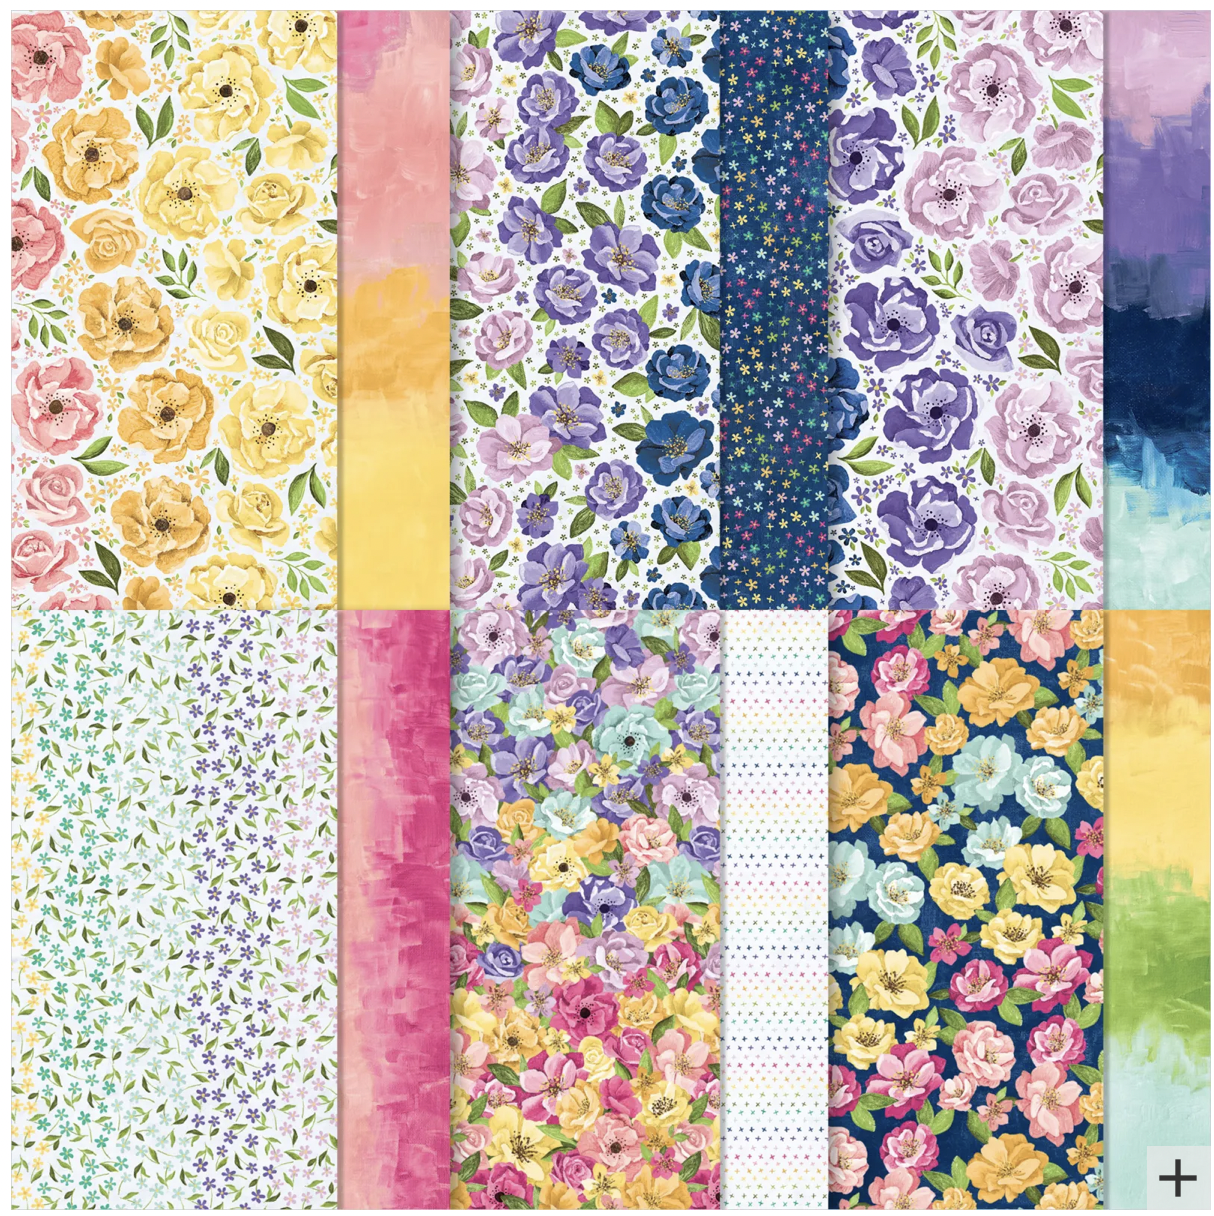
3. Choose 2 coordinating patterns of Designer Paper and or colors of card stock. Trim into strips measuring 1/2” wide by a suitable length. You may need 2-3 strips of each color/design depending on their lengths. I chose 2 designs from Hues of
Happiness; one with a variegation of solid colors, and the other with flowers.
4. Start by adding the solid or lighter color strips to the panel as the backside of the ribbon. These strips will be placed from the left edge of the panel, down to the right edge of the panel, using the score lines as your guide.
-Add Stampin’ Seal or similar to the back side of the first strip. Attach it to the upper left edge of the panel, bringing it down to the top of the 2nd score line. Trim excess with a pair of scissors.
-The strip now should have the edge cut at the proper angle for attaching it next. Add more adhesive if necessary, and place the cut edge on the left side of the panel below the 4th score line, bringing it down to the top of the 6th score line. Trim excess.
-Place the next strip at the bottom of the 6th score line, bringing it down to
the top of 8th score line. Trim excess.
-Continue adding the strips, lining up the left edge and bringing them down to the score line on the right edge, trimming away excess as you go. The bottom strip will be a partial strip. You will trim any excess from the left, right, and bottom edges.
-Now to add the top side of the ribbon. You will be working from the right edge, bringing the strips down to the top of the score line on the left edge. Continue adding the strips. The top strip will be a partial strip. You will trim any excess from the left, right, and top edges.
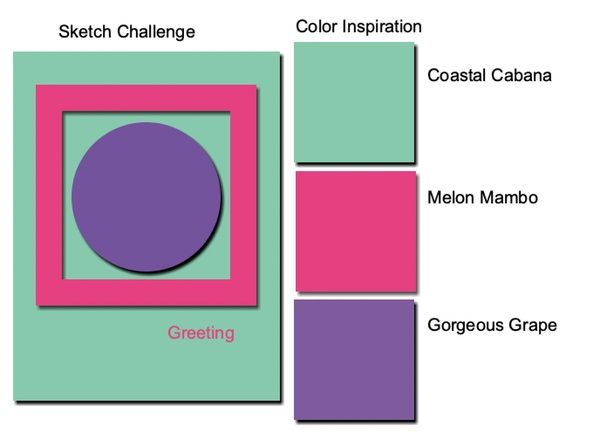
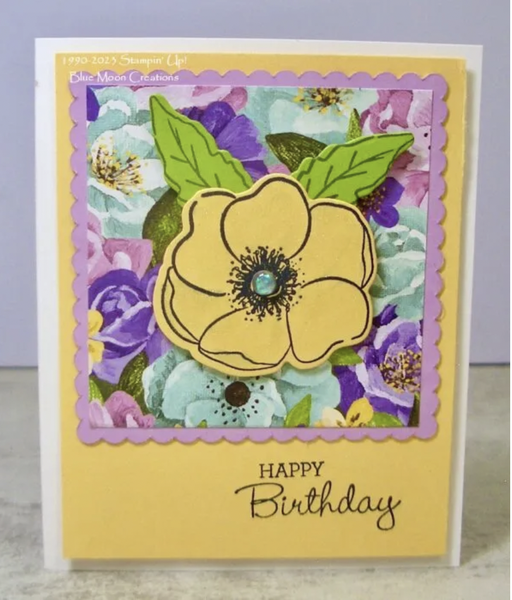
5. Attach panel to Gorgeous Grape mat, then Coastal Cabana mat. Attach to Basic White card base.
6. Fussy cut or use coordinating Hues of Happiness Dies to cut flowers and leaves out of Hues of Happiness DSP.
7. Stamp greeting using Black Memento ink. Attach flowers and leaves using Mini Dimensionals to pop them up. Add Black Matte Dots to complete.
Supplies Used:
Stamp Set: Pansy Patch
Ink: Black Memento
Paper: Basic White, Coastal Cabana, Gorgeous Grape, Hues of Happiness Designer Series Paper
Accessories: Simply Scoring Tool, Stampin' Seal, scissors, Mini Dimensionals, Black Matte Dots