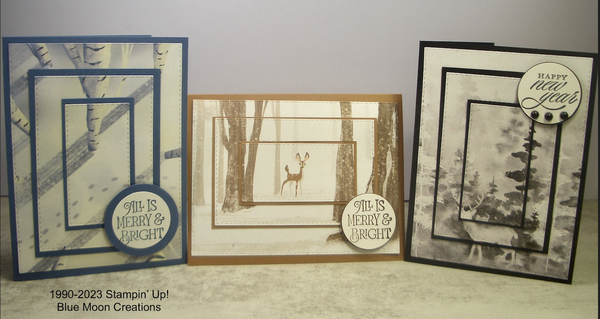
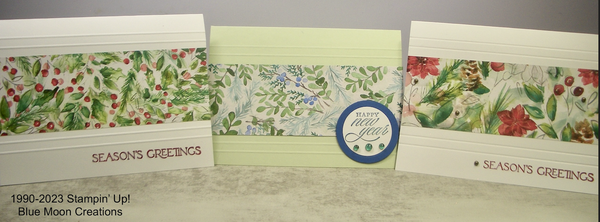
Add interest to your card-making using the Triple Time Technique.
Instructions:
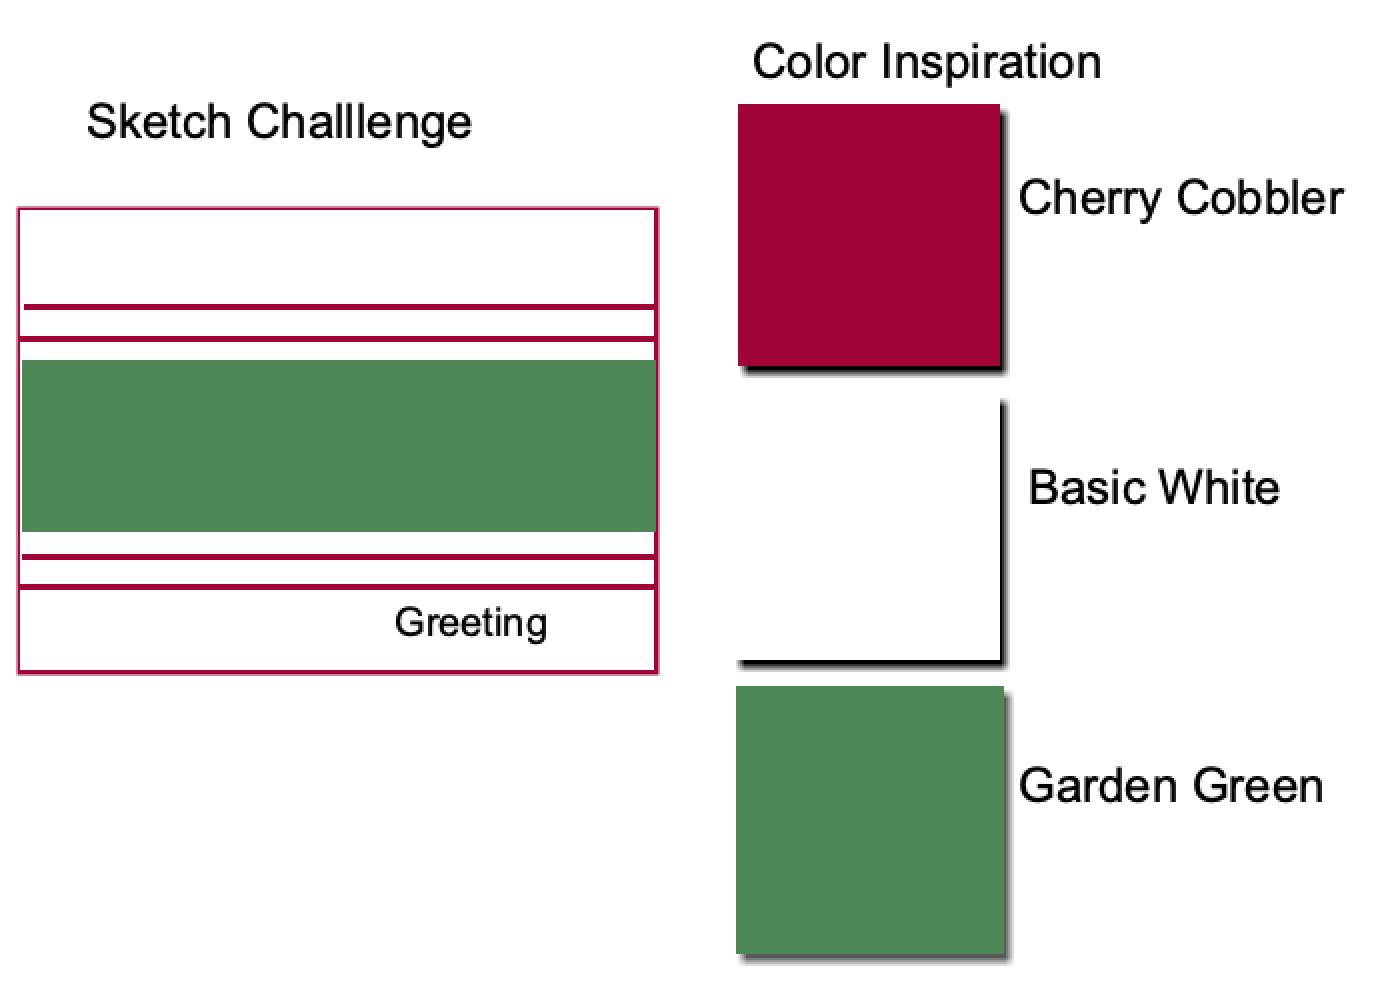
Triple Time Technique
Paper Measurements:
Card Base: 5 1/2” x 4 1/4”
Designer Series Paper: 6” x 6” cut down to accommodate the design
Coordinating card stock:
1st matting: 2 7/8” x 4 1/4”
2nd matting: 1
5/8” x 3”
1. Choose a design of designer paper. Choose which part of the design you want for your
card front. Lay the largest rectangle die over that part of the design and cut using Stampin’
Cut & Emboss machine.
2. Trim the DSP so there is 1/4” border around the cut rectangle.
3. Nest the next 2 smaller rectangles in the center of the card front rectangle and die-cut.
4. Attach the 2 rectangles to coordinating matting. Attach to card front, lining up the images
on the DSP.
5. Stamp greeting from Brightest Glow on Basic White card stock using coordinating ink. Die-
cut using Deckled Circles Die. Attach to coordinating Deckled Circle matting. Attach to
card front using Stampin’ Dimensionals to pop it up.
6. Attach coordinating embellishments to complete.
Supplies Used:
Stamp Set: Brightest Glow
Ink: Misty Moonlight, Pecan Pie, Memento
Black
Paper: Misty Moonlight, Pecan Pie, Basic Black, Basic White, One Horse Sleigh, and Winter Meadow Designer Series Papers
Accessories: Stampin’ Cut & Emboss Machine, Stitched Rectangle Dies, 1 3/8" and 1 3/4" circle punches, Mini Dimensionals, various dots and
gems