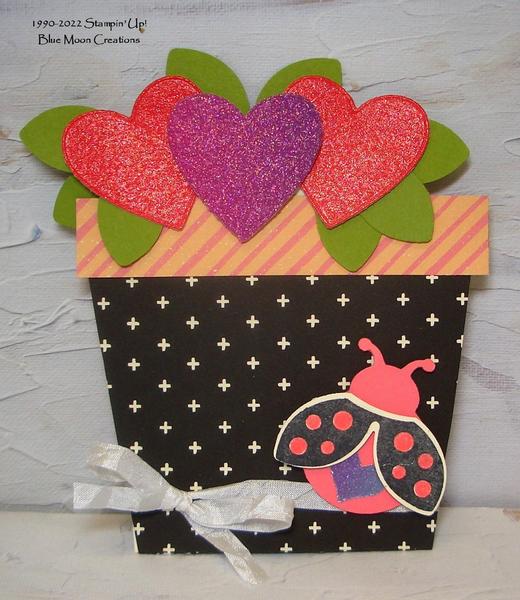
2. Start with a piece of card stock or designer paper (Daffodil Afternoon) measuring 4" x 8 1/2" Measure and cut using the template. Fold along score lines.
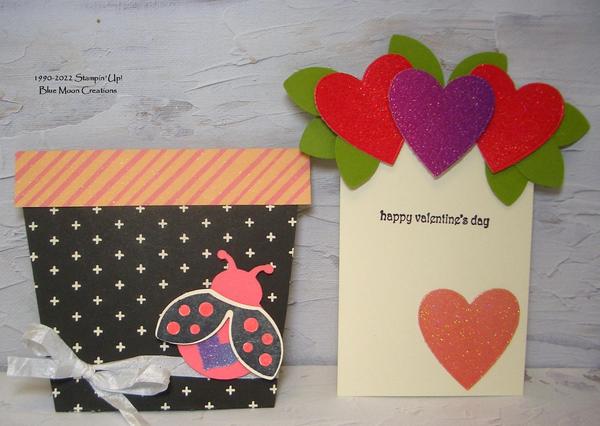
3. Cut insert out of coordinating card stock (Very Vanilla) measuring 2 3/4" x 4 1/4".
4. Punch ladybug out of card stock using Ladybug Builder Punch (Flirty Flamingo). Stamp ladybug wings on scrap card stock using Black Memento ink. Color dots using Flirty Flamingo Stampin' Write Marker or Stampin' Blend. Attach wings to body using Mini Dimensionals to pop them up. Punch heart out of Rainbow Glimmer paper using a small heart punch. Attach to ladybug body.
5. Cut hearts out of Ombre and Rainbow Glimmer paper using die-cut machine or punch. I used the heart die found in Give it a Whirl Die set. Punch leaves out of card stock (Old Olive) using Ladybug Builder Punch.
6. Attach hearts and leaves to insert. Apply adhesive to the top centers of the hearts, allowing them to slip into the flower pot. Stamp greeting.
7. Tie a piece of White Crinkled Seam Binding Ribbon around the bottom of the flower pot to hold it closed. Attach ladybug using Mini Dimensionals to pop her up.
Supplies
Stamp Set: Hello Ladybug, Teeny Tiny Wishes (retired)
Ink: Memento Black, Flirty Flamingo Stampin' Write Marker
Paper:
-Daffodil Afternoon Designer Series Paper measuring 4" x 8 1/2"
-Very Vanilla card stock measuring 2 3/4 x 4 1/4" for insert and scrap for wings
-Flirty Flamingo scrap
-Old Olive scrap
-Ombre and Rainbow Glimmer-scraps
Accessories: Ladybug Builder and small heart punch, Stampin' Cut & Emboss Machine, Give it a Whirl Dies, White Crinkled Seam Binding Ribbon, Stampin' Dimensionals