Happy December!
Happy Holidays to you and your family!
Are you looking for the perfect gift to give to that special stamper or scrapbooker on your holiday gift list?
A Stampin' Up! gift certificate makes a great gift.
Gift certificates are available right up until December 24th!
I will email or mail the gift certificate to you or to your recipient!
And do you have a Stampin' Up! Wish List of your own?
Fill out the Wish List and pass it along to the people who are looking to give you the perfect gift this holiday!
They can contact me directly by e mail, and I'll place the order, or they may visit my Stampin' Up! website for online shopping 24/7.
Be sure to let me know if you have any questions.
Year-End Close-Out Dec 3-Jan 2 or While Supplies Last
|
Save on select Holiday Catalog retiring and surplus items!
The Year-End Close-Out December 3-January 2 or while supplies last.
GBVCU627
Orders using this hostess code will be combined.
As always, if we have enough in sales to make the order a workshop ($150), we will have a Mystery Hostess.
Please place your order online by December 25.
I will notify our hostess by email on December 26.
The workshop will need to close on December 28.
Happy Shopping!
Shop Online 24/7
|
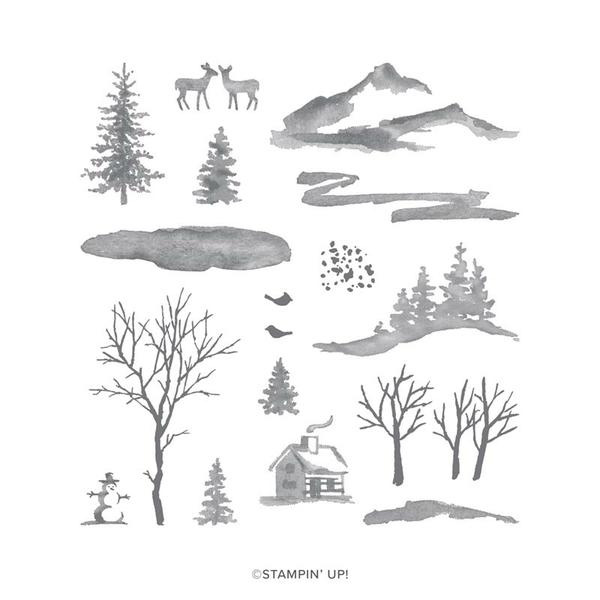
Product Spotlight-Snow Front Photopolymer Stamp
Create tranquil scenes with the Snow Front Stamp Set, whether it's cozy cabins with dainty deer or playful cardinals in a winter forest. This is a Two-Step Stampin' set; it allows you to layer two or more images to create one final image with extra texture and dimension in the colors you want.
Shop Online 24/7
|
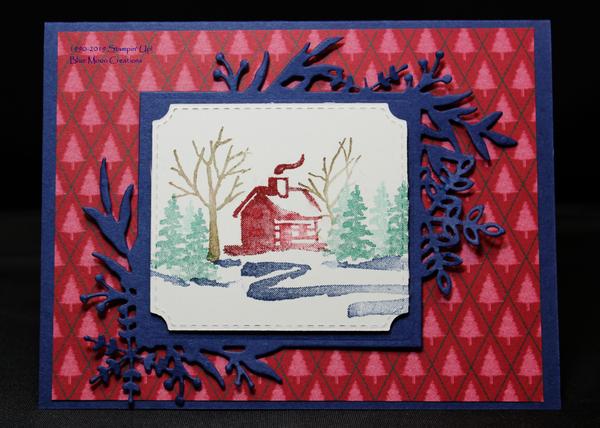
1. To create a mask, stamp cabin from Snow Front on a post-it-note. Cut out using a pair of scissors.
2. Cut card front out of Shimmery White card stock using a die cut machine and the stitched square from the Frosted Frames Dies. Cut frame out of Night of Navy card stock using a die cut machine and Frosted Frames Dies.
3. Stamp cabin on stitched square using Cherry Cobbler ink. Cover the stamped cabin with the post-it-note mask. Stamp bare trees using Soft Suede ink. Remove mask. Ink single pine tree image with Shaded Spruce ink. Stamp again without reinking to create dimension. Stamp short landscape image using Night of Navy ink. Stamp the long landscape using Night of Navy ink.
4. Attach the stamped card front to the Night of Navy frame.
5. Attach Wrapped in Plaid Designer Series Paper to Night of Navy card base. Attach card front to card base using Mini Dimensionals to pop it up.
Supplies Used:
Stamp Set: Snow Front
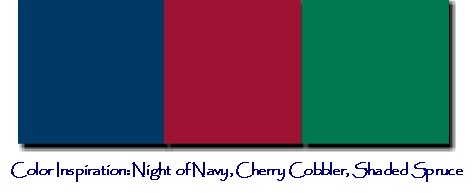
Ink: Cherry Cobbler, Soft Suede, Shaded Spruce, Night of Navy
Paper: Night of Navy, Shimmery White, Wrapped in Plaid 6" x 6" Designer Series Paper
Accessories: Big Shot, Frosted Frames Die, post-it-note, Mini Dimensionals
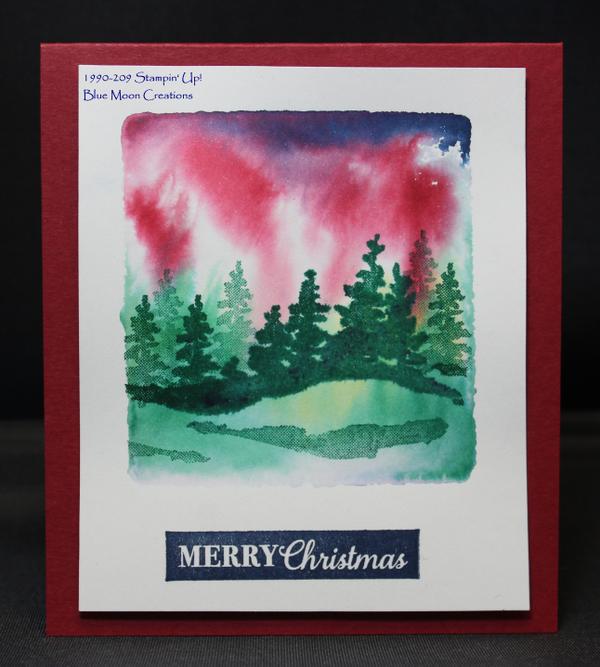
Acrylic Block Watercolor Background
|
1. To create background, lightly tap Night of Navy, Cherry Cobbler, and Shaded Spruce ink on clear-block "E". Lightly spritz the block with water making the inks pool and run. Stamp onto Shimmery White card front. Let the block set for a few seconds and remove. Set piece aside to dry completely.
2. Stamp trees using Shaded Spruce ink. Stamp again without reinking.
3. Stamp landscape using Shaded Spruce ink.
4. Stamp greeting from Christmas Gleaming in Night of Navy ink. I used the Stamparatus.
5. Attach to Cherry Cobbler card base to complete.
Supplies Used:
Stamp Sets: Snow Front, Christmas Gleaming
Ink: Night of Navy, Cherry Cobbler, Shaded Spruce
Paper: Cherry Cobbler, Shimmery White
Accessories: Clear Block "E", spritzer bottle with water
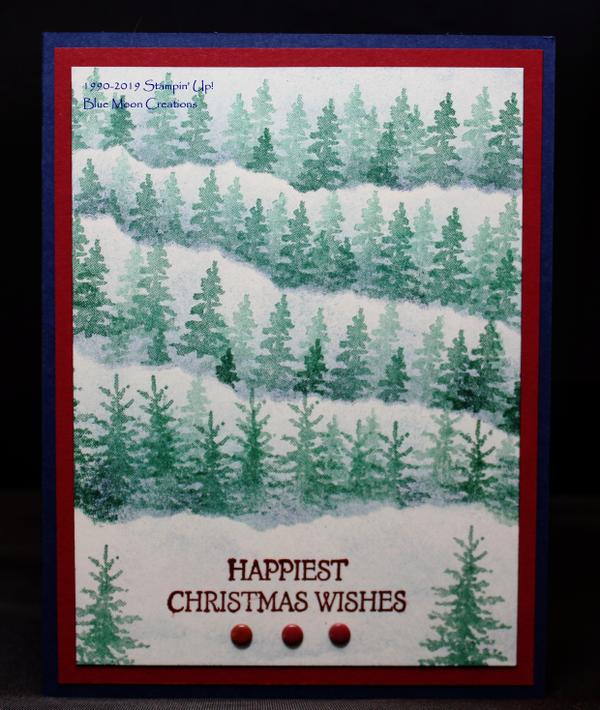
1. Tear a piece of copy paper to use as your mask.
2. Lay mask on Shimmery White card front and lightly sponge Night of Navy ink along the edge of the mask. Move the mask down and lightly sponge Night of Navy ink along the edge. Repeat two more times.
3. Lay the mask along the sponged edge at the top of the card. Stamp trees from Snow Front along the top of the mask. Stamp full strength and again without reinking. Move the mask down to the next sponged edge. Stamp the trees along the top of the mask. Repeat two more times.
4. Lightly sponge Balmy Blue ink along the bottom of the card front.
5. Stamp greeting from Dashing Deer using Cherry Cobbler ink. I used the Stamparatus.
6. Stamp larger trees using Shaded Spruce ink on either side of the greeting. Add Enamel Dots.
7. Attach card front to Cherry Cobbler mat. Attach to Night of Navy card base to complete.
Supplies Used:
Stamp Sets: Snow Front, Dashing Deer
Ink: Night of Navy, Shaded Spruce, Cherry Cobbler, Balmy Blue
Paper: Night of Navy, Cherry Cobbler, Shimmery White
Accessories: computer paper, sponge, Stamparatus, enamel dots out of my stash
|
|
|