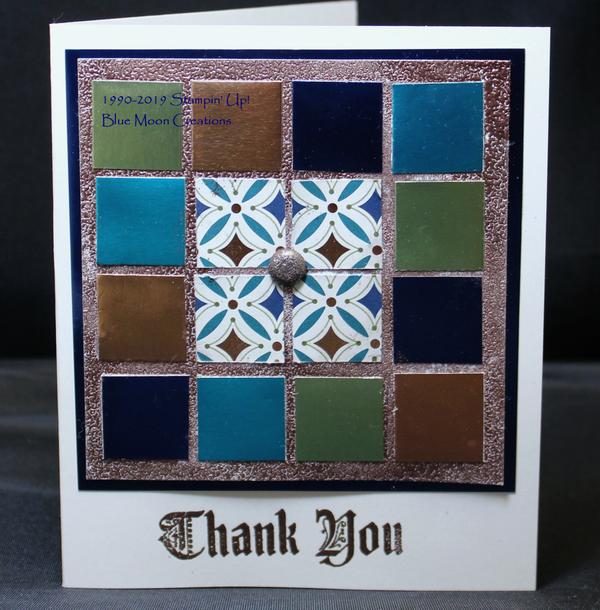
The Faux Mosaic Technique is a great way to use up those paper scraps!
The pieces can be any shape or size.
Have fun experimenting!
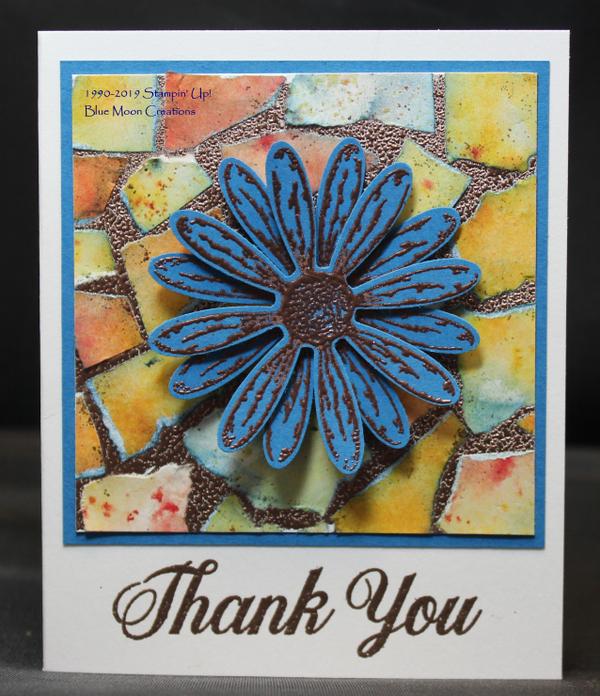
1. Tear pieces of scrap card stock or designer paper into different shapes and sizes. Sponge edges using Pacific Point ink.
2. Place the pieces on a sticky card stock base. Make sure to leave spaces into between the pieces. You can cover the base with SNAIL Adhesive, liquid glue, glue sticks, adhesive paper, or use a Xyron machine. For this card, I used a piece of adhesive paper that I attached to the base, peeling off the backing, leaving a sticky surface. For this card, the base measures 3 1/4" x 3 1/4".
3. Cover the piece with embossing powder and emboss using a heat tool. The embossing powder will stick to the stickiness on the base in between the pieces of paper. For this card, I used copper embossing powder.
4. Attach to Pacific Point mat.
5. Stamp 2 daisies from Daisy Delight on Pacific Point card stock using Versamark. Heat emboss using copper embossing powder. Stamp circle center using Versmark on one of the daisies using Versamark. Heat emboss using copper embossing powder. Punch out using Daisy punch. Layer the daisies, one on top of the other, using a Mini Dimensional in between. Attach to card front using a Mini Dimensional to pop it up.
6. Swipe bottom of Whisper White card base with the Embossing Buddy. Stamp greeting from Daisy Delight using Versamark. Heat emboss using copper embossing powder.
7. Attach mosaic card front to card base to complete.
Card measures 4 3/4" x 3 3/4"
Supplies Used:
Stamp Set: Daisy Delight
Ink: Pacific Point, Versamark
Paper: Whisper White, Pacific Point, See a Silhouette Designer Series Paper
Accessories: Adhesive Paper, Embossing Buddy, heat tool, copper embossing powder, Daisy Punch, sponge,Mini Dimensionals