|
|
In this issue:
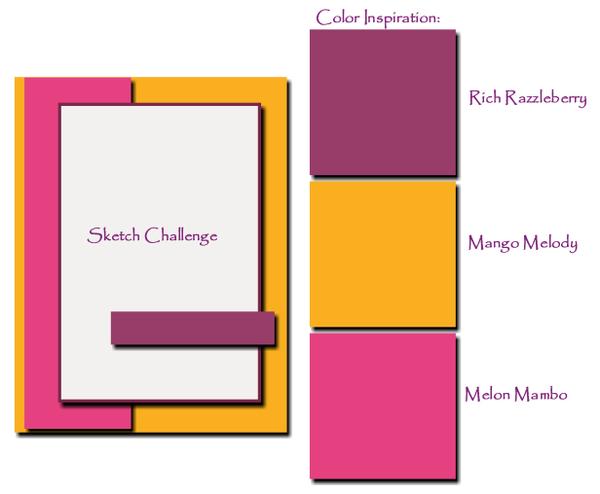
September Sketch Challenge and Color Inspiration
September Stampin' Up! News: Cut & Emboss Machine, Clearance Rack Refresh
September Hostess Code
Featured Product: Life is Beautiful stamp set
Featured Projects: Four Seasons of Life is Beautiful
September Sketch Challenge and Color Inspiration
Stampin' Cut & Emboss Machine is Here!
Happy September!
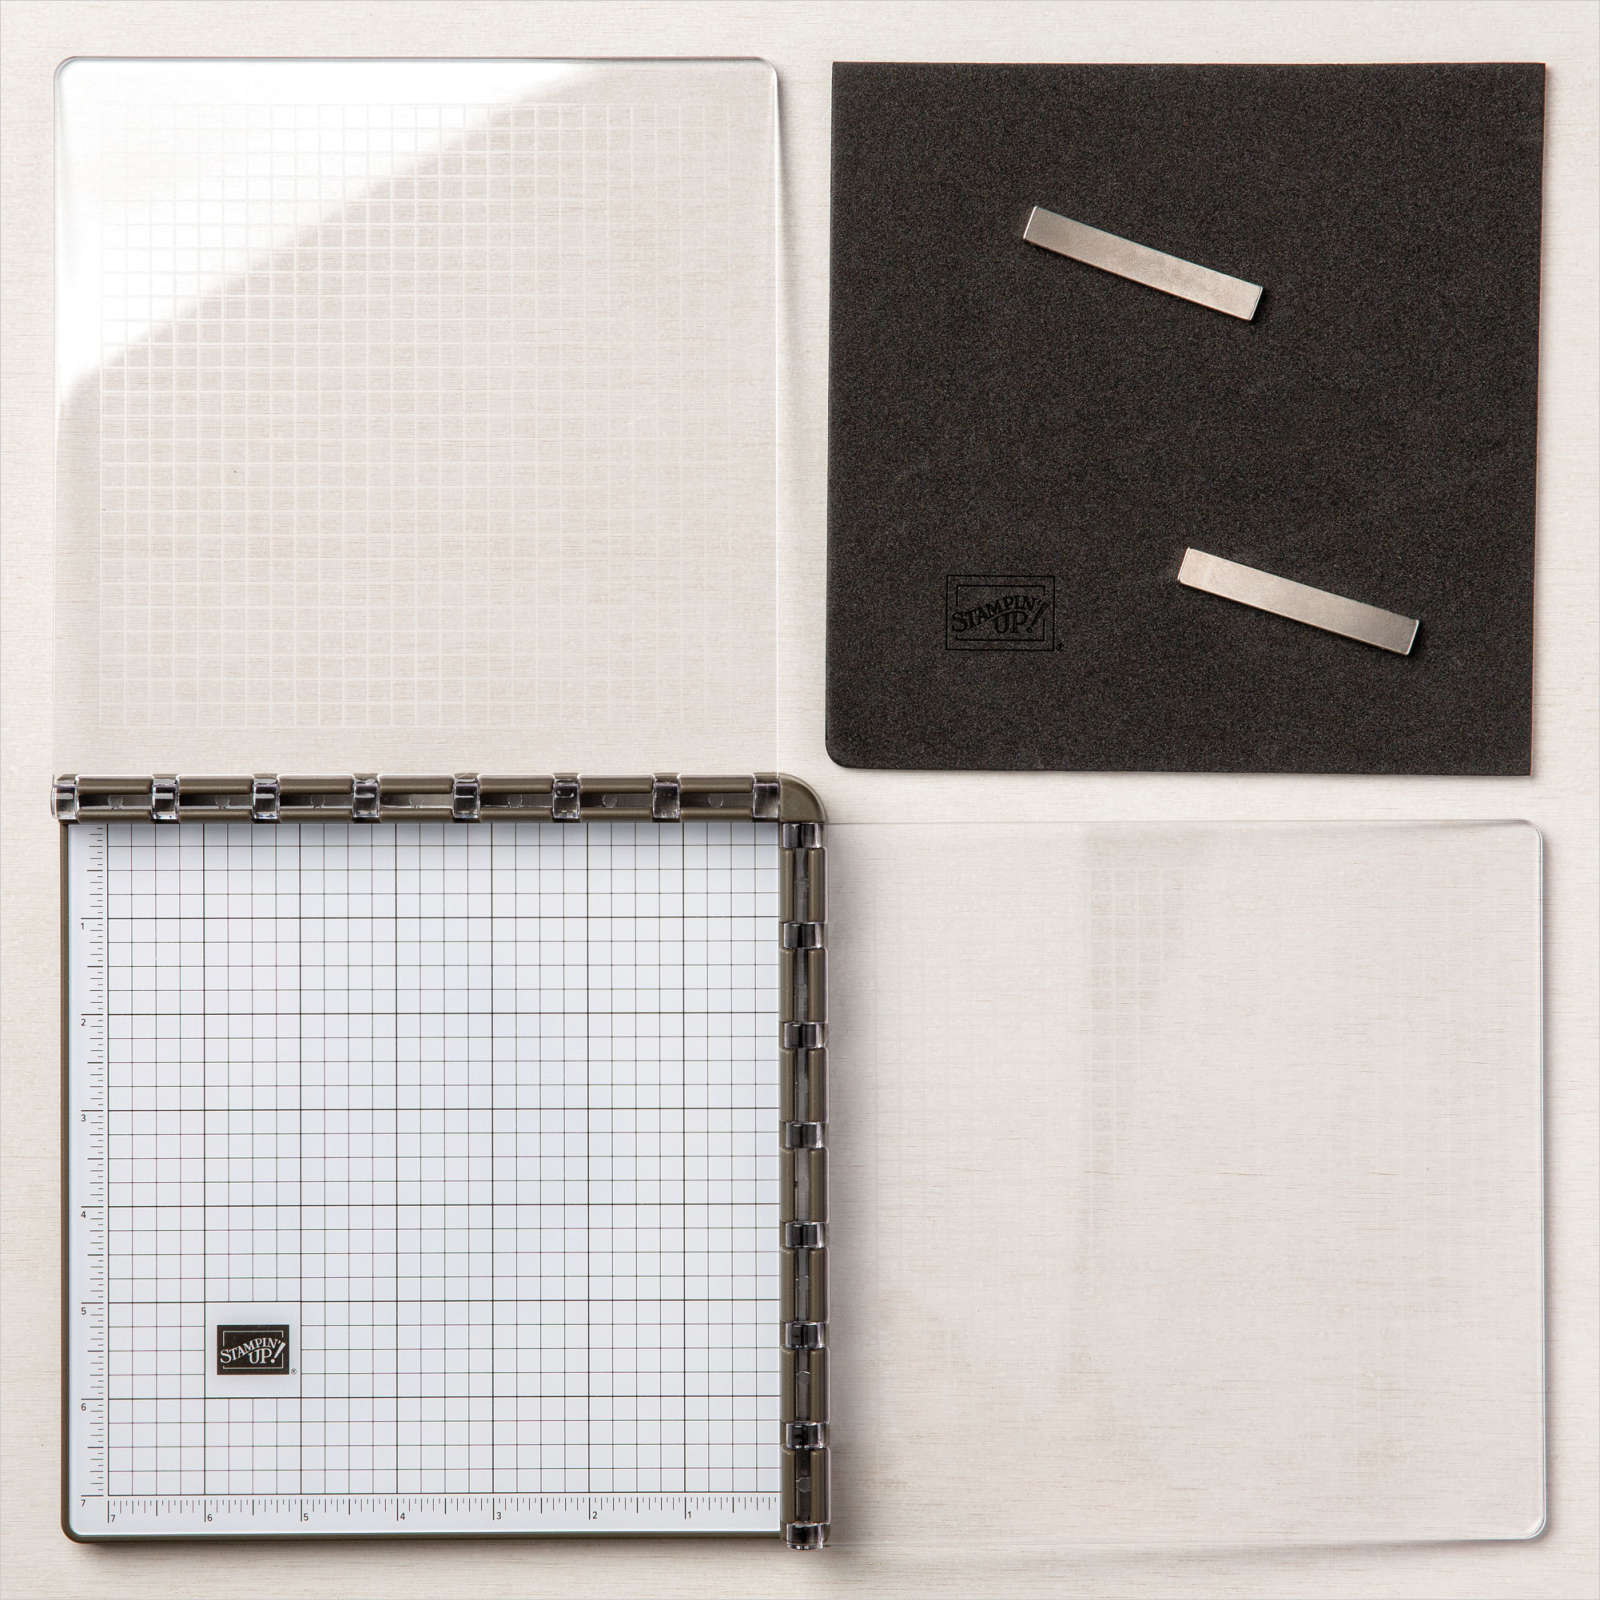
The new Stampin' Cut & Emboss Machine is Here!
Spend your time crafting, not cutting!
The Stampin' Up! Stampin' Cut & Emboss Machine makes precise cuts and detailed embossed images every time.
Use with dies and embossing folders to easily create accents and elements for cards, scrapbook pages, party invitations, classroom projects, and more.
This machine has a wide 6" ( 15.2 cm) platform for larger dies and full-size embossing folders. Works with all Stampin' Up! dies and embossing folders. Includes 1 Base Plate, 1 Die Plate, 2 Cutting Plates, and 1 Specialty Plate.
New items have been added to the Clearance Rack in the online store!
Supplies are limited, and with discounts up to 60%, products will go quickly.
Punches, buttons, trinkets, ribbon, glimmer paper, In Color card stock and Designer Series Paper, all discounted!
Shop now while supplies last!
Quick Links:
|
|
|
|
KMEESAPK
Orders using this hostess code will be combined.
As always, if we have enough in sales to make the order a workshop ($150), we will have a Mystery Hostess.
Please place your order online by September 25.
I will notify our hostess by email on Septempber 26.
The workshop will need to close on September 28.
Happy Shopping!
|
|
|
Product Spotlight-Life is Beautiful Photopolymer Stamp Set
|
|
Life is Beautiful Photopolymer Stamp Set
Create beautiful handmade cards and other paper crafts with the Life Is Beautiful Stamp Set.
The set includes greetings and four seasons imagery.
Perfect for friendship and thank you cards, and more!
|
|
|
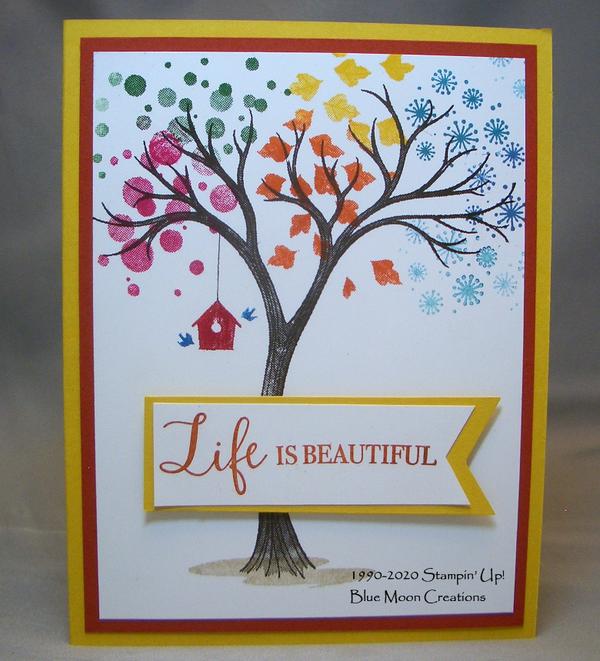
Four Seasons Life is Beautiful
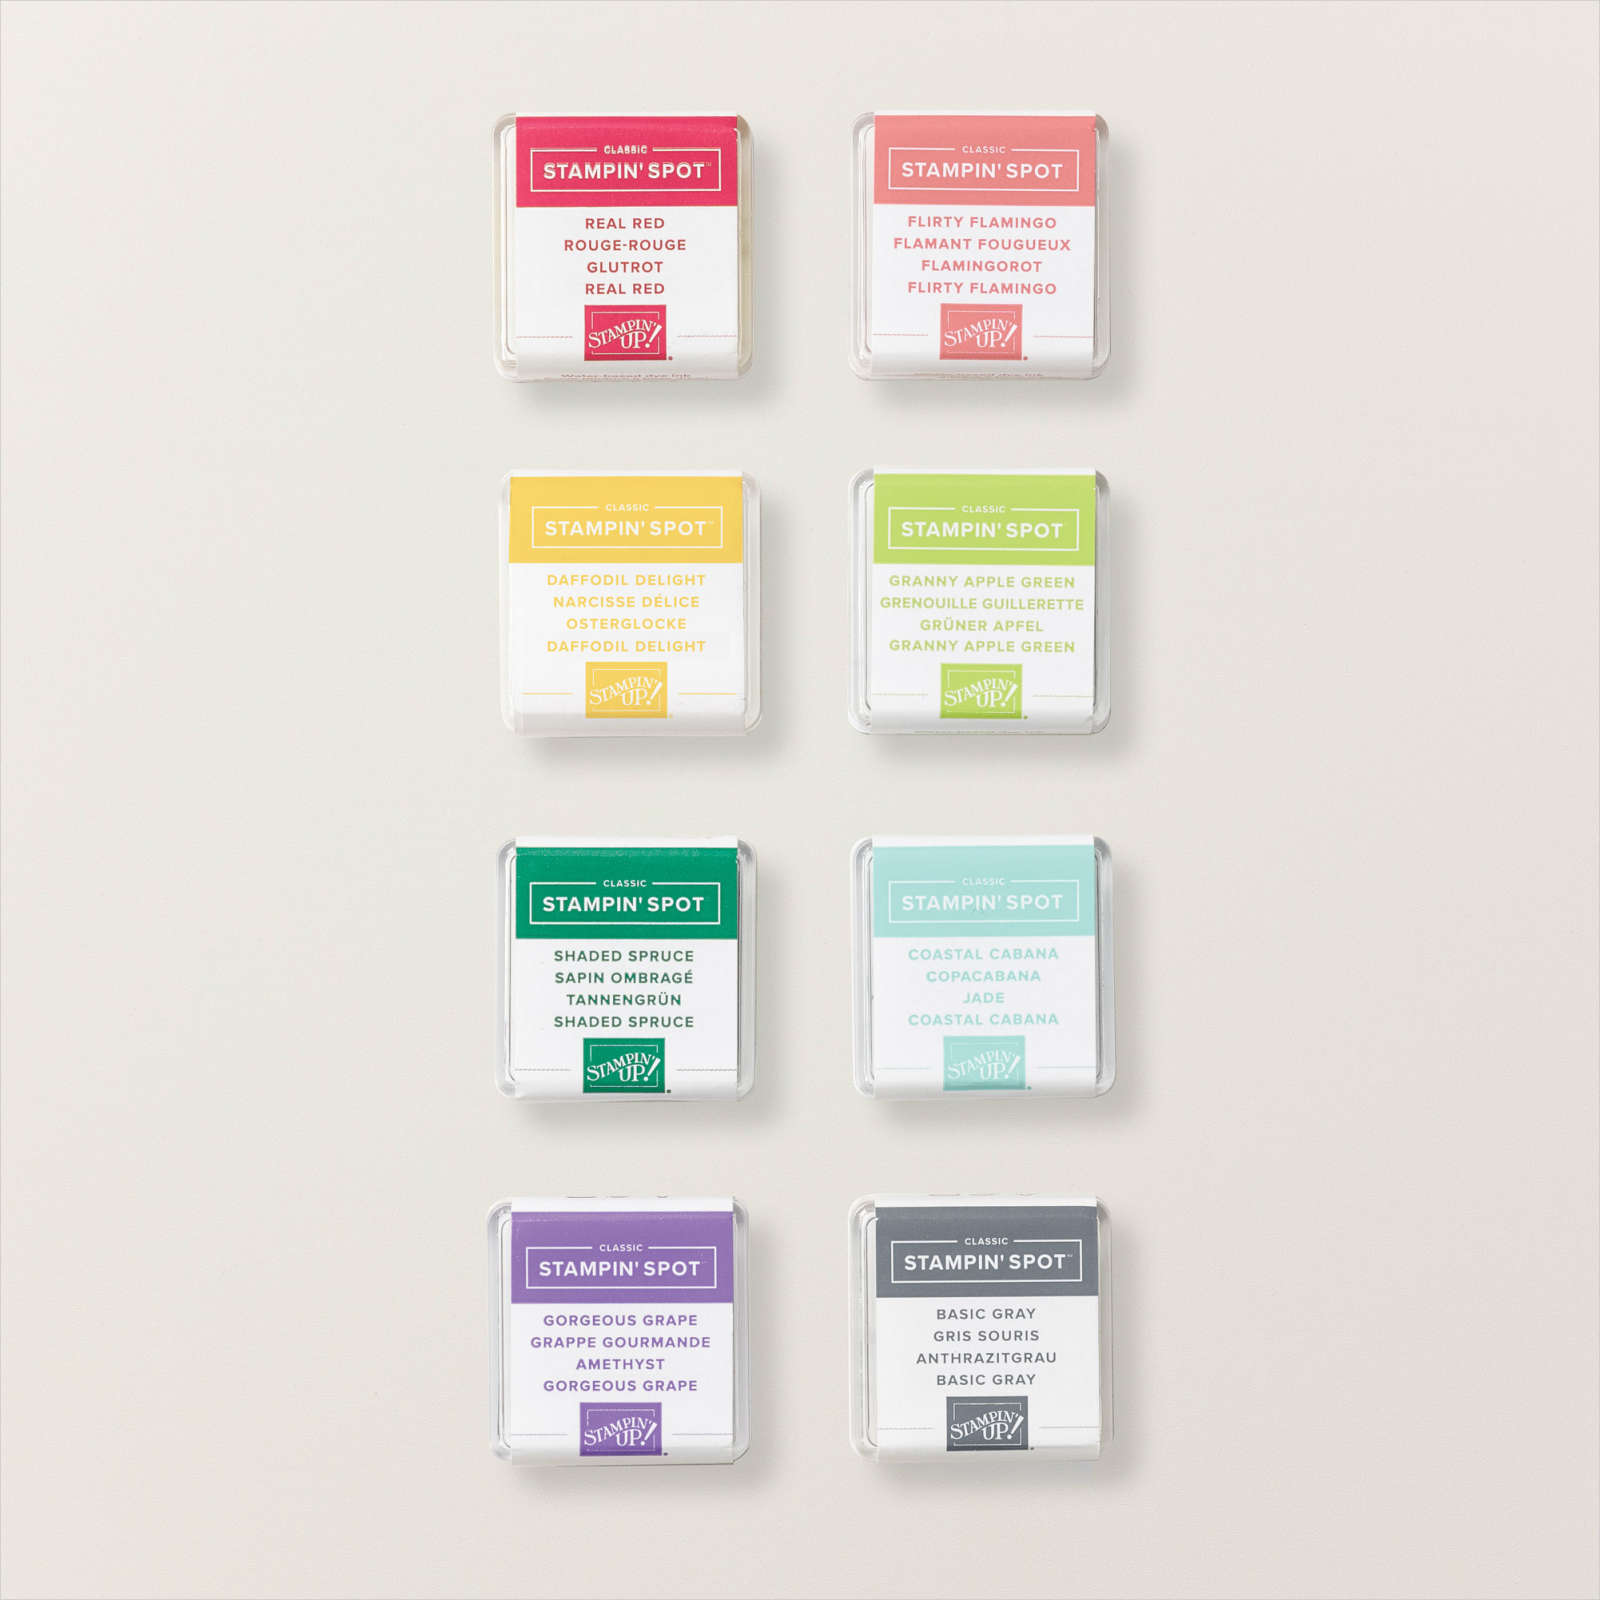
For these cards, I used Stampin' Spots* to ink up individual parts of the circles and leaves images. For example, I inked up the top section of the circles for "summer" using a Garden Green Stampin' Spot. I inked up the bottom section for "spring" using a Melon Mambo Stampin' Spot. Using the spots gives you more control over where the ink goes, especially on smaller
images.
I also used the Stamparatus to ink, stamp, and repeat as needed to get darker images.
*Make your own small ink pads in the colors you need with Uninked Stampin' Spots and Classic Stampin' Ink Refills.
A pack comes with 5 Spots.
1. Place Whisper White card front in the Stamparatus, holding it down with the magnets. Place the tree, image side down, on the card front. Close the hinged plate, picking up the tree stamp. Ink using Early Espresso ink. Close the hinged plate to stamp. Repeat as needed to get a darker stamped image.
Tip: Keep the tree on the plate for use in the next cards.
2. Place the circles stamp, image side down, over the stamped tree. Get a second hinged plate and place in the Stamparatus. Close the plate, picking up the circles stamp. Ink the top part of the circles using Garden Green Stampin' Spot and bottom part of the circles using Melon Mambo Stampin' Spot. Close the plate to stamp. Repeat as needed to get a darker image.
3. Turn the hinged plate to the other side. Place the leaves over the stamped tree, image side down. Close the plate, picking up the stamp. Ink the top part of the leaves using Bumble Bee Stampin' Spot and the bottom part of the leaves using Cajun Craze Stampin' Spot. Close the plate to stamp. Repeat as needed to get a darker image.
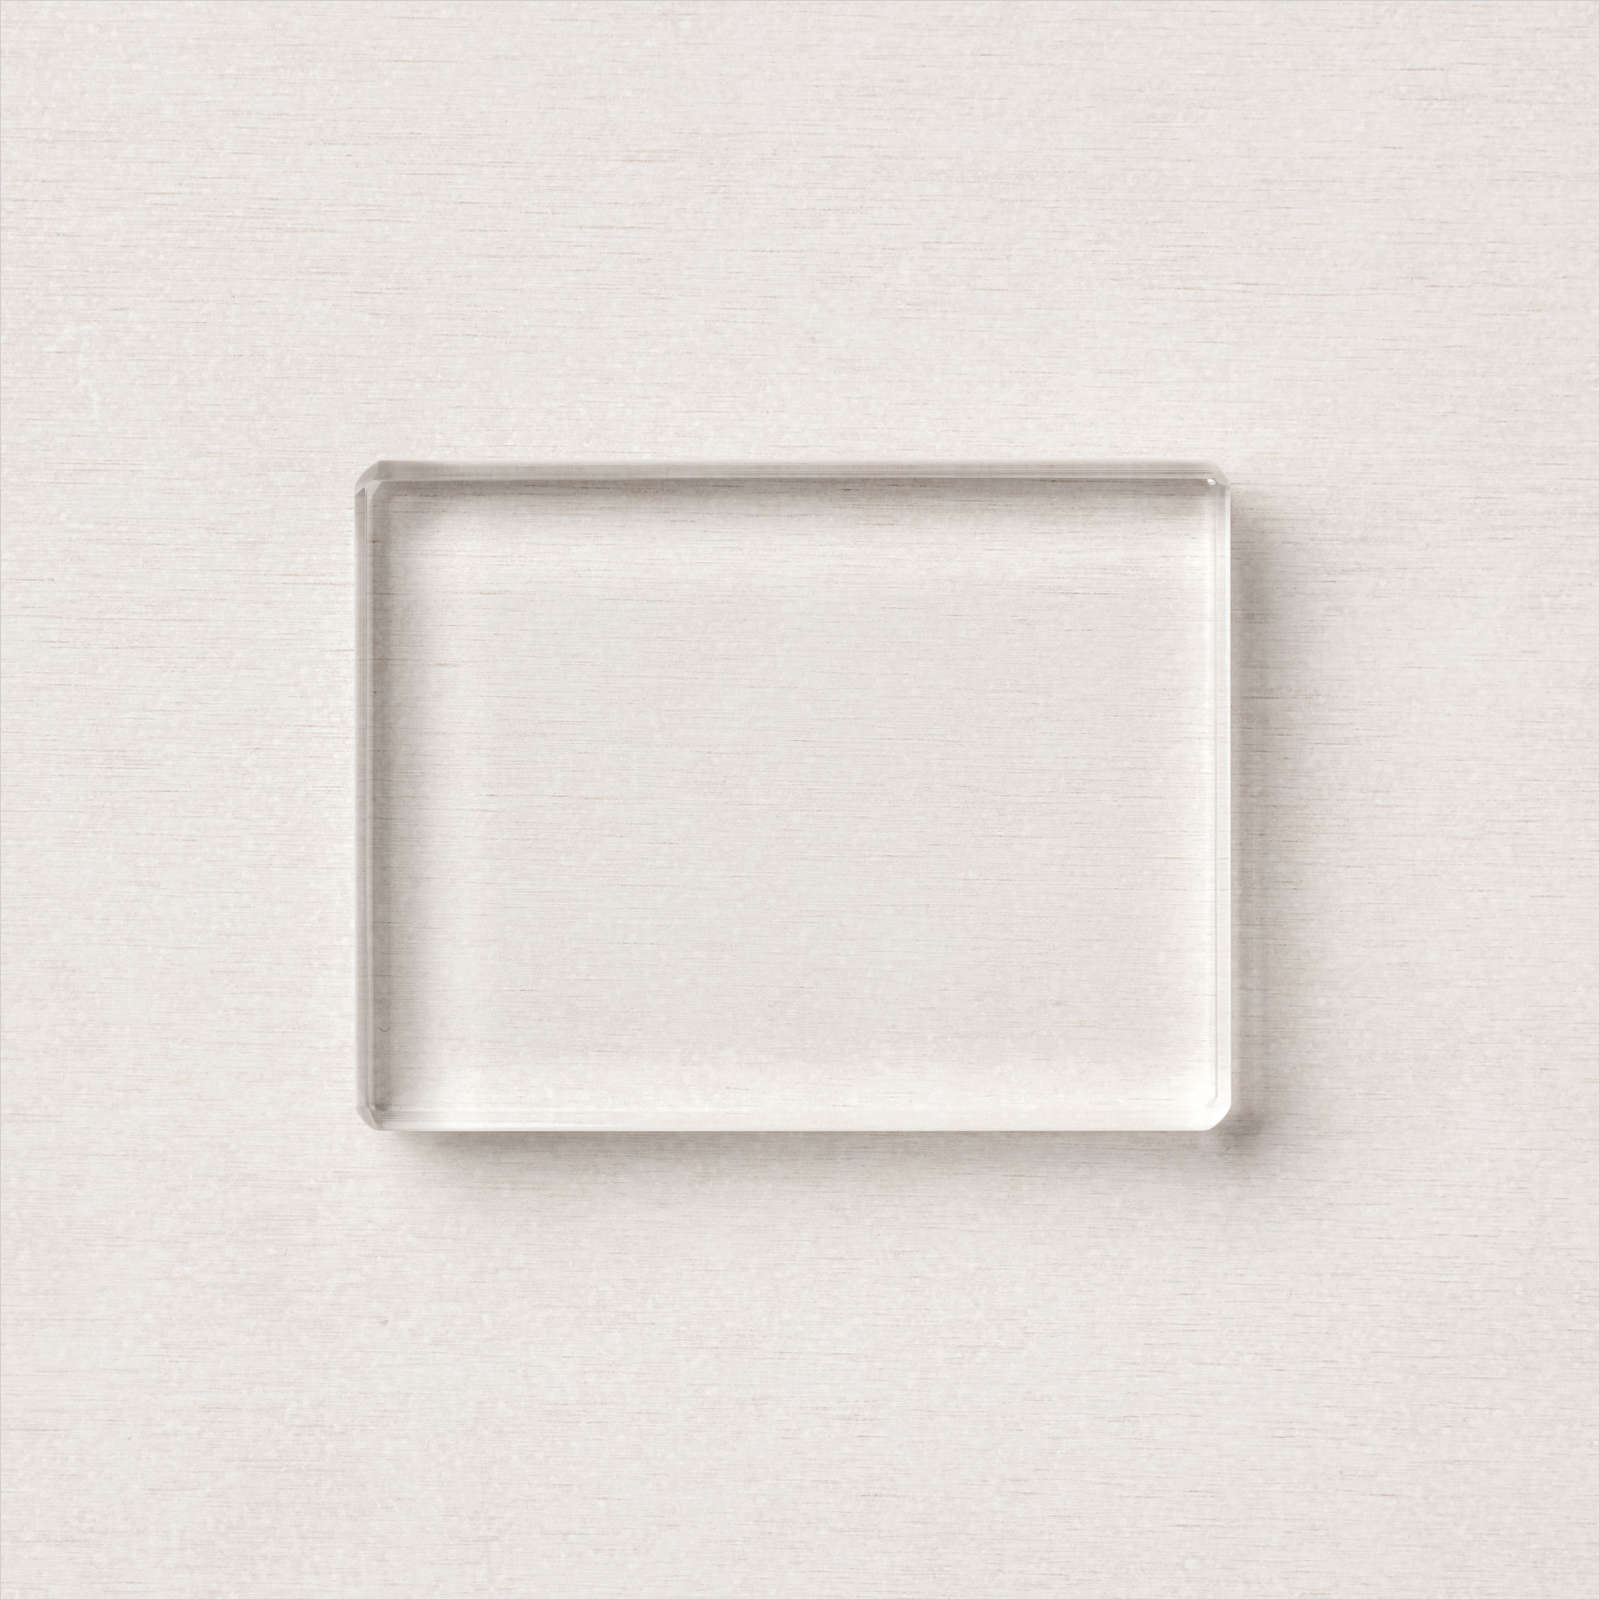
4. Because the snowflakes stamp is smaller than the rest, I did not use the Stamparatus. Instead, I placed it on an acrylic block. Ink up the image using Pretty Peacock ink and stamp. Ink the stamp again using Seaside Spray ink and stamp.
5. Place the birdhouse image on the card front, image side down. Pick up using a Stamparatus plate. Color twine or wire using Early Espresso Stampin' Write Marker. Color birdhouse using Real Red Stampin' Write Marker. Color birds using Pacific Point Stampin' Write Marker. Close plate and stamp. Repeat if necessary.
6. Stamp the ground using Crumb Cake ink.
7. Stamp greeting on scrap piece of Whisper White card stock using Cajun Craze ink. Banner cut one end. Attach to scrap piece of Bumble Bee card stock that has also been banner cut on one end.
8. Attach card front to Cajun Craze mat. Attach to Bumble Bee card base. Attach greeting using Dimensionals to pop it up.
Supplies Used:
Stamp Set: Life is Beautiful
Ink: Early Espresso, Pretty Peacock, Seaside Spray, Crumb Cake
Garden Green, Melon Mambo, Bumble Bee, Cajun Craze Stampin' Spots
Early Espresso, Real Red, Pacific Point Stampin' Write Markers
Paper: Bumble Bee, Cajun Craze, Whisper White
Accessories: Stamparatus, Dimensionals
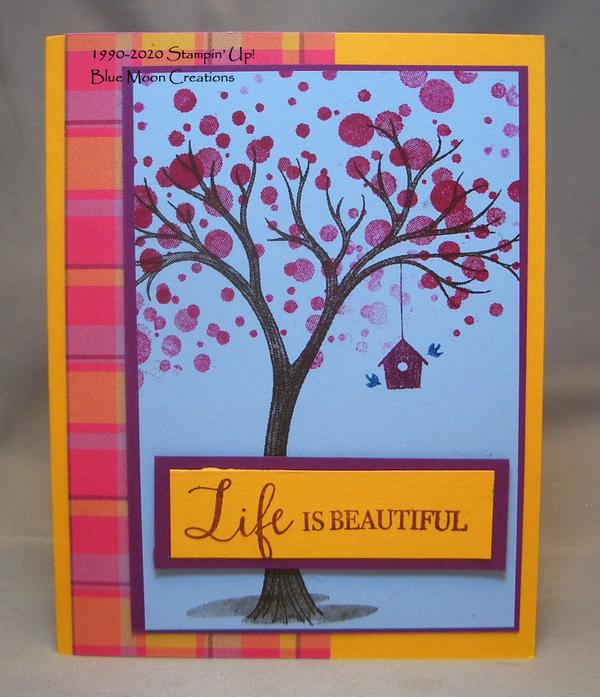
Life is Beautiful in the Spring!
1. Place Seaside Spray card front in the Stamparatus. Ink tree using Early Espresso ink, close the plate, and stamp. Repeat as needed to get a darker image.
2. Place a second hinged plate in the Stamparatus. Place circles over tree, image side down. Close plate to pick up the stamp. Ink stamp using Melon Mambo Stampin' Spot. Close plate to stamp. Repeat as needed to get a darker image. Clean stamp using Simply Shammy. Move circles to another part of the image and repeat.
3. Stamp landscape using Crumb Cake ink.
4. Place birdhouse image on card front, image side down. Turn plate to the other side, close, picking up the stamp. Color twine or wire using Early Espresso Stampin' Write Marker. Color birdhouse using Rich Razzleberry Stampin' Write Marker. Color birds using Pacific Point Stampin' Write Marker. Close plate to stamp. Repeat as needed to get a darker image.
5. Stamp greeting on scrap piece of Mango Melody card stock using Rich Razzleberry ink. Attach to Rich Razzleberry mat.
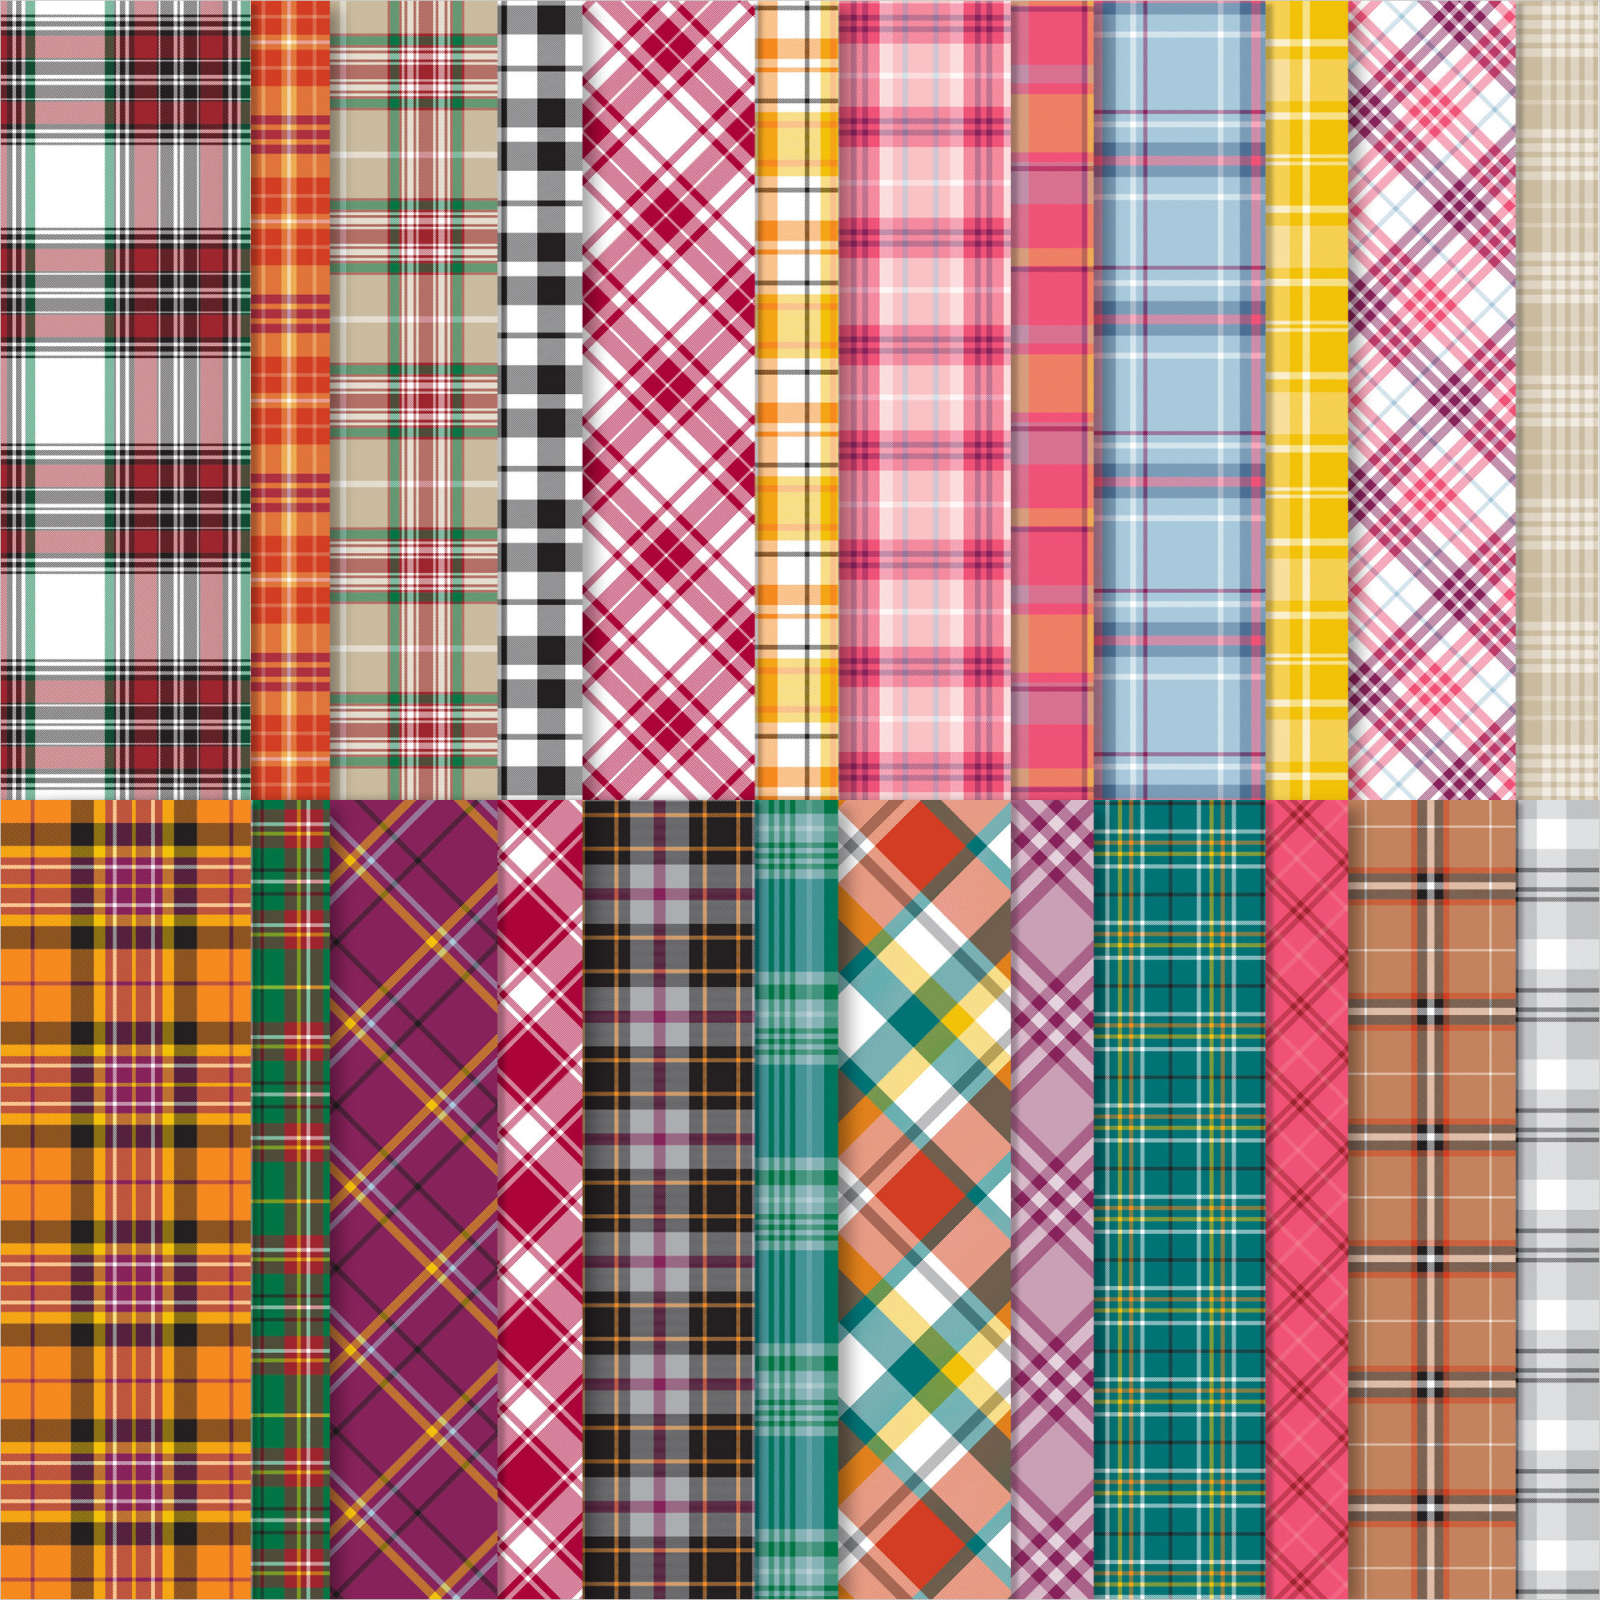
6. Attach card front to Rich Razzleberry mat. Attach piece of Plaid Tidings 6" x 6" Designer Series Paper to Mango Melody card base. Attach stamped card front. Attach greeting, using Dimensionals to pop it up to complete.
Supplies Used:
Stamp Set: Life is Beautiful
Ink: Rich Razzleberry, Crumb Cake
Melon Mambo Stampin' Spot
Early Espresso, Rich Razzleberry, Pacific Point Stampin' Write Markers
Paper: Mango Melody, Rich Razzleberry, Plaid Tidings 6" x 6" Designer Series Paper
Accessories: Stamparatus, Dimensionals, Simply Shammy
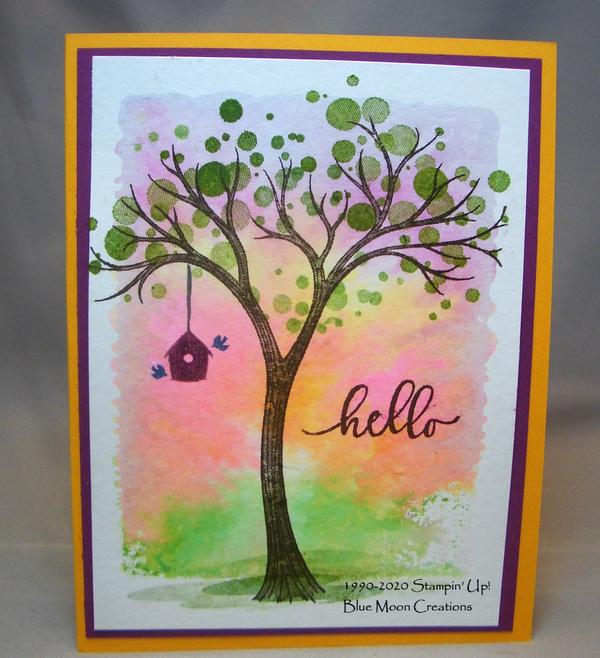
Life is Beautiful in the Summer!
1. For background, tap Seaside Spray, Rich Razzleberry, Melon Mambo, Mango Melody, and Garden Green inks on clear block "E." Spritz block with water, letting the ink pool and run. Stamp on a piece of watercolor paper. Let the block sit for a few seconds, then remove. Set watercolor paper aside to dry.
2. Place watercolor card front in the Stamparatus. Ink tree using Early Espresso ink, close the plate, and stamp. Repeat as needed to get a darker image.
3. Place a second hinged plate in the Stamparatus. Place circles over tree, image side down. Close plate to pick up the stamp. Ink stamp using Garden Green Stampin' Spot. Close plate to stamp. Repeat as needed to get a darker image. Clean stamp using Simply Shammy. Move circles to another part of the image and repeat.
4. Stamp landscape using Garden Green ink.
5. Place birdhouse image on card front, image side down. Turn plate to the other side, close, picking up the stamp. Color twine or wire using Early Espresso Stampin' Write Marker. Color birdhouse using Rich Razzleberry Stampin' Write Marker. Color birds using Pacific Point Stampin' Write Marker. Close plate to stamp. Repeat as needed to get a darker image.
6. Stamp greeting using Rich Razzleberry ink.
7. Attach card front to Rich Razzleberry mat. Attach to Mango Melody card base to complete.
Supplies Used:
Stamp Set: Life is Beautiful
Ink: Early Espresso, Rich Razzleberry, Seaside Spray, Melon Mambo, Mango Melody, Garden Green
Garden Green Stampin' Spot
Early Espresso, Rich Razzleberry, Pacific Point Stampin' Write Markers
Paper: Mango Melody, Rich Razzleberry, watercolor
Accessories: Stamparatus, Clear Block "E", spritzer bottle with water, Simply Shammy
Life is Beautiful in the Fall!
1. Stamp leaves on Rich Razzleberry card front using Versamark ink.
2. Heat emboss using heat tool and white embossing powder.
3. Color leaves using Stampin' Blends.
4. Stamp greeting on scrap piece of Mango Melody card stock using Rich Razzleberry ink. Cut out using die-cut machine and Stitched Rectangle die.
5. Attach card front to Whisper White card base. Attach greeting using Dimensionals to pop it up.
Supplies Used:
Stamp Set: Life is Beautiful
Ink: Versamark
various Stampin' Blends
Paper: Whisper White, Rich Razzleberry, Mango Melody
Accessories: heat tool, white embossing powder, die-cut machine, Stitched Rectangle Dies, Dimensionals
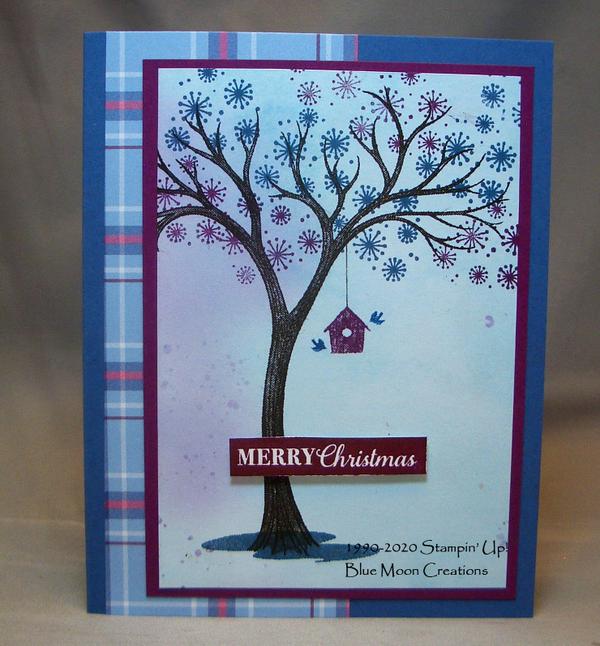
Life is Beautiful in the Winter!
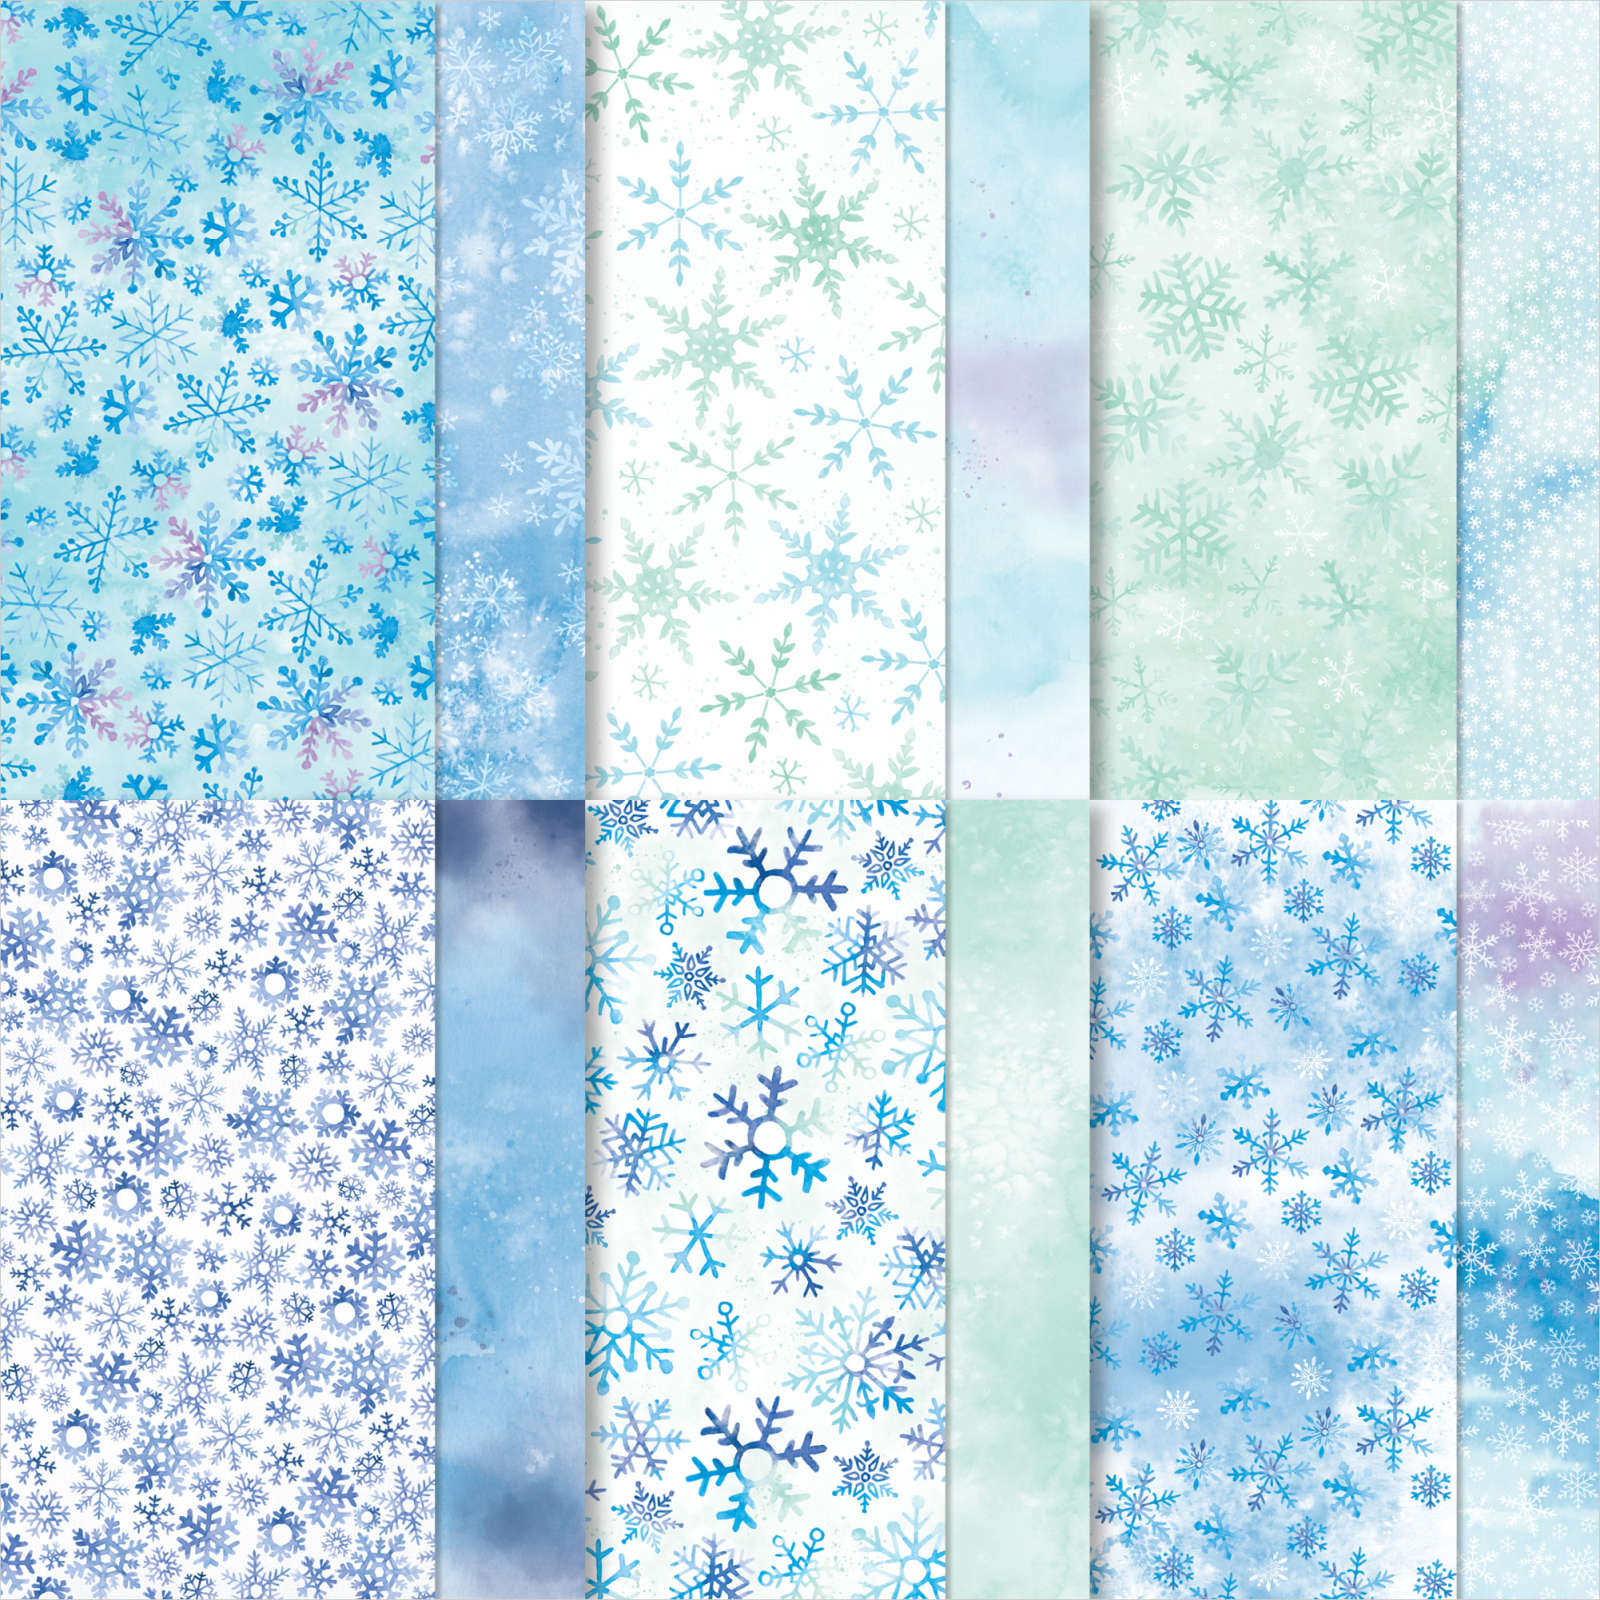
1. Place Snowflake Splendor Designer Series Paper in the Stamparatus. Ink tree using Early Espresso ink, close the plate, and stamp. Repeat as needed to get a darker image.
2. Stamp snowflakes using Rich Razzleberry ink. Clean stamp with Simply Shammy. Stamp snowflakes using Pretty Peacock ink. Repeat as needed to fill image with snowflakes.
3. Stamp landscape using Pretty Peacock ink.
4. Place birdhouse image on card front, image side down. Turn plate to the other side, close, picking up the stamp. Color twine or wire using Early Espresso Stampin' Write Marker. Color birdhouse using Rich Razzleberry Stampin' Write Marker. Color birds using Pacific Point Stampin' Write Marker. Close plate to stamp. Repeat as needed to get a darker image.
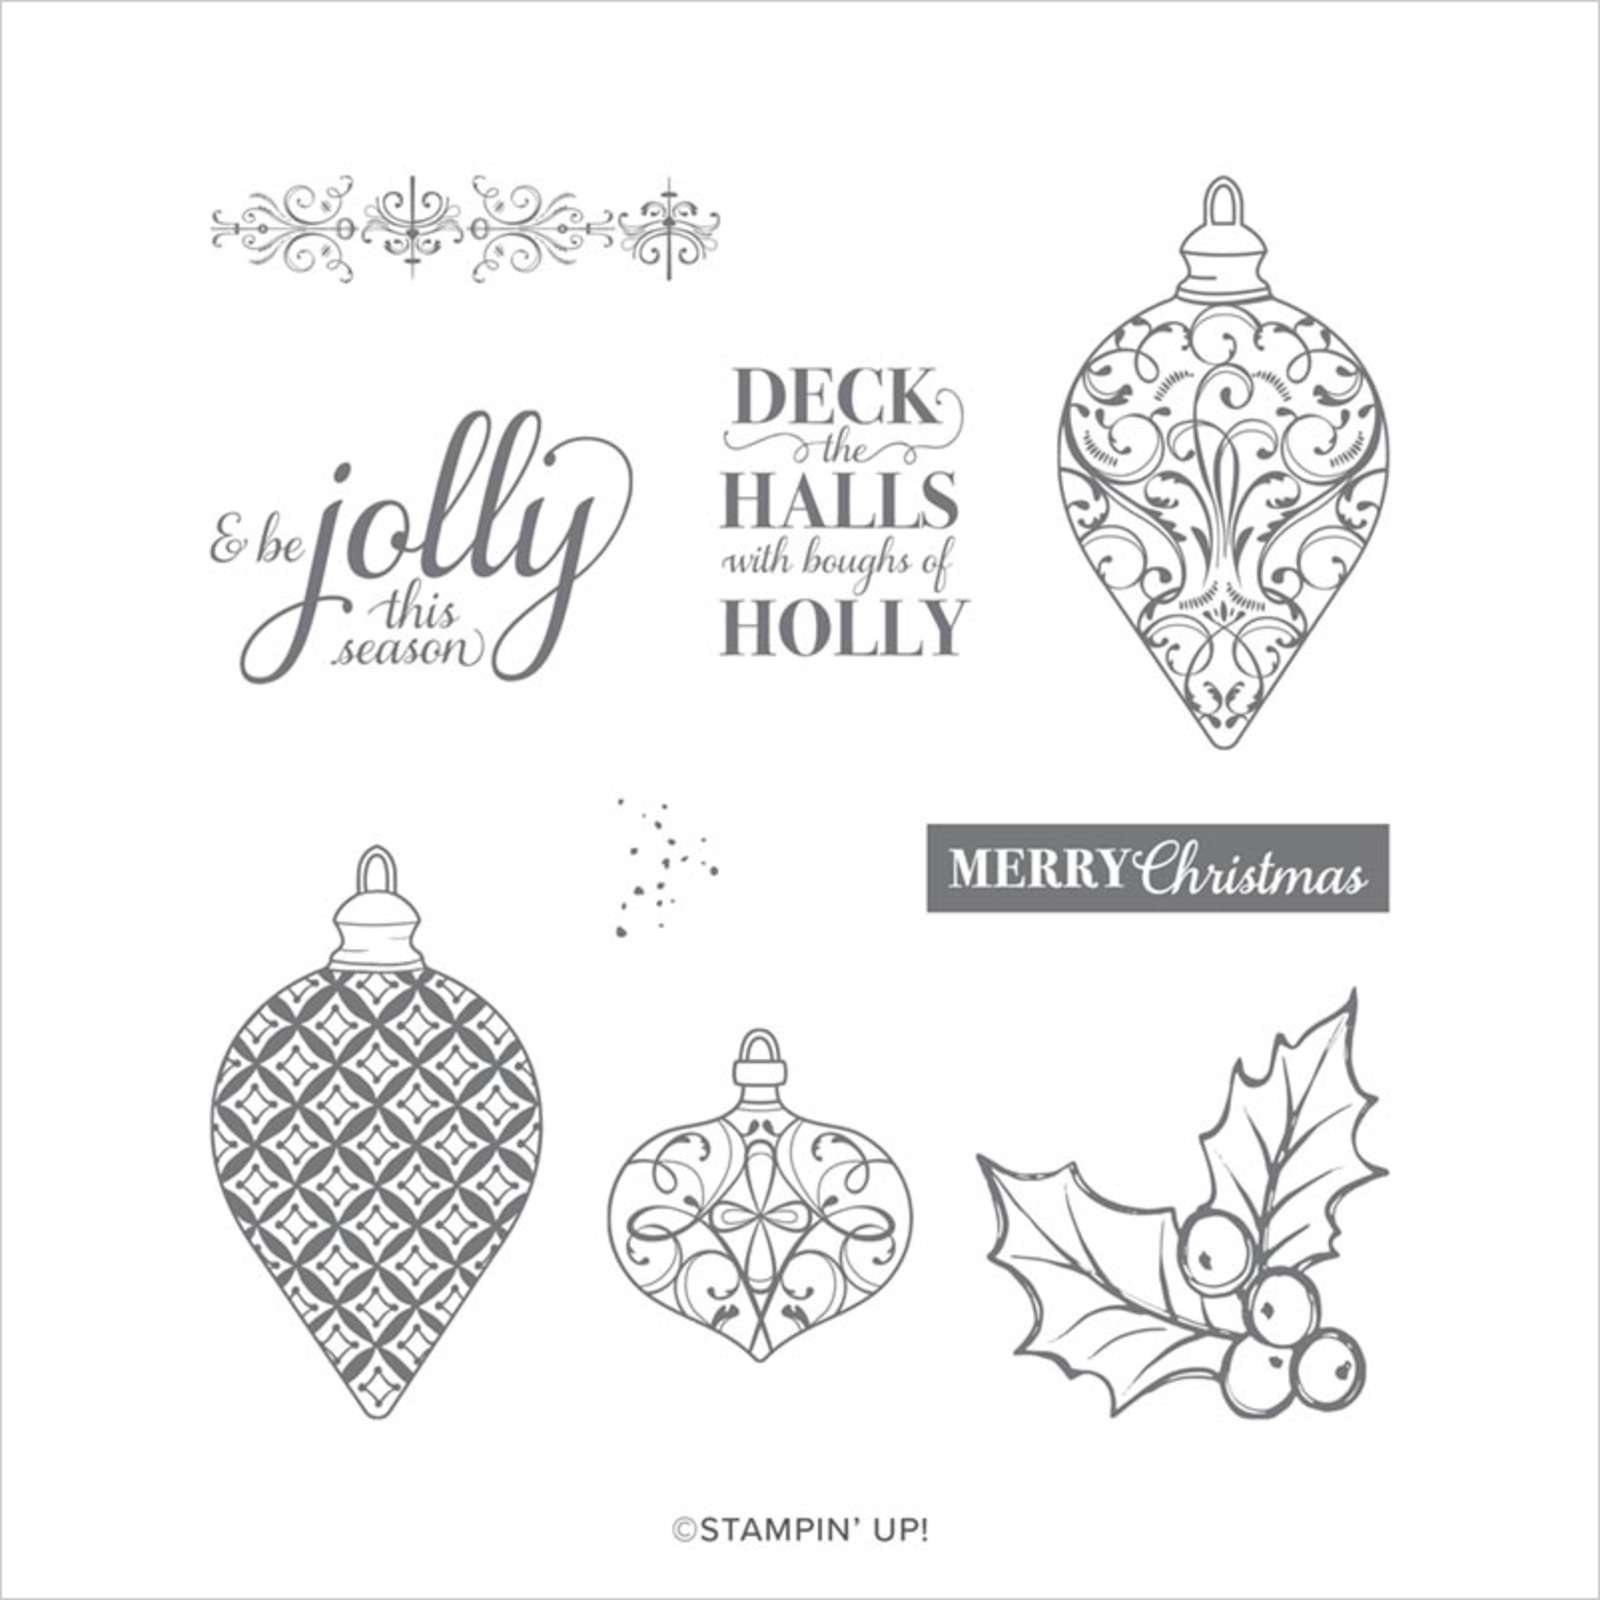
5. Stamp greeting from Christmas Gleaming on scrap piece of Whisper White card stock using Rich Razzleberry ink. Trim image using a pair of scissors.
6. Attach card front to Rich Razzleberry mat. Attach piece of Plaid Tidings 6" x 6" Designer Series Paper to Misty Moonlight card base. Attach stamped card front. Attach greeting, using Dimensionals to pop it up to complete.
Supplies Used:
Stamp Set: Life is Beautiful, Christmas Gleaming
Ink: Rich Razzleberry, Pretty Peacock
Early Espresso, Rich Razzleberry, Pacific Point Stampin' Write Markers
Paper: Misty Moonlight, Rich Razzleberry, Plaid Tidings 6" x 6"
Designer Series Paper, Snowflake Splendor Designer Series Paper
Accessories: Stamparatus, Simply Shammy, Dimensionals
|
|
|
|
|