|
|
In this issue:
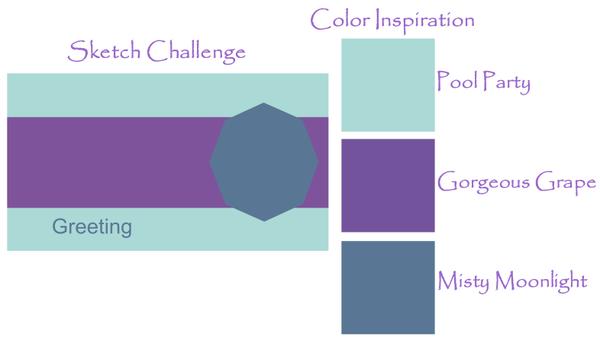
December Sketch Challenge and Color Inspiration
Holiday Reminders
December Hostess Code
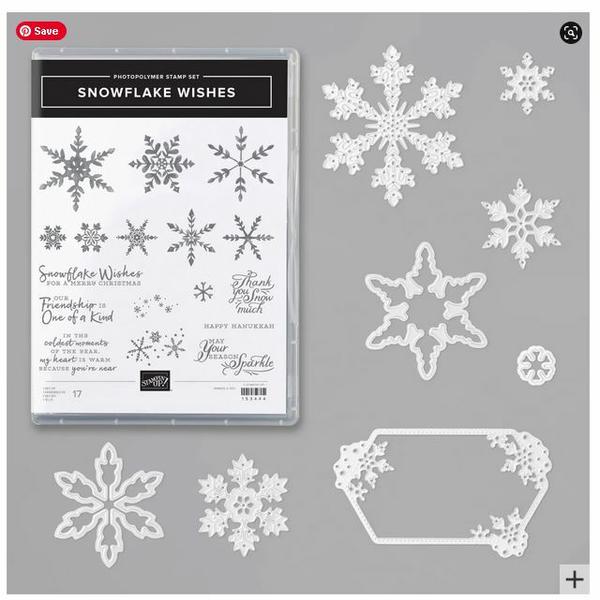
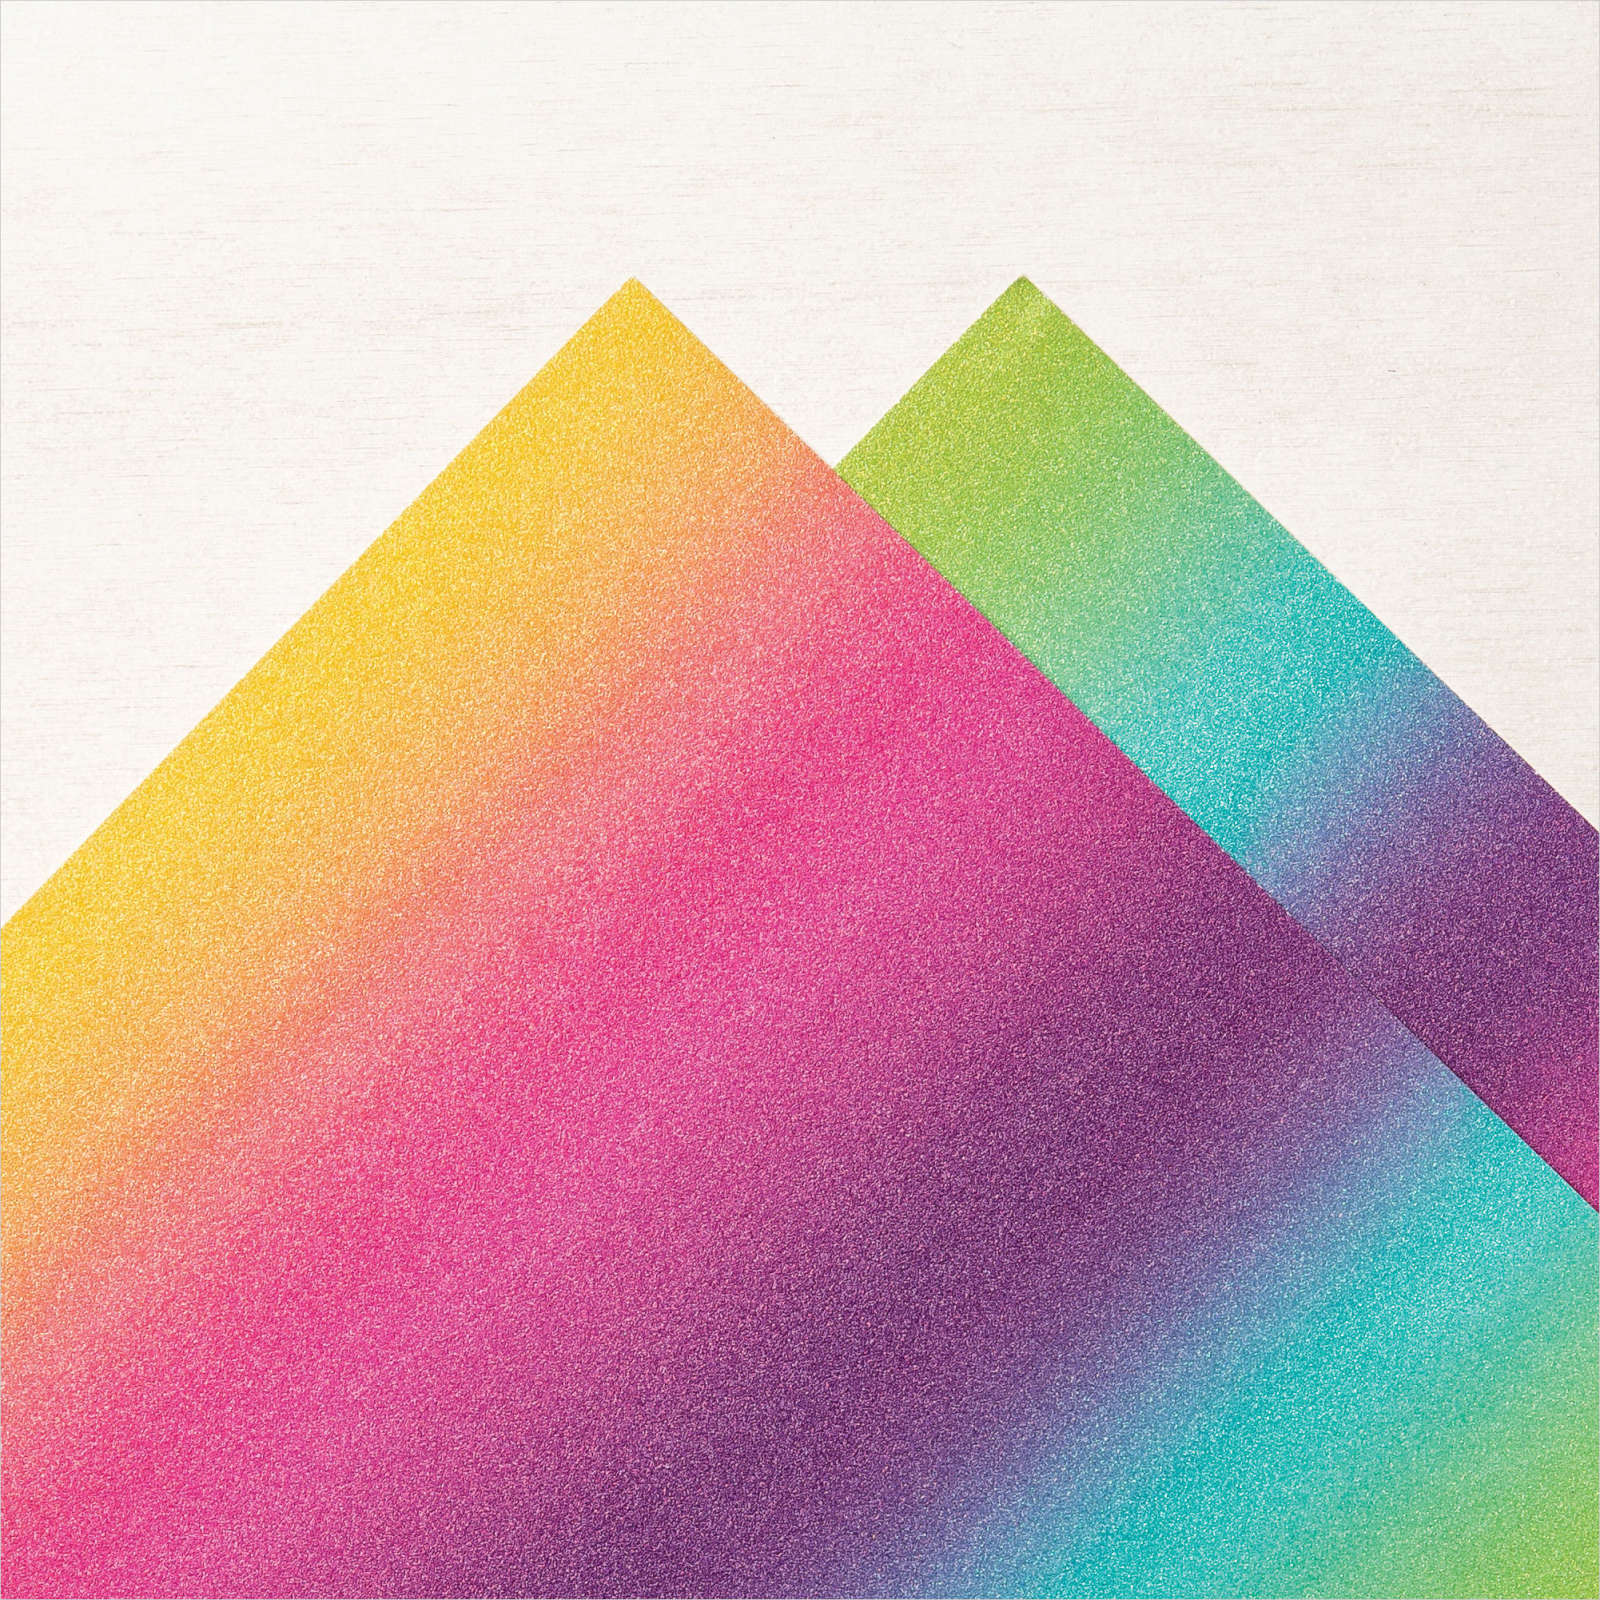
Featured Product: Snowflake Wishes
Featured Projects: Snowflake Wishes
December Sketch Challenge and Color Inspiration
Happy December!
Happy Holidays!
Stay healthy, and let your heart be light and your days be merry and bright this holiday season!
Anne
The last day to order from this catalog will be January 4, 2021.
Stampin' Up! is recommending orders be place by December 9th to ensure delivery by Christmas.
A Stampin' Up! gift certificate makes a great gift.
Gift certificates are available right up to December 24th!
Contact me today to purchase a gift certificate for a special paper-crafter(s) in your life!
The holidays are right around the corner, and if you're like me, you are busy getting those holiday cards and gifts ready to send out.
I'm here to help with some crafty inspiration!
I will continue sending out my Holiday Inspiration e mails on December 8th, 22nd, and 29th.
These will be in addition to my first of the month and my mid-month Fresh Ideas newsletters.
Please be sure to let me know if you have any questions.
|
|
|
|
KZVB3G9N
Orders using this hostess code will be combined.
As always, if we have enough in sales to make the order a workshop ($150), we will have a Mystery Hostess.
Please place your order online by December 26.
I will notify our hostess by email on December 27.
The workshop will need to close on December 29.
Happy Shopping!
|
|
|
Product Spotlight-Snowflake Wishes
|
|
The Snowflake Wishes Bundle includes the Snowflake Wishes Stamp Set and the So Many Snowflakes Dies Dies.
SNOWFLAKE WISHES STAMP SET
You'll be stamping a creative storm with the snowflakes in the Snowflake Wishes Stamp Set. This set also includes an assortment of greetings for Christmas, friendship, and more.
SO MANY SNOWFLAKES DIES
You'll have flurries of fun with the images in the So Many Snowflakes Dies. They include snowflakes in a variety of sizes along with a wintry label.
|
|
|
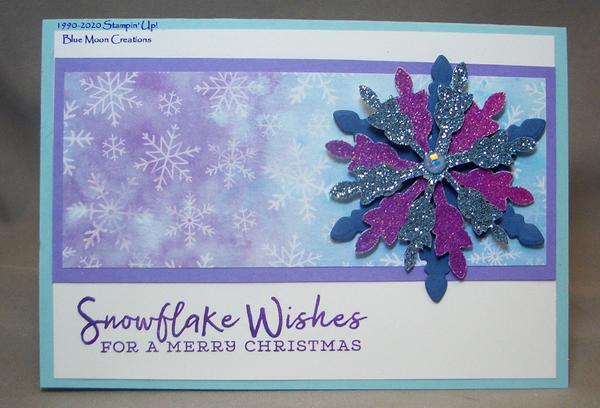
Sketch Challenge-Glimmer Snowflakes
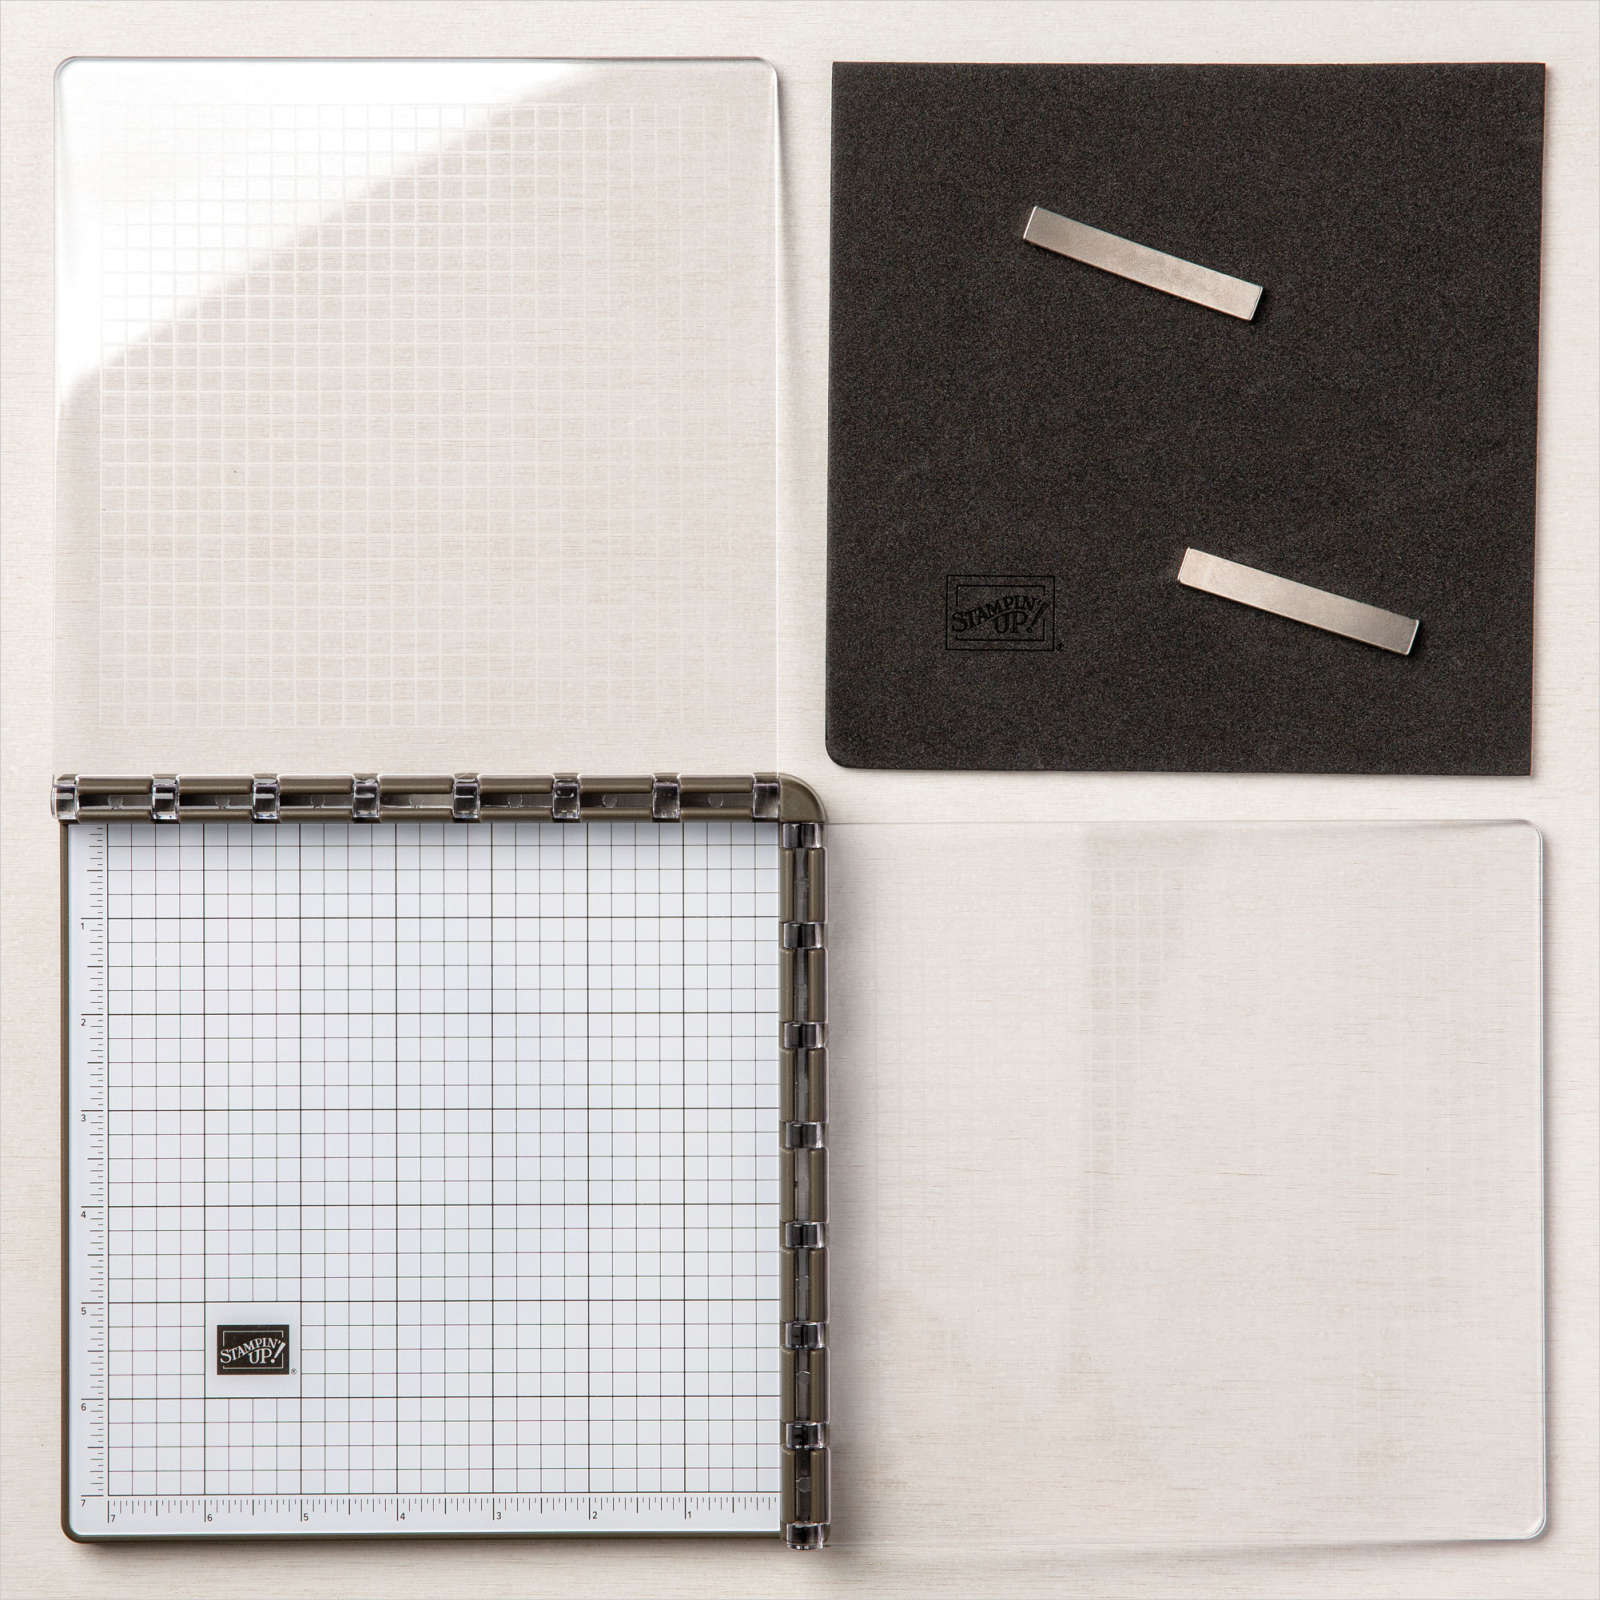
1. Cut snowflakes out of Misty Moonlight card stock, Rainbow Glimmer, and Balmy Blue Glimmer paper using the Stampin' Cut & Emboss Machine and Snow Many Snowflakes dies. Layer together using Dimensionals.
2. Stamp greeting from Snowflake Wishes on Whisper White card front using Gorgeous Grape ink. I used the Stamparatus. Attach to Balmy Blue card base.
3. Attach Snowflake Splendor DSP to Highland Heather mat. Attach to card front.
4. Attach layered snowflakes to card. Attach Blue Adhesive-backed Gem to complete.
Supplies Used:
Stamp Set: Snowflake Wishes
Ink: Gorgeous Grape
Paper:Pool Party, Whisper White, Highland Heather, Whisper White, Misty Moonlight, Snowflake Splendor Designer Series Paper, Rainbow Glimmer and Balmy Blue Glimmer
Accessories: Stampin' Cut & Emboss Machine, Snow Many Snowflakes Dies, Mini Dimensionals, Blue Adhesive-back Gems, Stamparatus
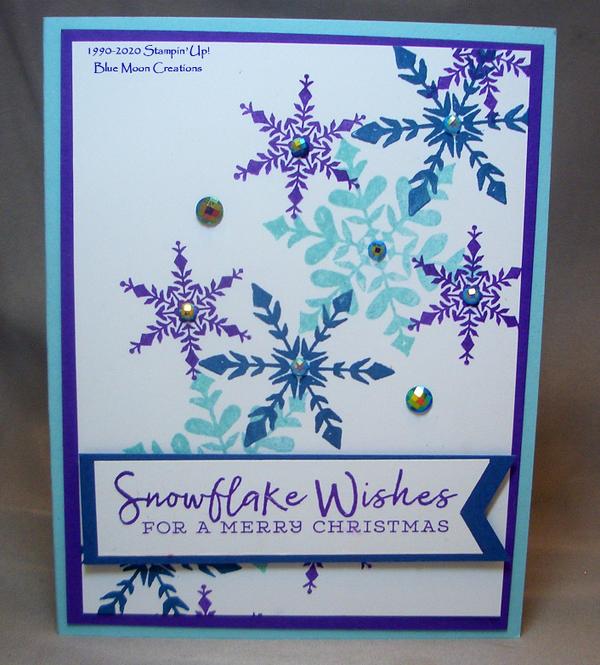
1. Stamp snowflakes from Snowflake Wishes on Whisper White card front using Pool Party, Gorgeous Grape, and Misty Moonlight inks.
2. Attach to Gorgeous Grape mat. Attach to Pool Party card base.
3. Stamp greeting on scrap piece of Whisper White card stock using Gorgeous Grape ink. Banner cut one end. Attach to Misty Moonlight mat that has also been banner cut. Attach to card front using Dimensionals to pop it up.
4. Attach Blue Adhesive-back Gems to complete.
Supplies Used:
Stamp Set: Snowflake Wishes
Ink: Pool Party, Gorgeous Grape, Misty Moonlight
Paper: Pool Party, Gorgeous Grape, Whisper White, Misty Moonlight
Accessories: Mini Dimensionals, Blue Adhesive-back Gems
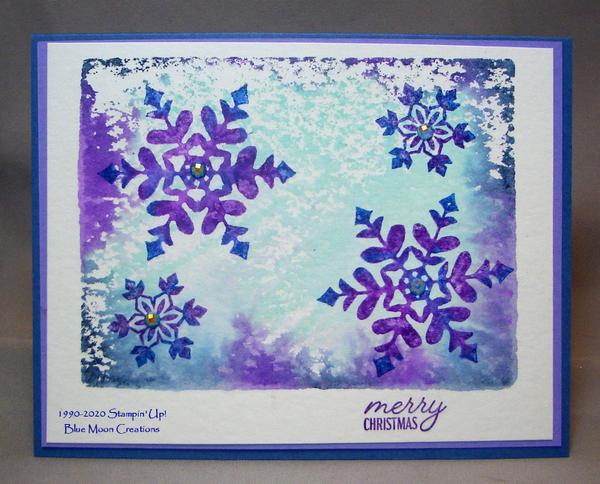
Acrylic Block Watercolor Background
1. Tap Pool Party, Gorgeous Grape, and Misty Moonlight inks on a clear block "F." Spritz with water letting the inks pool and run. Stamp on watercolor paper card front. Let the block set for a few seconds, then remove. Set watercolor paper aside to dry.
2. Tap a large snowflake stamp with Gorgeous Grape and Misty Moonlight inks. Lightly spritz with water and stamp on the acrylic block watercolor background. Let the stamp set for a few seconds, then remove. Repeat with another large snowflake. Repeat with a smaller snowflake.
3. Stamp greeting from Festive Post using Gorgeous Grape ink. I used the Stamparatus.
4. Attach to Highland Heather mat. Attach to Misty Moonlight card base.
5. Attach Blue Adhesive-back Gems to complete.
Supplies Used:
Stamp Sets: Snowflake Wishes, Festive Post
Ink: Pool Party, Gorgeous Grape, Misty Moonlight
Paper: Misty Moonlight, Highland Heather, watercolor paper
Accessories: Clear block "F", spritzer bottle with water, Stamparatus, Blue Adhesive-back Gems
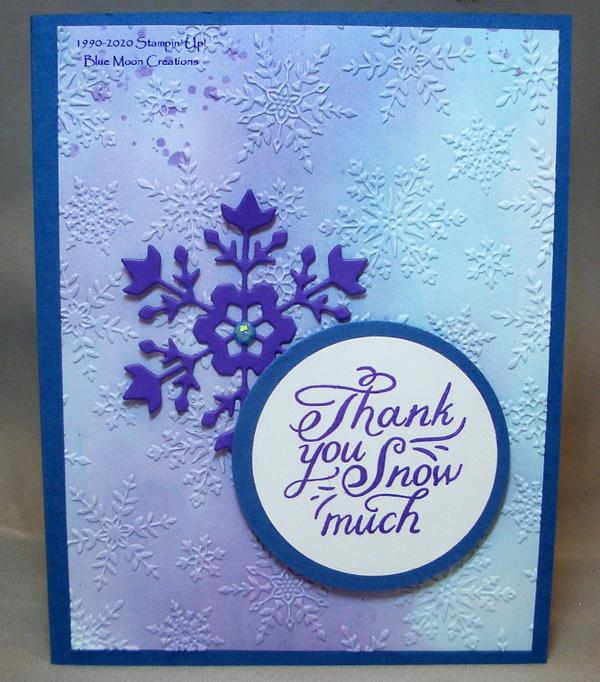
1. Emboss Snowflake Splendor DSP using Stampin' Cut & Emboss Machine and Winter Snow Embossing Folder. Attach to Misty Moonlight card base.
2.Cut snowflake out of Gorgeous Grape card stock using the Stampin' Cut & Emboss Machine and So Many Snowflakes Die. Attach to card front.
3. Stamp greeting on scrap piece of Whisper White card stock using Gorgeous Grape ink. Punch using 1 3/4" circle punch. Attach to Misty Moonlight mat that has been punched using 2" circle punch. Attach to card front using Dimensionals to pop it up.
4. Attach Blue Adhesive-backed Gem to snowflake to complete.
Supplies Used:
Stamp Set: Snowflake Wishes
Ink: Gorgeous Grape
Paper: Misty Moonlight, Gorgeous Grape, Whisper White, Snowflake Splendor DSP
Accessories: Stampin' Cut and Emboss Machine, So Many Snowflakes Die, Winter Snow Embossing Folder, 1 3/4" and 2" circle punches, Mini Dimensionals, Blue Backed-adhesive Gems
|
|
|
|
|