|
|
In this issue:
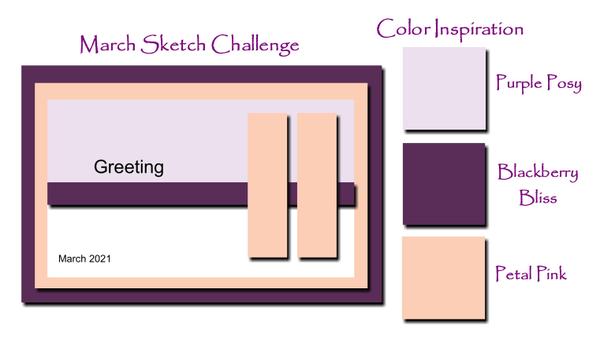
March Sketch Challenge and Color Inspiration
March Promotions
March Hostess Code
March Product: Sweet Ice Cream Bundle
Featured Projects: Sweet Ice Cream
March Sketch Challenge and Color Inspiration
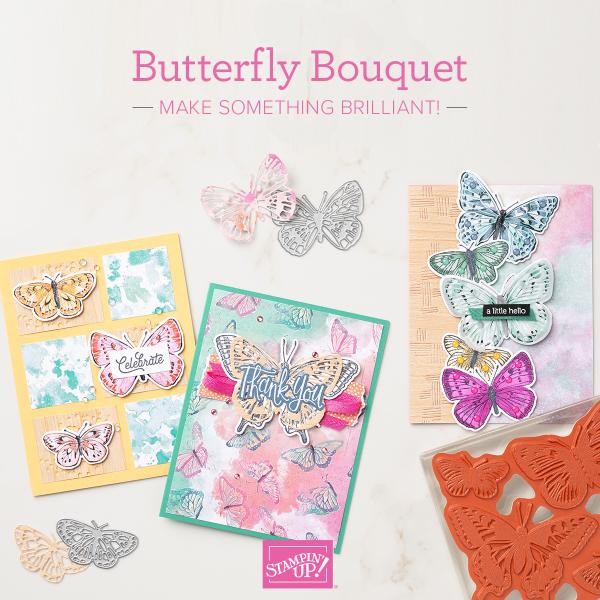
Butterfly Bouquet March 2-May 31
Happy March!
Happy Spring!
Why not celebrate the coming of Spring with butterflies!
Bring in the beauty of nature with the artistic designs of the Butterfly Brilliance Bundle and coordinating designer series paper, along with textured specialty paper that will put a pop of brilliance on every
project.
Available March 2 through May 3.
2021-2022 Annual Catalog News:
Stampin’ Up! is adjusting our catalog release schedule this year so the new Annual Catalog will go live on May 4th.
If there is something on your Wish List that you haven’t purchased yet, add it to your order this month. Next month, when the Retiring List is published, many items will be “while supplies last”, and I’d hate for you to miss out!
I will continue sending out my Spring Inspiration e mails on March 9th, 23rd, and 30th.
These will be in addition to my first of the month and my mid-month Fresh Ideas newsletters.
Please be sure to let me know if you have any questions.
|
|
|
|
Orders using this hostess code will be combined.
As always, if we have enough in sales to make the order a workshop ($150), those placing an order using the hostess code will share the hostess rewards.
Hostess rewards will be based on a percentage of each order placed.
Please place your order online by March 25.
I will notify our hostess by email on March 26.
The workshop will need to close on March 28.
Happy Shopping!
|
|
|
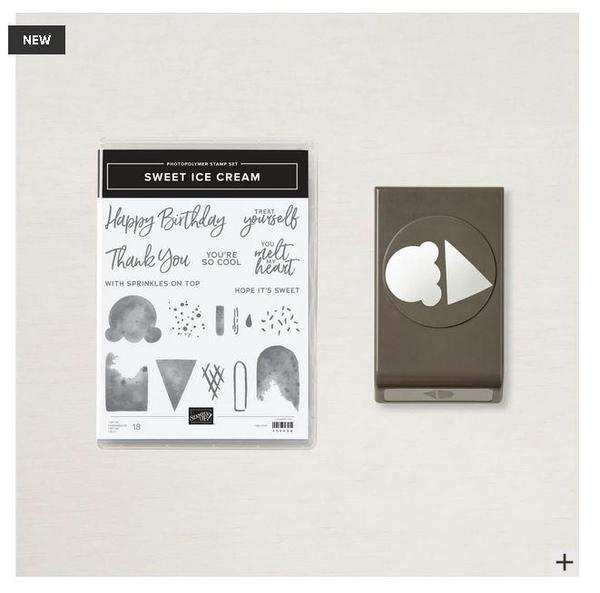
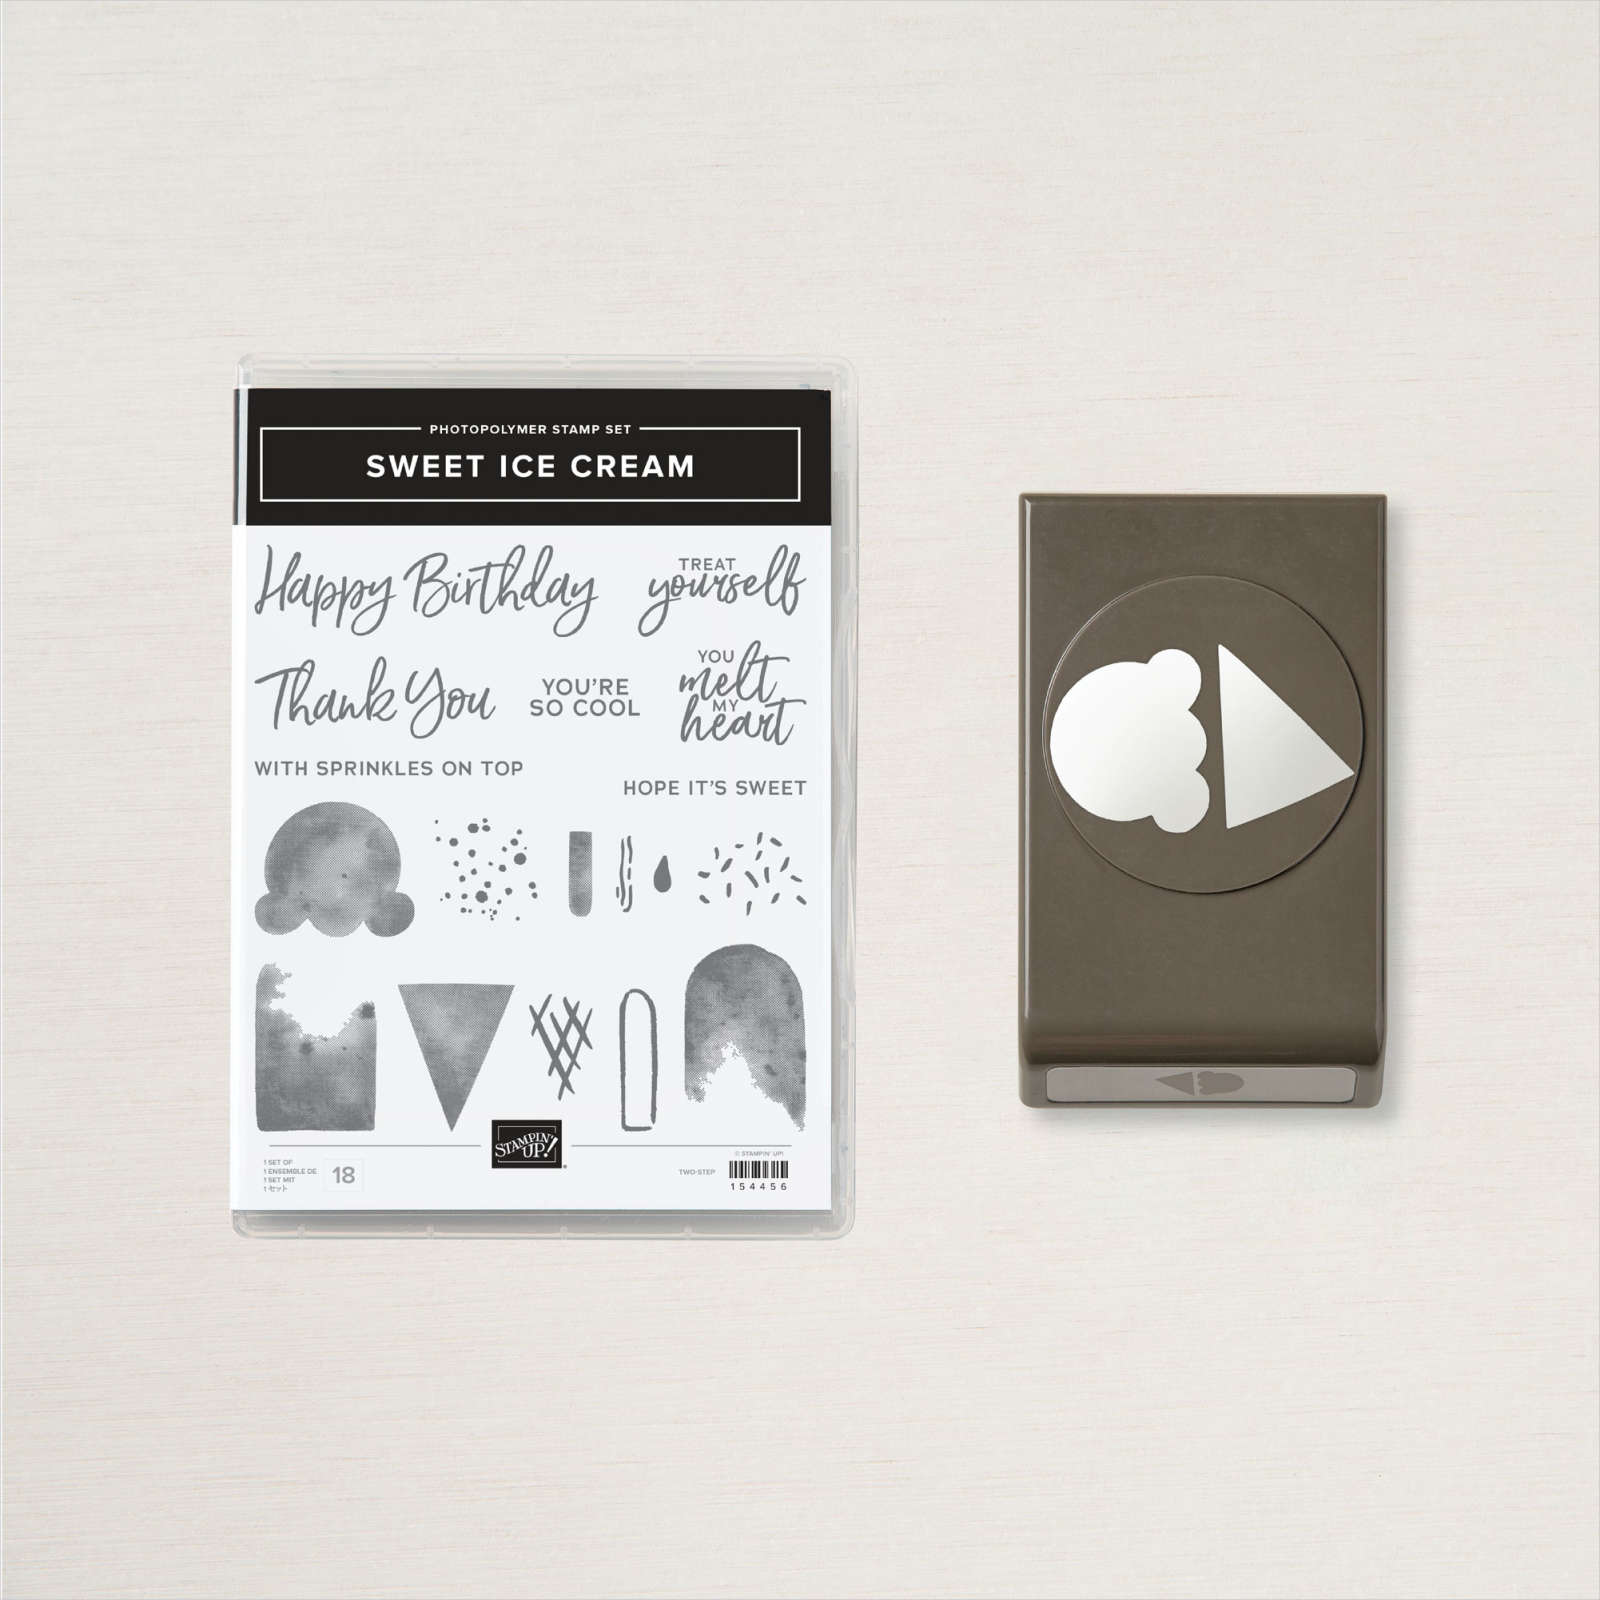
Product Spotlight-Sweet Ice Cream Bundle
Sweet Ice Cream Bundle
The Sweet Ice Cream Bundle includes the Sweet Ice Cream Stamp Set and the Ice Cream Cone Builder Punch. This bundle is also available in French.
SWEET ICE CREAM STAMP SET
Add sweetness to someone's day with the Sweet Ice Cream Stamp Set. The set includes ice cream cones, sprinkles, birthday greetings, sweet sentiments, and more.
* 18 photopolymer stamps
* Two-Step
ICE CREAM CONE BUILDER PUNCH
Enjoy making ice cream cones with the Ice Cream Cone Builder Punch and use them on your projects for more creative options!
* Largest image: 1-1/2" x 1-1/4" (3.8 x 3.2 cm)
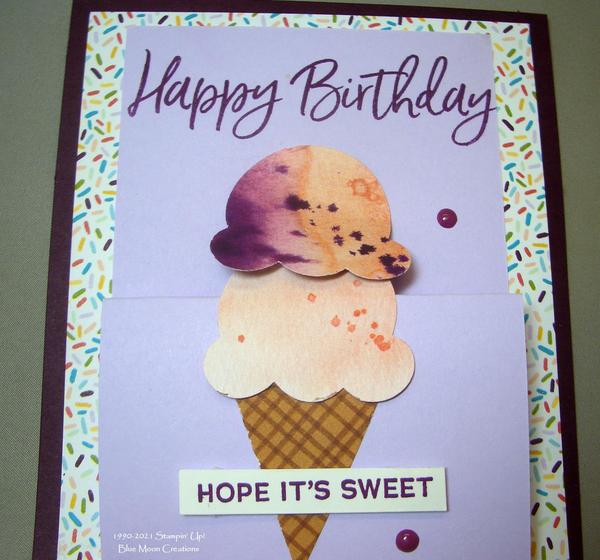
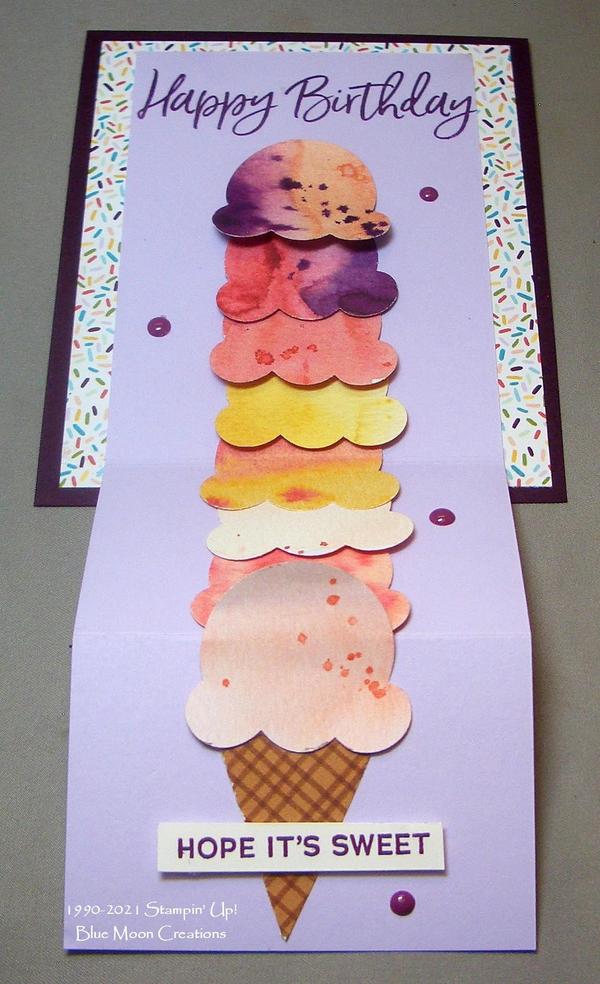
Double Fold Ice Cream Scoops Card
Double Fold Ice Cream Scoops Closed
Double Fold Ice Cream Scoops Opened
Be sure to watch the Video Tutorial (link below)
1. To create the double fold, start with a piece of Purple Posy card stock measuring 3" x 8". Score at 2" and 3 7/8".
2. Stamp greeting at the top using Blackberry Bliss ink.
3. Punch 8 ice cream scoops and ice cream cone out of Ice Cream Corner Designer Series Paper using the Ice Cream Cone Builder Punch.
4. To determine the placement of the scoops, fold the card front along the score lines. The 2" score line is a mountain fold, and the 3 7/8" score line is a valley fold.
5. Place the ice cream cone on the bottom panel. Place the first ice cream scoop above it. You want the top of the scoop to be above the score line, so it slips underneath the top or 8th scoop. Place the 8th scoop at the top of the card front, below the greeting, matching it to the bottom scoop.
6. Build the rest of the ice cream cone by adding the rest of the punched scoops, placing them one on top of the other as you go up.
7. Stamp greeting on a scrap piece of Whisper/Basic White card stock using Blackberry Bliss ink. Attach to the bottom of the card using Mini Dimensionals to pop it up.
8. Attach enamel shapes to complete.
Supplies Used:
Stamp Set: Sweet Ice Cream
Ink: Blackberry Bliss
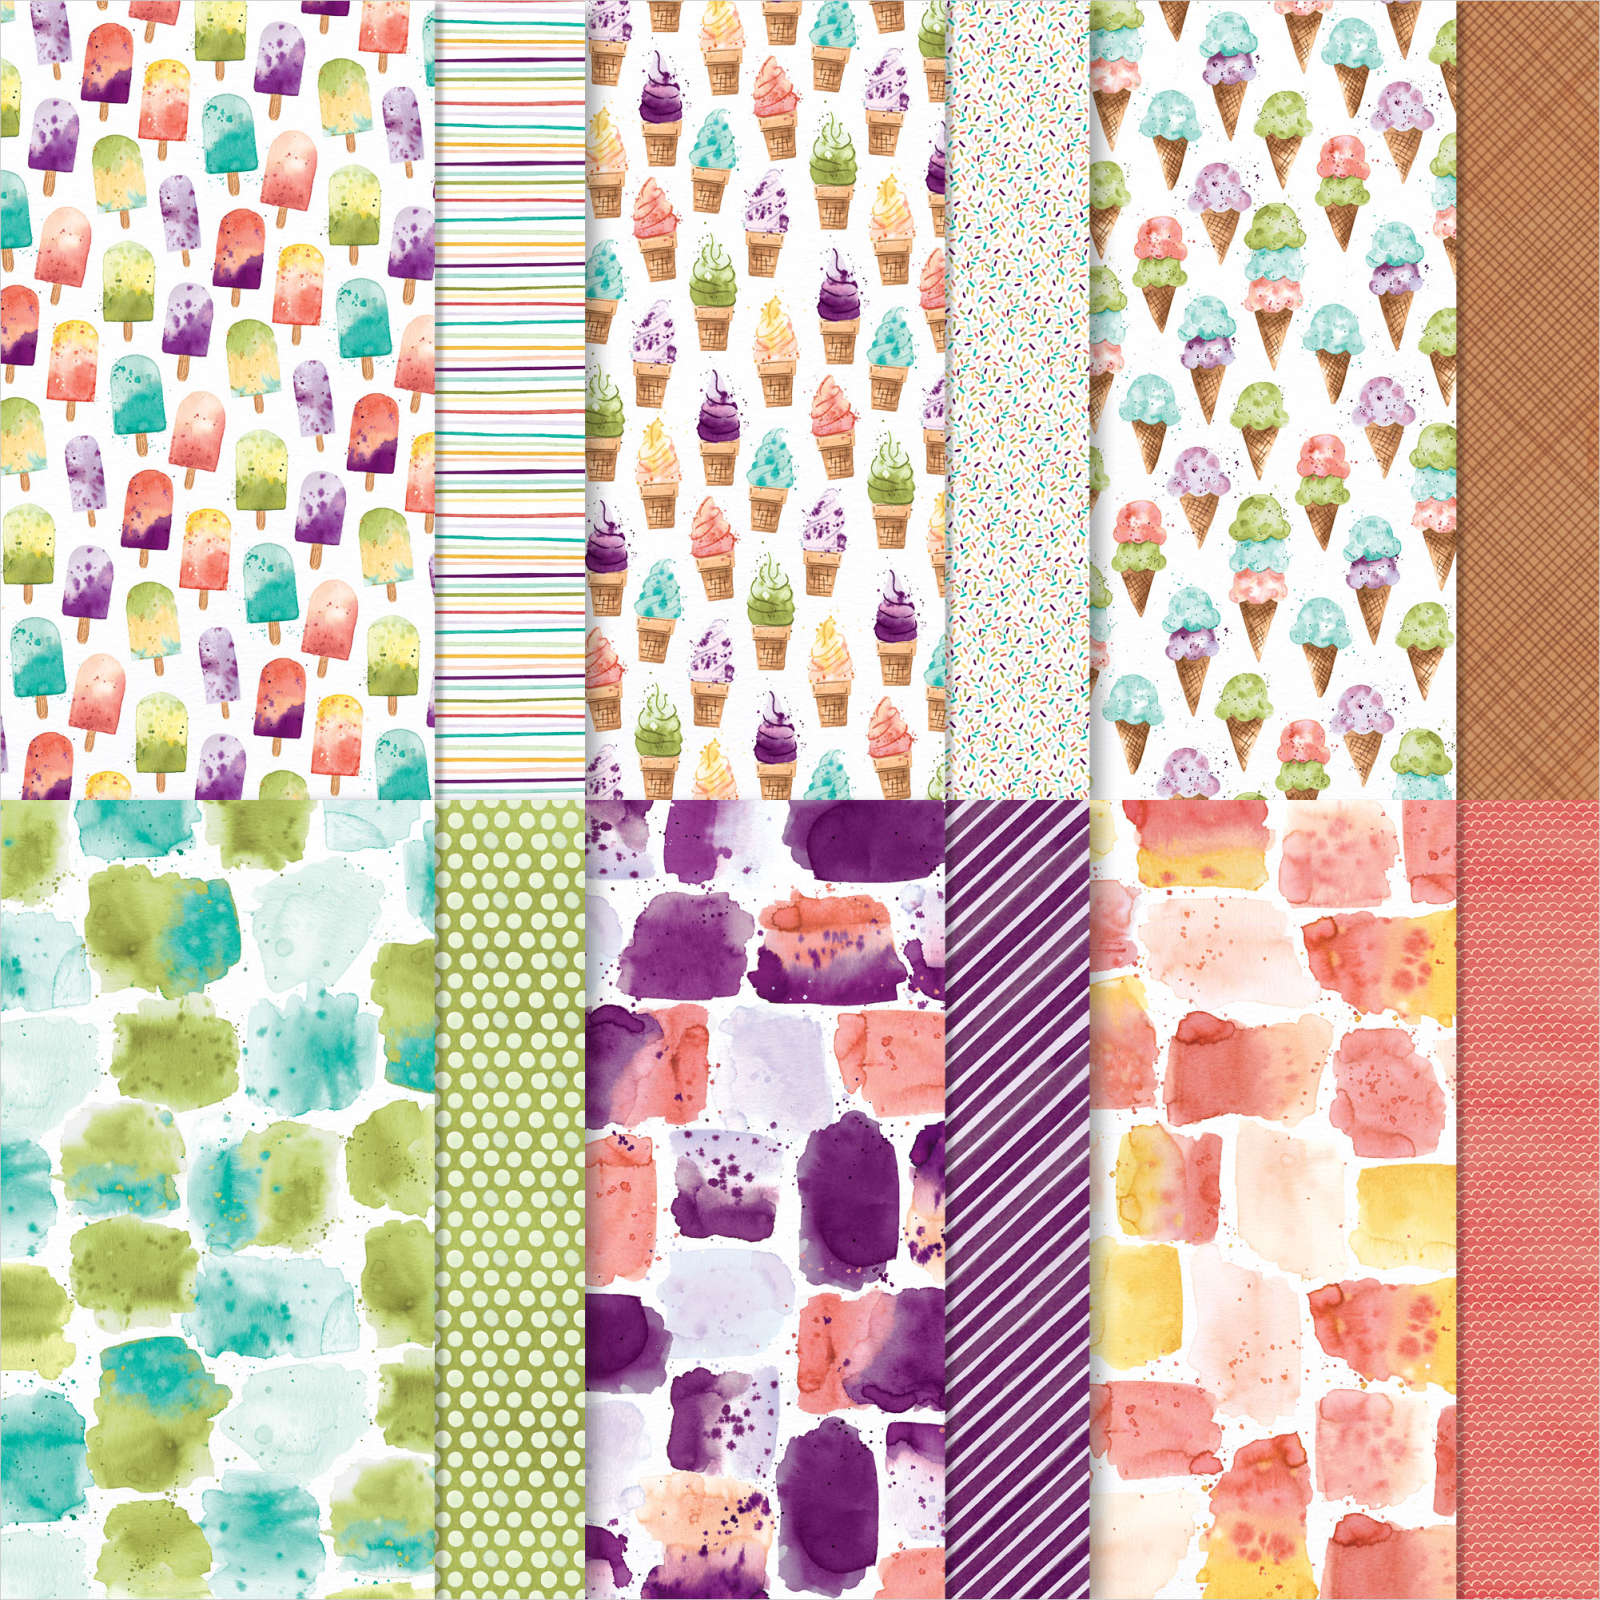
Paper: Blackberry Bliss, Purple Posy, Whisper/Basic White, Ice Cream Corner Designer Series Paper
Accessories: Ice Cream Cone Builder Punch, Simply Scored Scoring Tool, Mini Dimensionals, enamel shapes
Double Fold Ice Cream Cone Video Tutorial
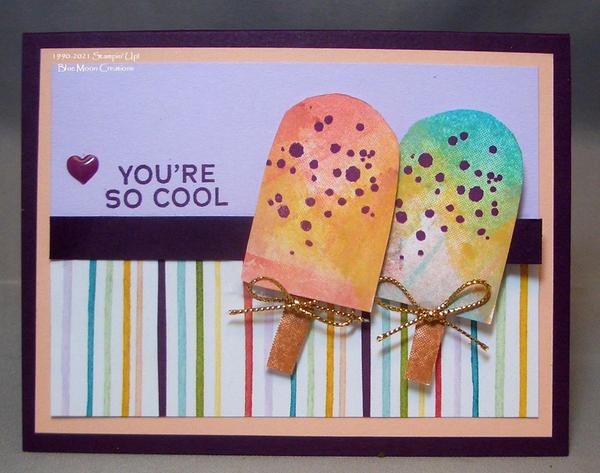
March Sketch Challenge-You're So Cool
1. Stamp Popsicles on Whisper/Basic White card stock. I used the Stamparatus. I inked up the outline stamp first by tapping ink pads on the stamp. Then, I inked up the detail stamp by tapping ink pads on the stamp.
Colors used: Bermuda Bay, Pool Party, Purple Posy, Bumblebee
Terracotta Tile, Bumblebee, Petal Pink
2. Stamp dots on Popsicles using Blackberry Bliss ink. Cut out using a pair of scissors.
3. Stamp Popsicle sticks on Whisper/Basic White card stock using Cinnamon Cider ink. Cut out using a pair of scissors.
4. Attach sticks to the backside of the Popsicles using Glue Dots.
5. Tie bows out of gold cording and attach to sticks using Glue Dots.
6. Attach strip of Purple Posy card stock to strip of Ice Cream Corner Designer Series Paper. Attach 1/4" wide strip of Blackberry Bliss card stock to cover the seam.
7. Stamp greeting using Blackberry Bliss ink.
8. Attach to Petal Pink mat. Attach to Blackberry Bliss card front.
9. Attach Popsicles using Mini Dimensionals to pop them up.Attach enamel heart to complete.
Supplies Used:
Stamp Set: Sweet Ice Cream
Ink: Blackberry Bliss, Bermuda Bay, Pool Party, Purple Posy, Bumblebee, Terracotta Tile, Petal Pink, Cinnamon Cider
Paper: Whisper/Basic White, Blackberry Bliss, Petal Pink, Purple Posy, Ice Cream Corner Designer Series Paper
Accessories: Stamparatus, Glue Dots, Mini Dimensionals, cord cording, and enamel shapes from my stash
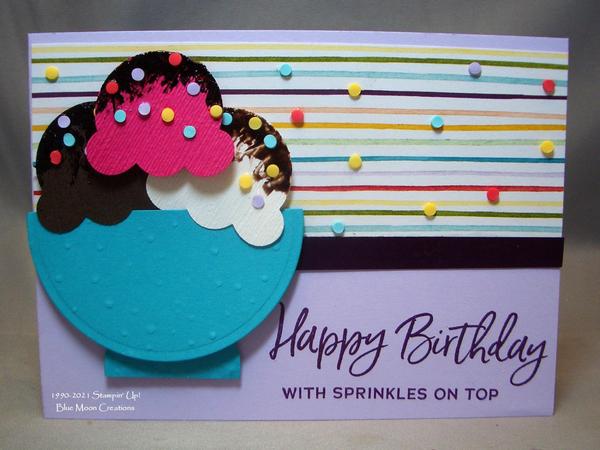
Ice Cream Sundae with Sprinkles on Top
1. Punch ice cream scoops out of Early Espresso, Melon Mambo, and Whisper/Basic White card stock using Ice Cream Cone Builder Punch.
2. Emboss scoops using a die-cut machine and Subtle Embossing Folder.
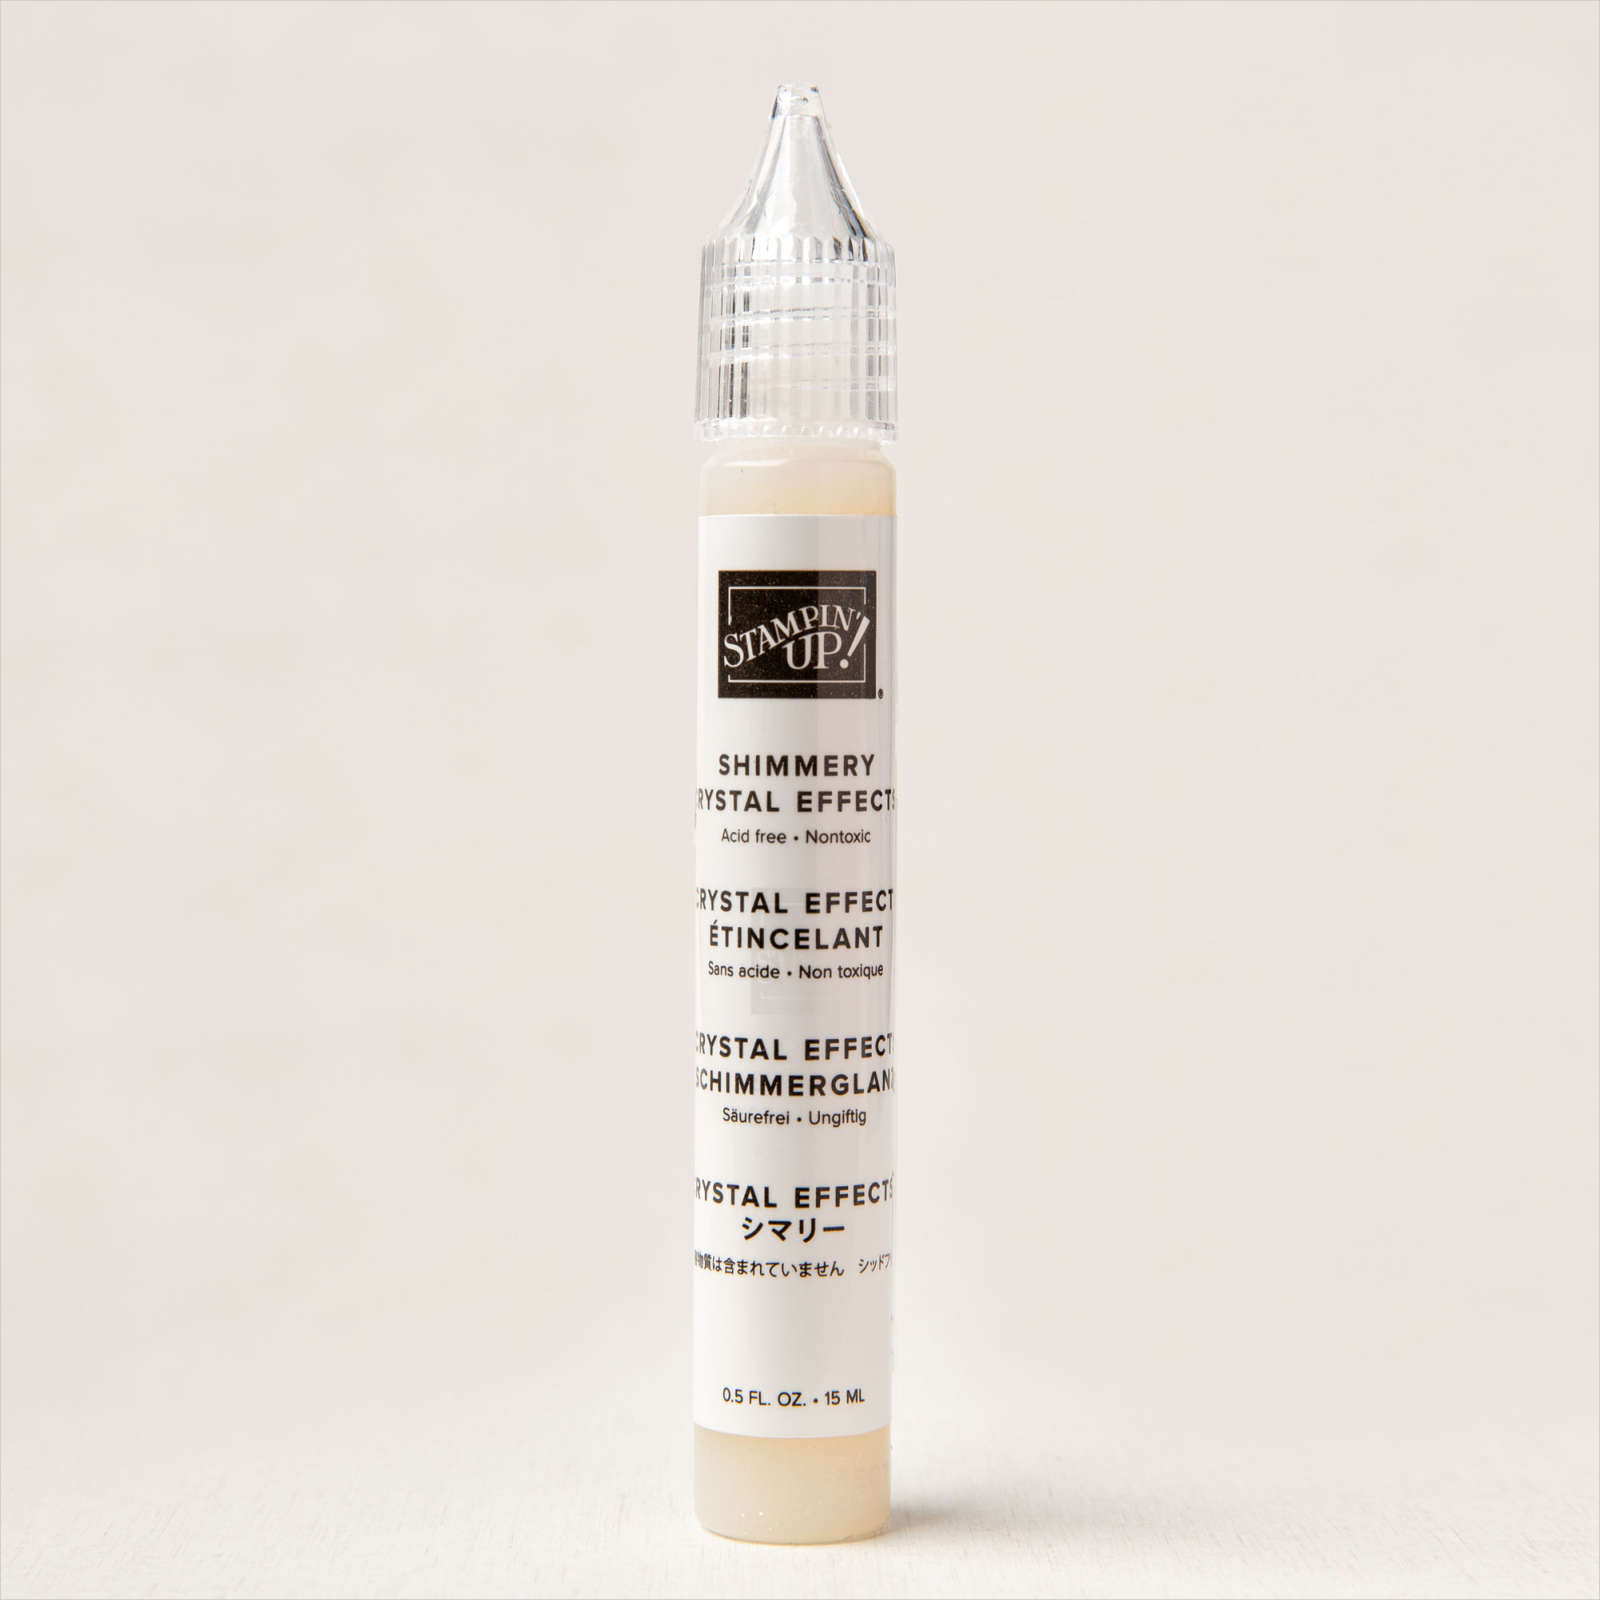
3. To create the chocolate sauce, squeeze a small amount of Crystal Effects onto a palette. I used a clear block as my palette. Add a drop of Early Espresso ink refill and mix.
With a palette knife, pick up the mix and add to each of the scoops' tops. Set aside to dry.
4. To create the bowl, Cut out a circle using a die-cut machine and die or punch out of Bermuda Bay card stock and cut in half.
Cut or punch a smaller circle for the base and cut in half.
Emboss using a die-cut machine and embossing folder.
For this card, I used the retired Gently Falling Embossing Folder.
5. Attach strip of Ice Cream Corner Designer Series Paper to Purple Posy card base. Attach 1/4" wide strip of Blackberry Bliss card stock to cover the seam.
6. Stamp greetings using Blackberry Bliss ink. I used the Stamparatus.
7. Attach bowl and base using Dimensionals to pop them up.
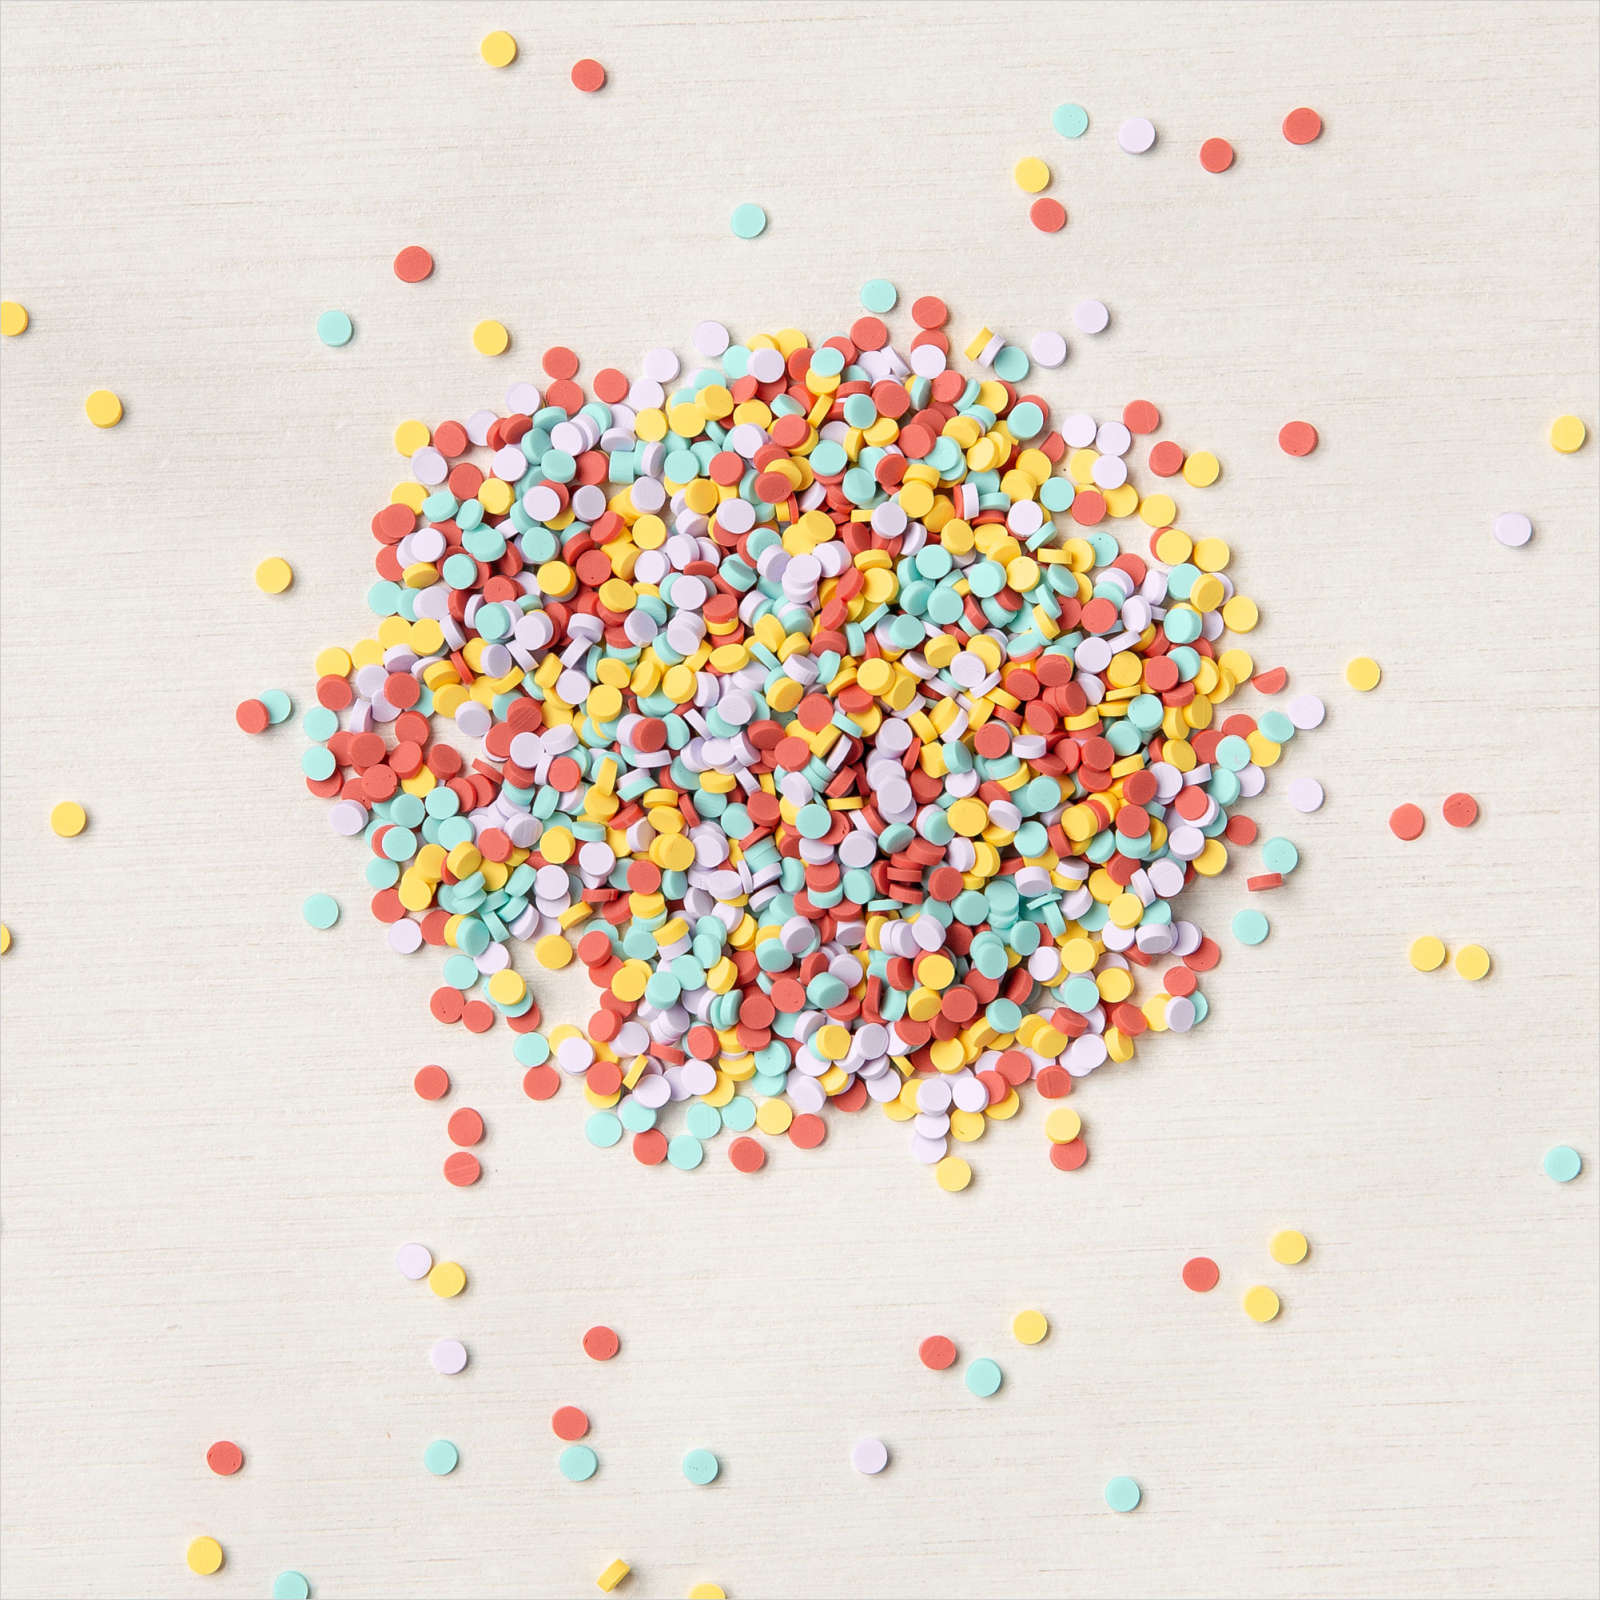
8. Add small dots of Tombow Multi-purpose or Fine Tip Glue to the scoops. Attach Ice Cream Corner Sprinkles. Add small dots of glue to the strip of designer paper and attach sprinkles. Set aside to dry.
9. Attach ice cream scoops using Dimensionals to pop them up.
Supplies Used:
Stamp Set: Sweet Ice Cream
Ink: Blackberry Bliss
Early Espresso ink refill
Paper: Purple Posy, Early Espresso, Melon Mambo, Whisper/Basic White, Bermuda Bay, Ice Cream Corner Designer Series Paper
Accessories: Ice Cream Cone Builder Punch, Stampin' Cut & Emboss Machine, Circles Dies, Subtle and Gently Falling Embossing Folder, Crystal Effects, palette knife, clear block, Tombow Multi-purpose Glue, Ice Cream Corner Sprinkles, Mini Dimensionals, Stamparatus
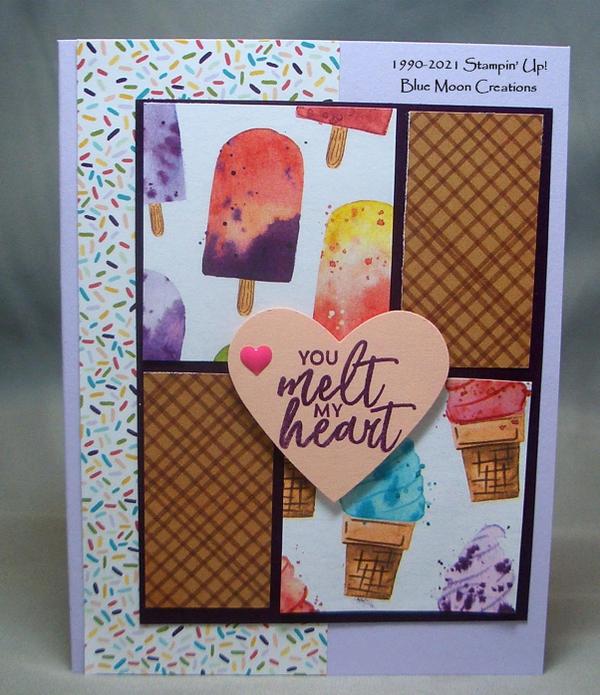
Ice Cream Corner DSP Card
For quick and easy cards, let pretty patterned Designer Paper do the work for you.
For This card, I paired Sweet Ice Cream stamp set with Ice Cream Corner Designer Series Paper.
Simply add a greeting and other embellishments for an easy any occasion card!
1. Cut the panels from Ice Cream Corner DSP. Two panels measure 1" x 2", and 2 panels measure 2"x 2". Attach to 3 1/4" x 4 1/4" Blackberry Bliss mat.
2. Cut side strip 2" x 5 1/2" and attach to Purple Posy card base.
3. Attach DSP panel to card front. Stamp greeting from Sweet Ice Cream on Petal Pink card stock using Blackberry Bliss ink. Cut heart using a punch or die-cut machine. Attach to card front using Dimensionals to pop it up. Attach enamel shape to complete.
Supplies Used:
Stamp Set: Sweet Ice Cream
Ink: Blackberry Bliss
Paper: Purple Posy, Petal Pink, Ice Cream Corner Designer Series Paper
Accessories: heart punch, Mini Dimensionals, enamel shape from my stash
|
|
|
|
|