|
|
In this issue:
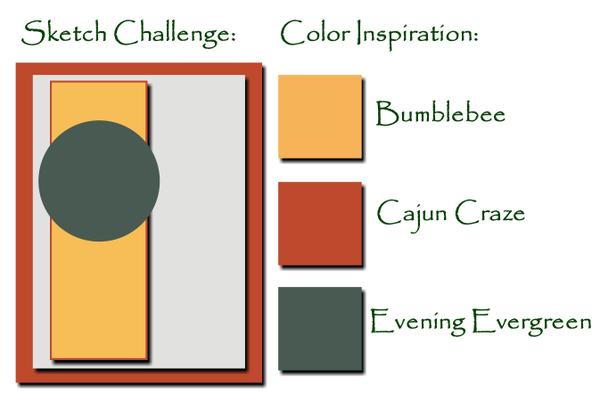
September Sketch Challenge and Color Inspiration
September Promotions
September Hostess Code
September Featured Product: Soft Pastels Assortment
September Featured Projects: Soft Pastels Assortment
September Sketch Challenge and Color Inspiration
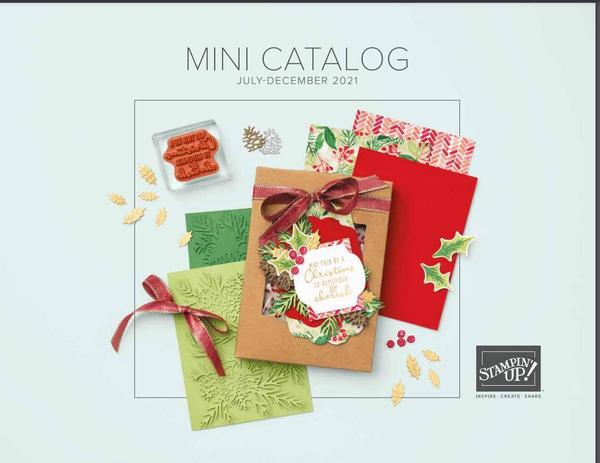
July-December Mini Catalog
The July-December 2021 Mini Catalog is Here!
Fresh ideas for Halloween, Fall, Christmas, and the winter season.
It's not too early to get a start on those holiday cards and projects!
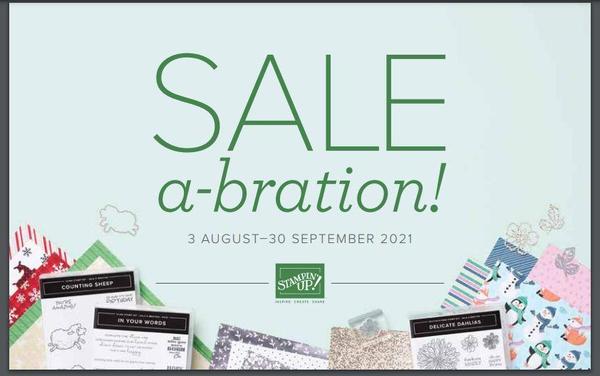
Sale-A-Bration!
August 3-September 30
Through Sept. 30, 2021, you'll earn a free item out of the Sale-A-Bration Catalog for every $50.00 you spend (before shipping and tax).
Now's a great time to stock up on stamping supplies and receive some fun goodies while you're at it!
Coming to Your Inbox:
I will continue sending out my end of Summer and Fall Inspiration e mails on September 7th, 21st, and 28th.
These will be in addition to my first of the month and my mid-month Fresh Ideas newsletters.
Please be sure to let me know if you have any questions.
|
|
|
|
Hostess Schedule September-January
September-Betty
October-Sandy
November-Lynn
January-Audrie
Please place your order online using the Hostess Code above anytime through September 29
|
|
|
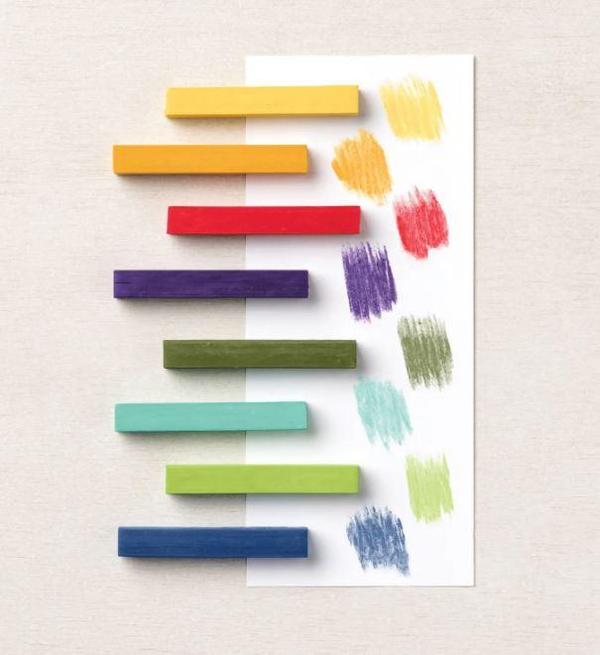
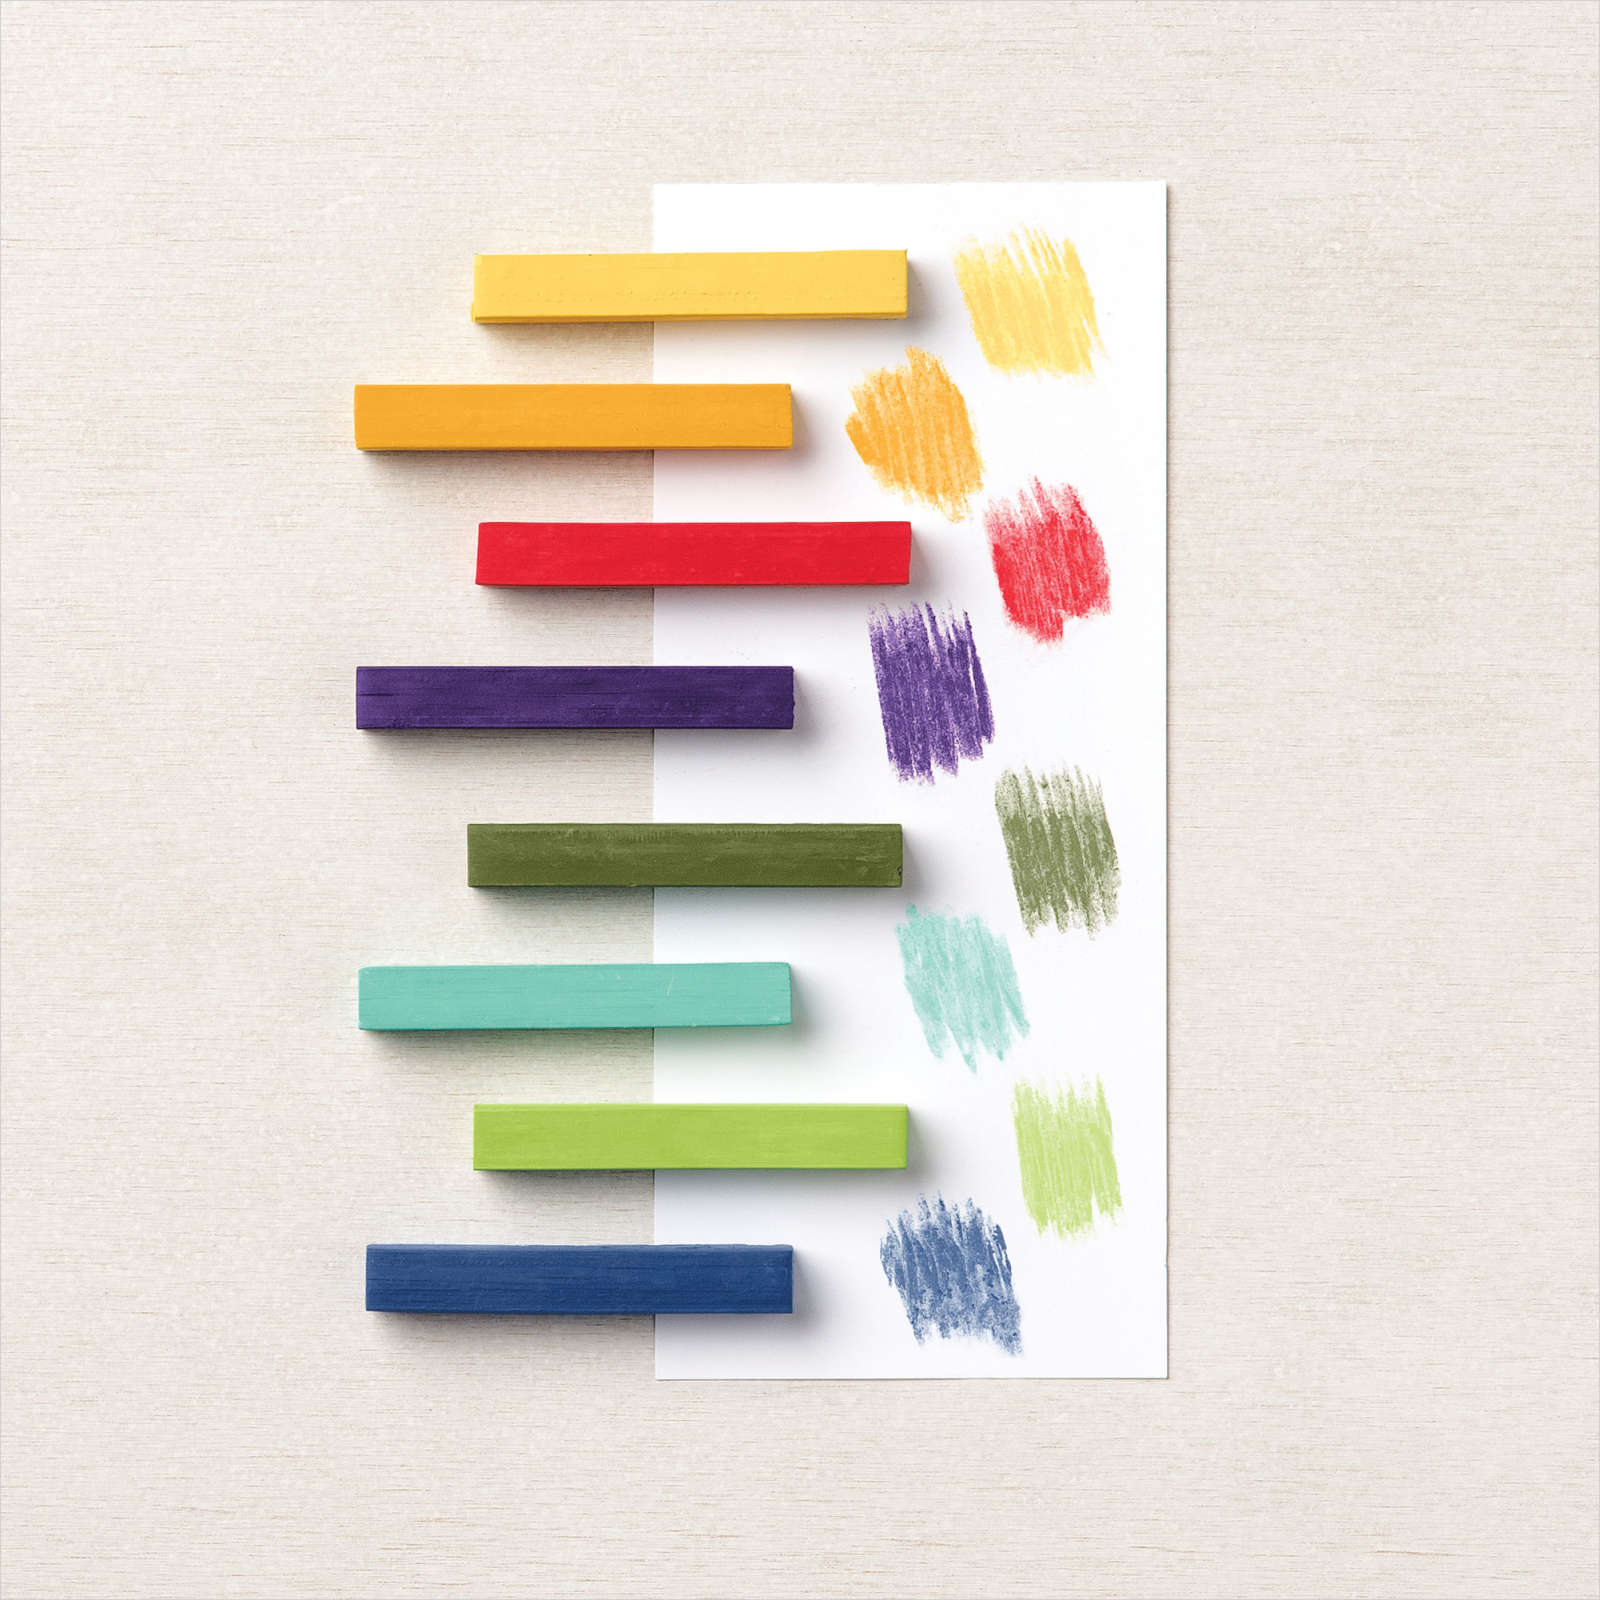
Product Spotlight-Soft Pastels Assortment
NEW!
Expand your coloring repertoire with the Soft Pastels Assortment! These easy to use chalk pastels work with a variety of coloring tools like Stampin' Up!'s Sponge Daubers, Blending Brushes, and Water Painters.
The Soft Pastels Assortment comes in a cardboard case for storage.
* 8 chalk pastels in Stampin’ Up! colors.
Colors: Coastal Cabana, Daffodil Delight, Granny Apple Green, Gorgeous Grape, Mango Melody, Mossy Meadow, Night of Navy, Poppy Parade
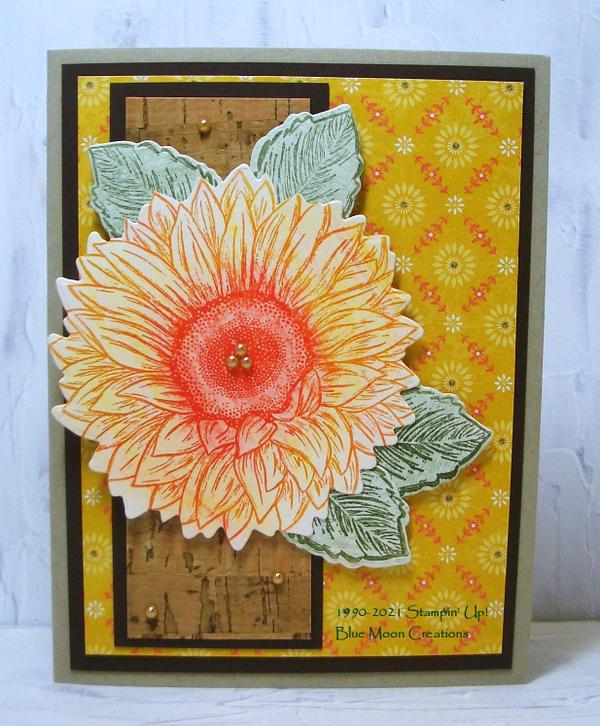
Celebrate Sunflowers Pastels
VersaMark Magic Technique
(Sketch Challenge)
The pastel chalk material works great with images stamped in VersaMark.
Simply stamp your image with VersaMark ink, let it dry, then color over it with the pastel markers and your choice of coloring tool.
TIP: Because Soft Pastels are chalk-based, they work best if the colors are "set" to prevent smudging.
There are ways to set the chalk to the paper:
VersaMark (used in this sample), water, and a setting spray such as inexpensive aerosol hairspray.
1. Stamp sunflower and leaf images from Celebrate Sunflowers stamp set on a scrap piece of Basic White card stock using VersaMark ink. Set aside to dry for a few minutes.
2. Rub the flat edge of the Soft Pastels over the images.
3. Use a Sponge Dauber or similar to rub the pastels into the VersaMark. The pastels will stick to the VersaMark, while most chalk in the unstamped area will rub off, leaving just a tinted background and colored images.
The VersaMark will "set" the chalk.
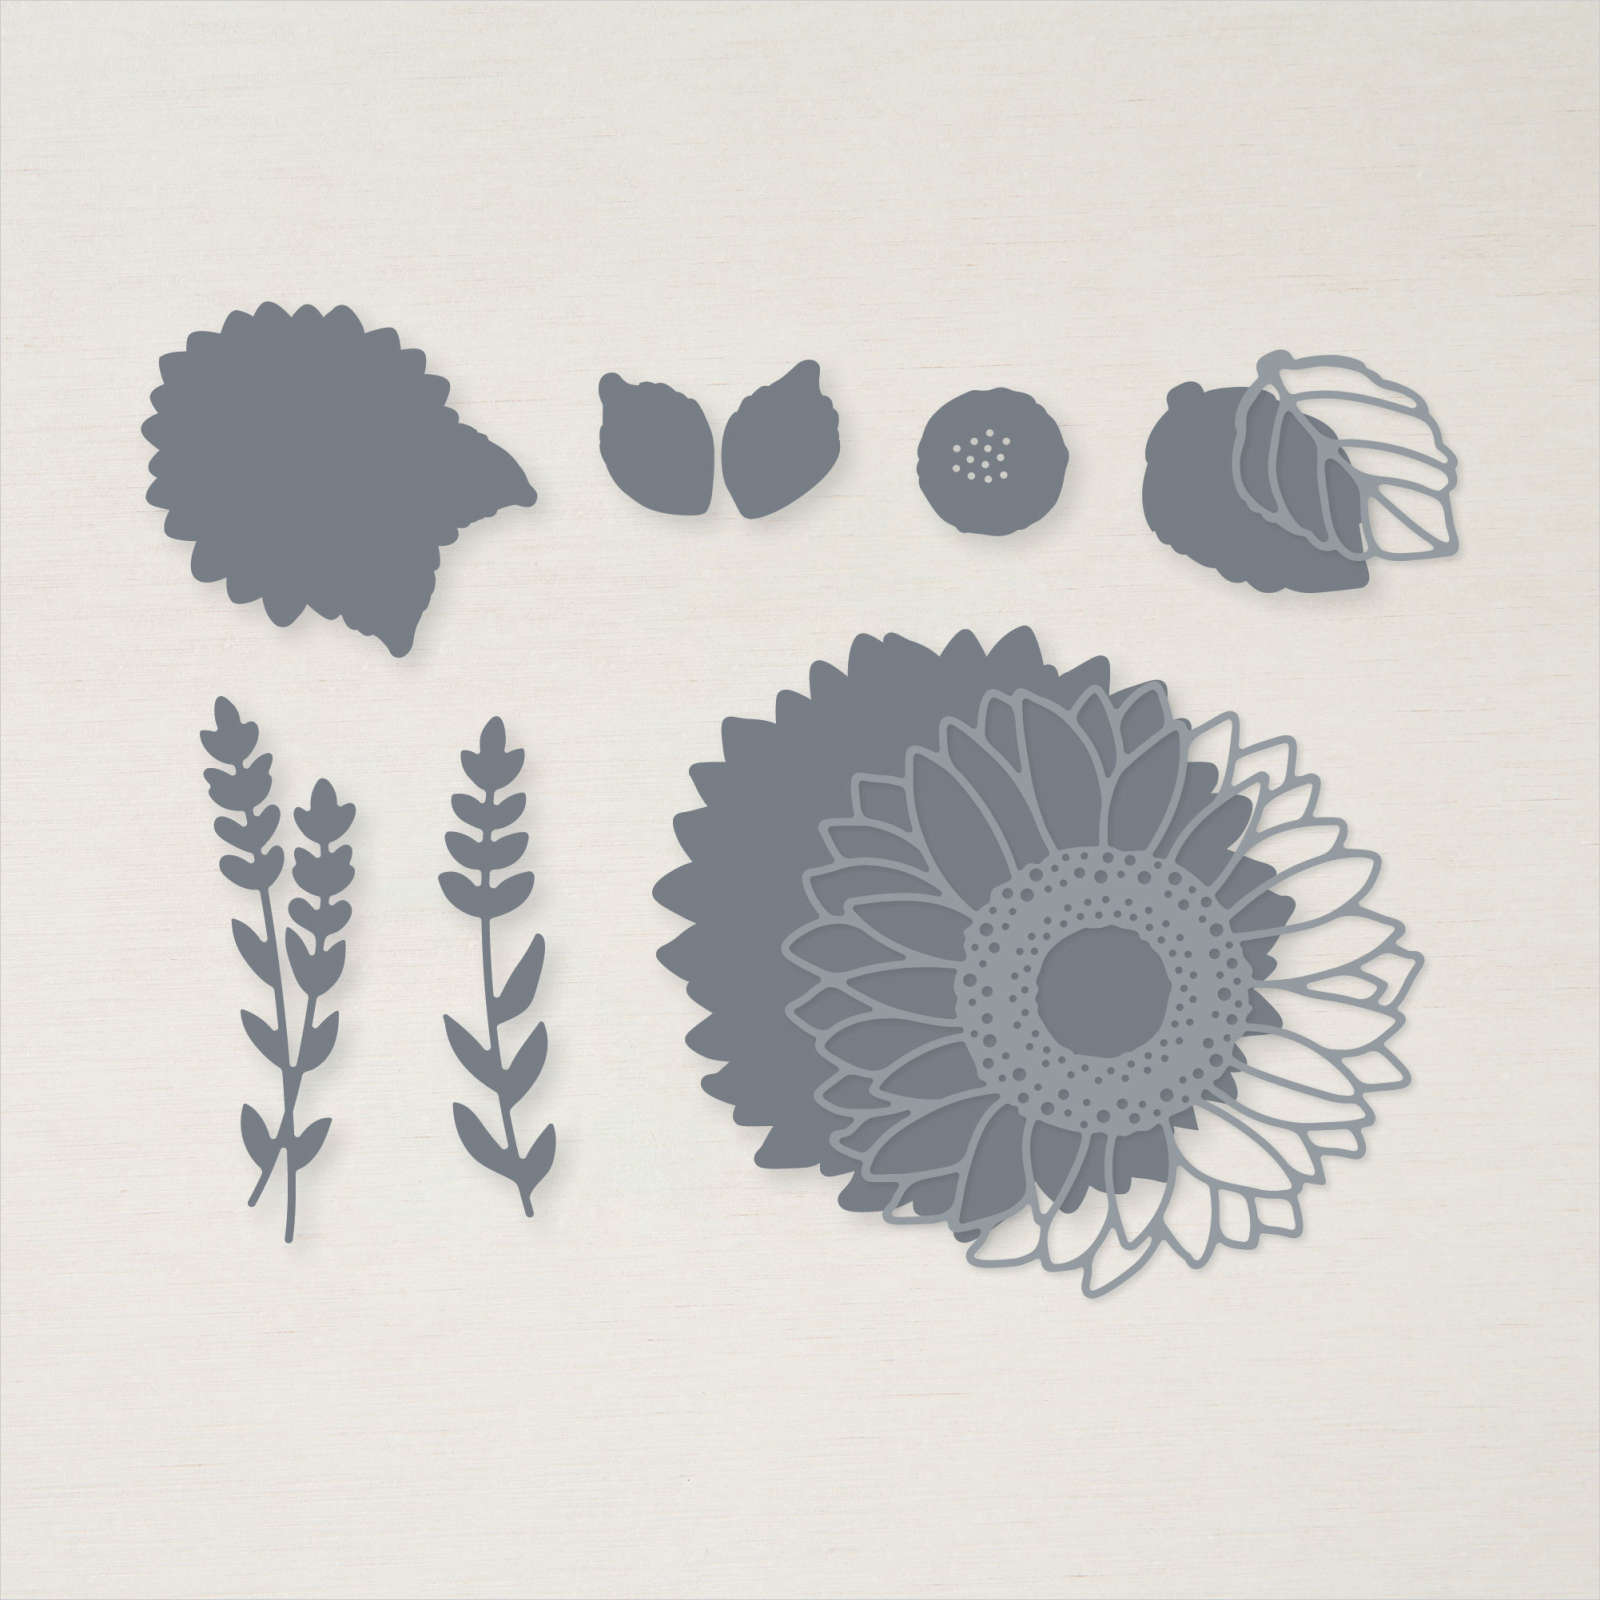
4. Cut the sunflower and leaves out using a die-cut machine and coordinating Sunflower Dies.
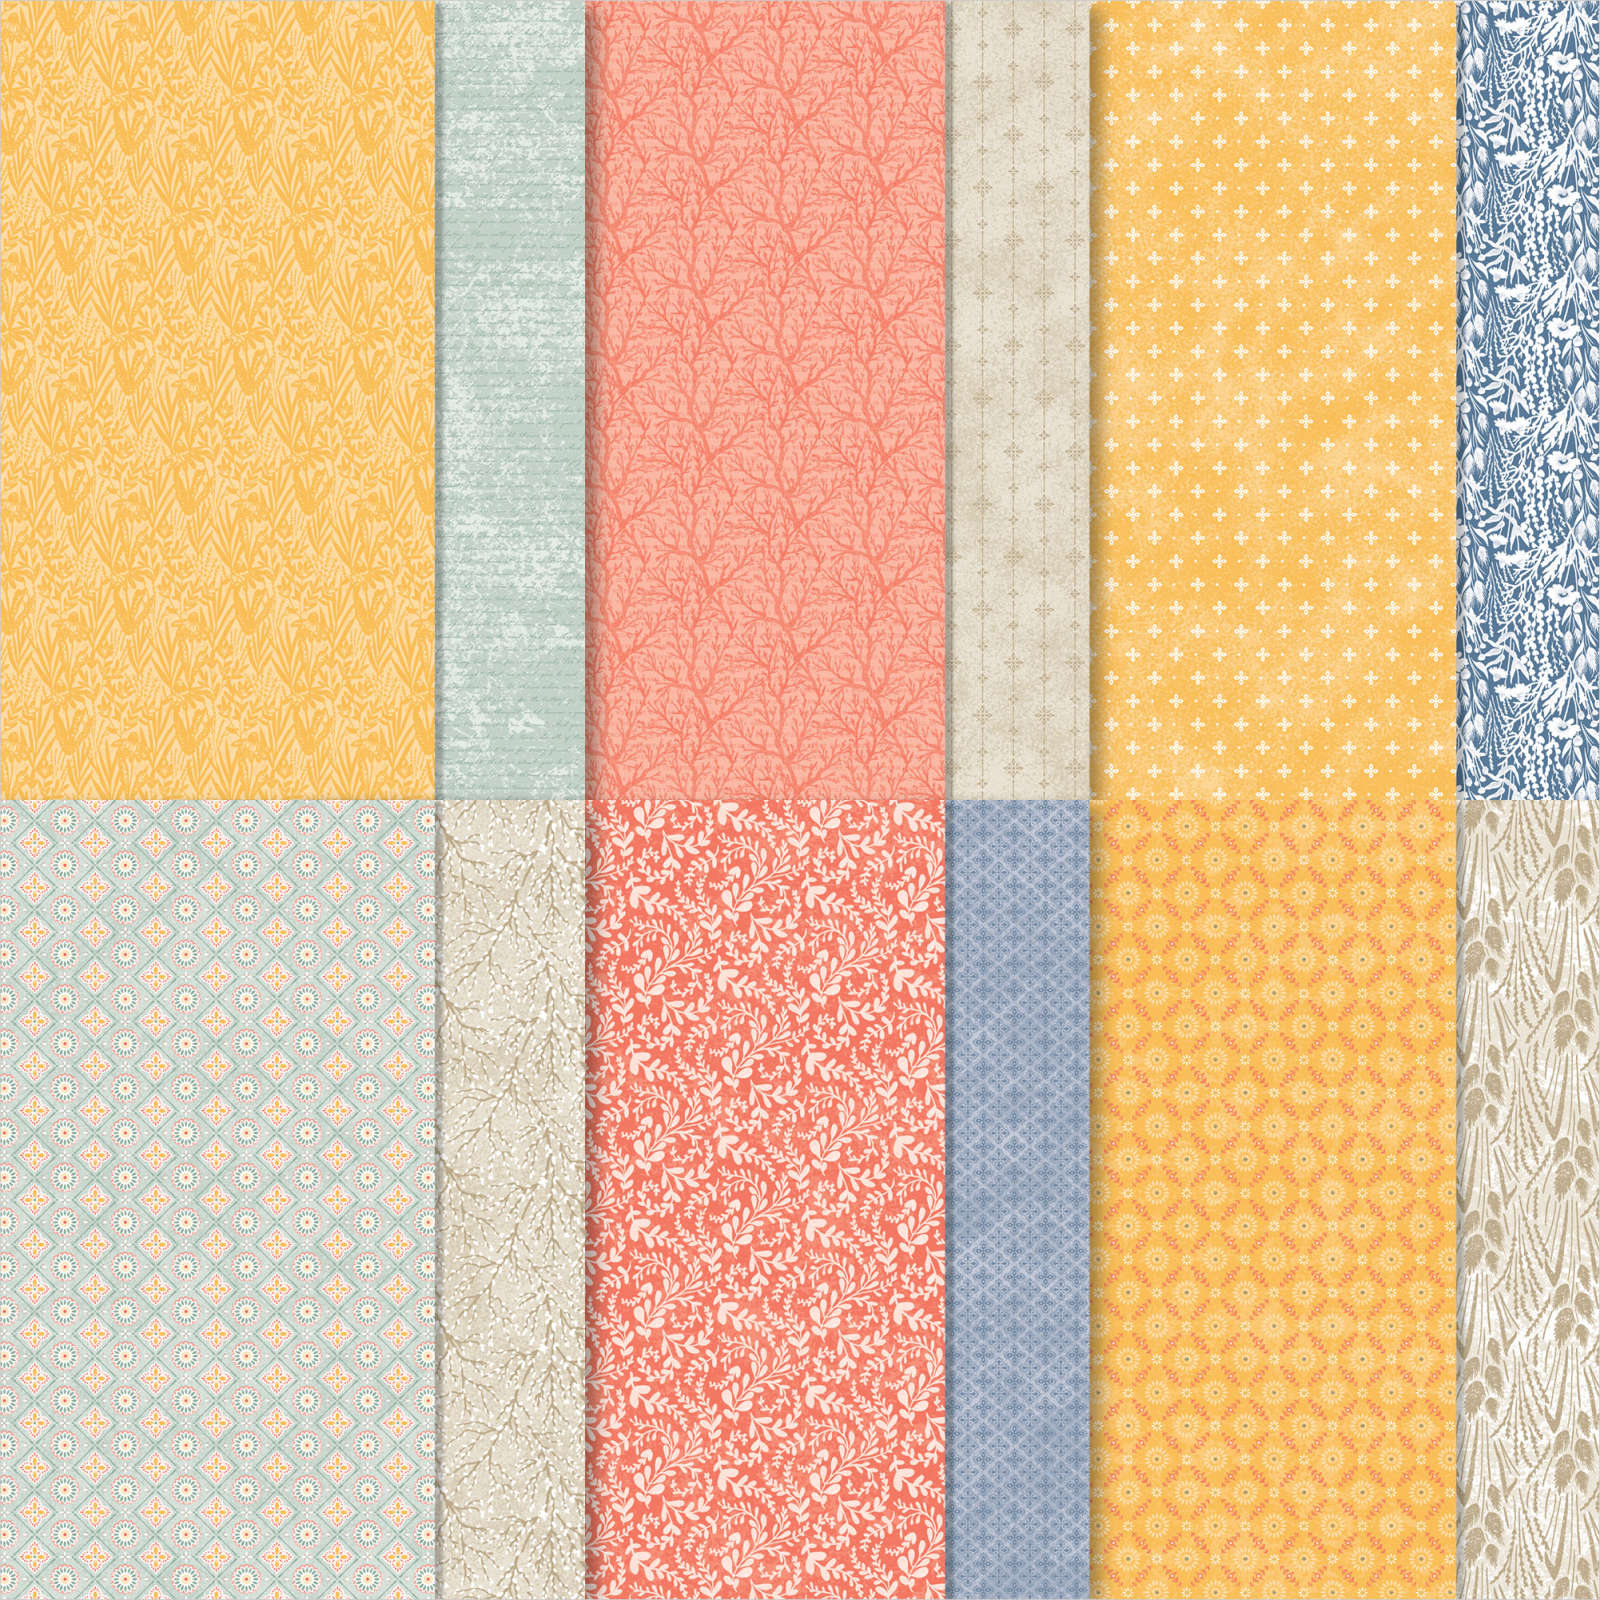
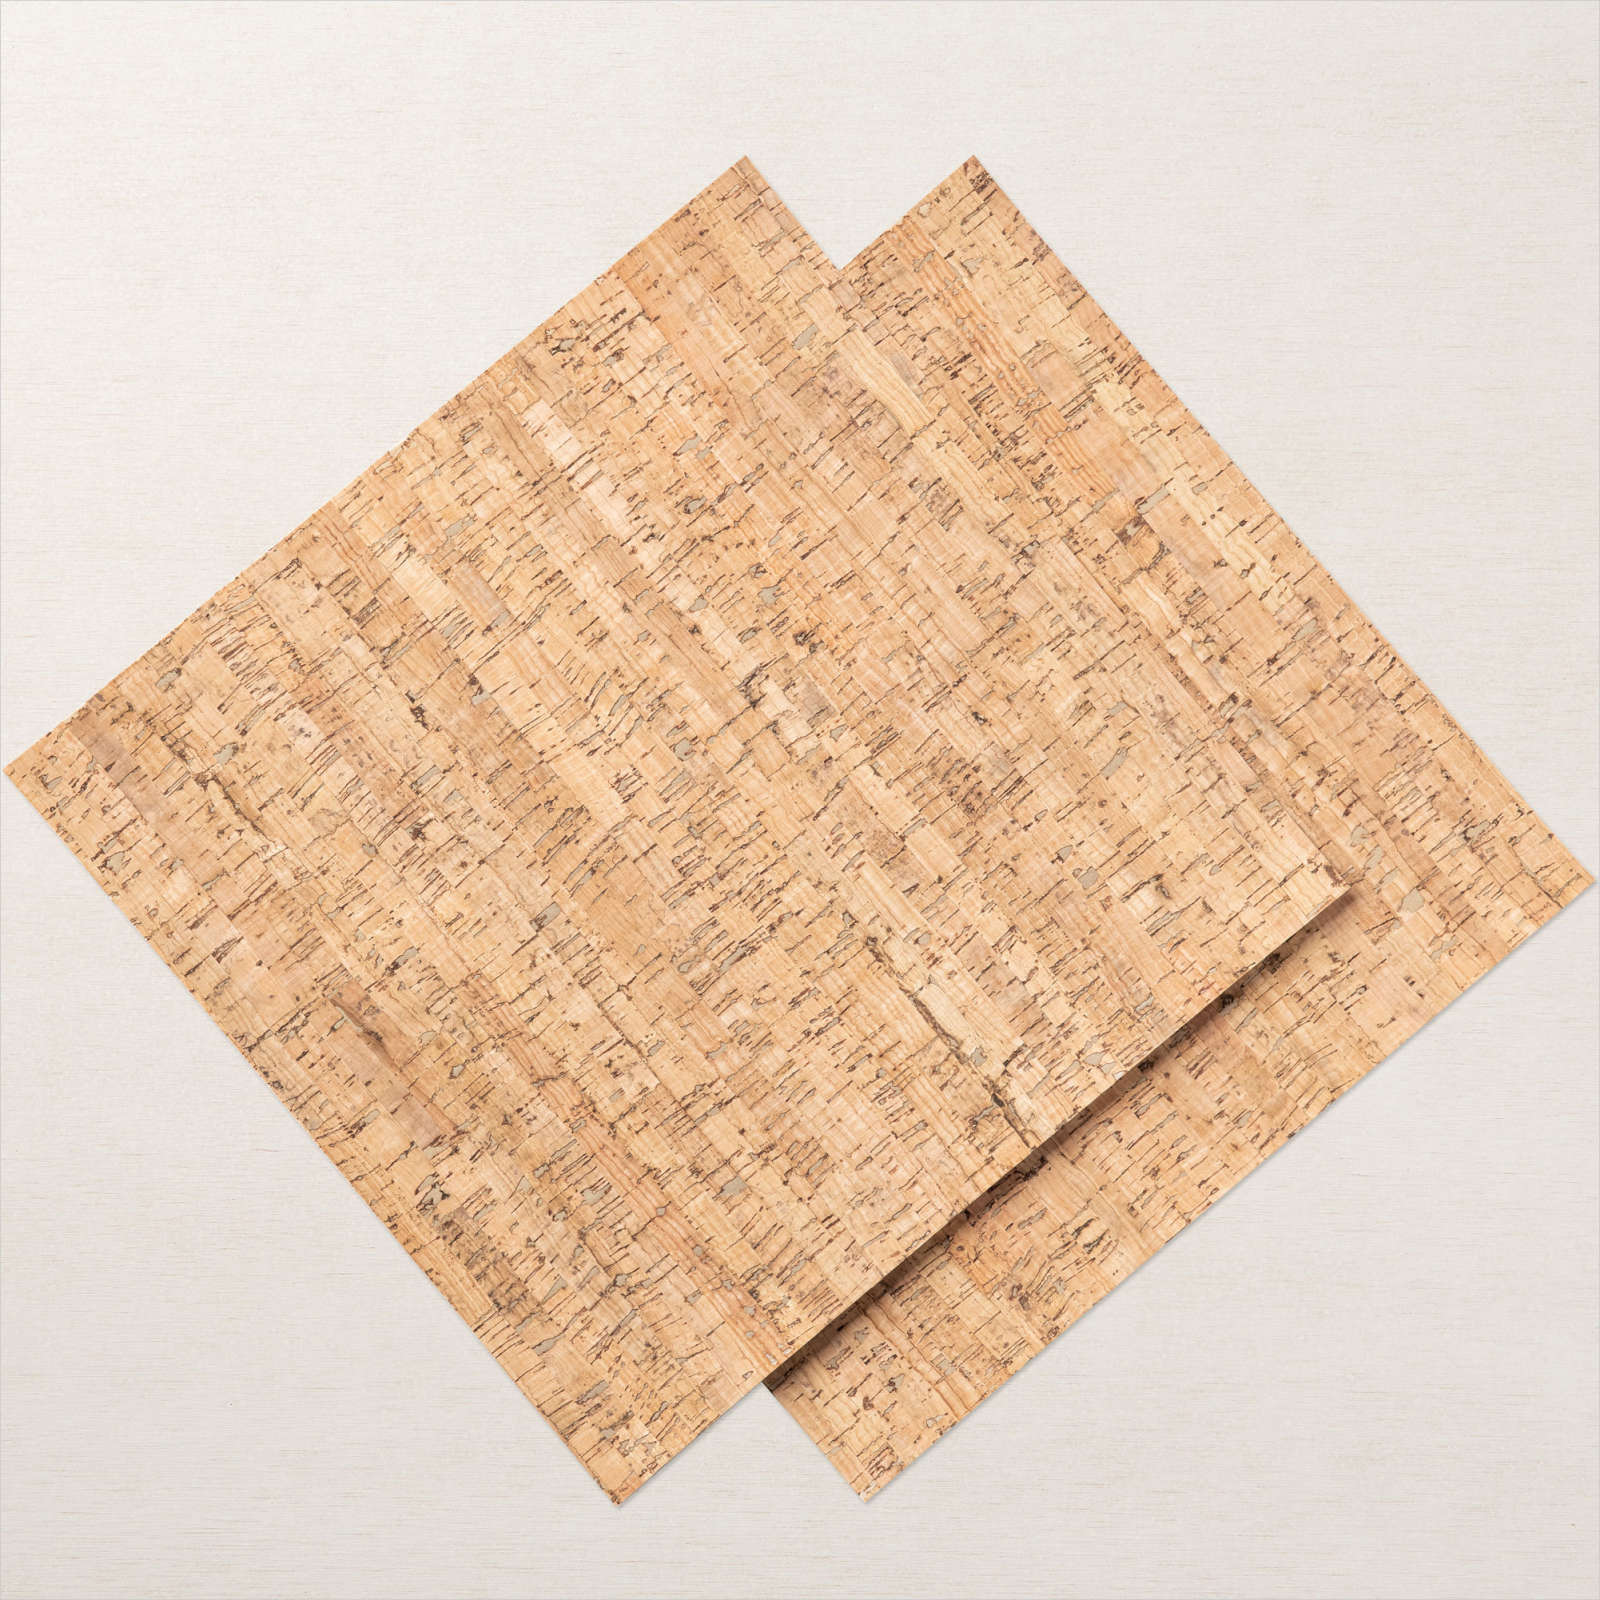
5. Attach Harvest Meadow Designer Series Paper to Early Espresso mat. Attach to Crumb Cake card base. Attach strip of Cork Specialty paper to Early Espresso mat. Attach to the card front.
6. Attach sunflower and leaves to the front of the card using Mini Dimensionals to pop them up.
7. Add metallic pearls to complete.
Supplies Used:
Stamp Set: Celebrate Sunflowers
Ink: VersaMark
Soft Pastels Assortment
Paper: Crumb Cake, Early Espresso, Basic White, Harvest Meadow Designer Series, Cork Specialty Paper
Accessories: Stampin' Cut & Emboss Machine, Sunflower Dies, Sponge Dauber, metallic pearls, Mini Dimensionals
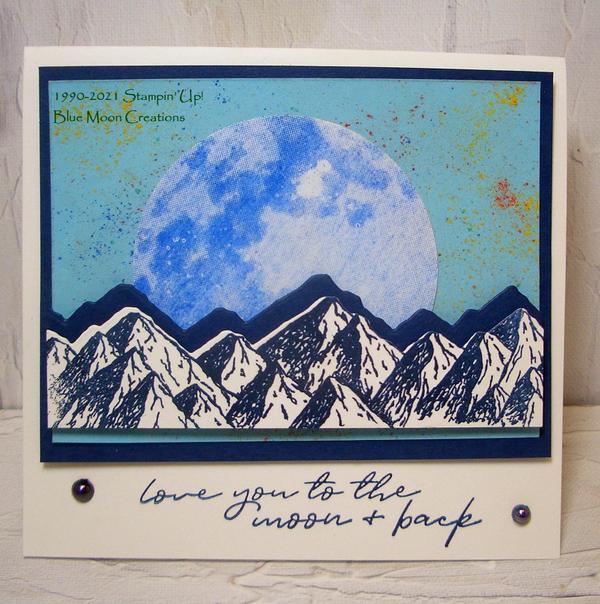
Moon Over the Mountain Pastels Splatter Background
Pastels VersaMark Magic and Splatter Background
TikTok Video Tutorial
Try scribbling your pastel chalk on a scrap piece of paper to create chalk dust. Then, tap the dust onto a piece of card stock creating a splatter background.
Be sure to watch the short video tutorial above!
For this technique, use inexpensive aerosol hairspray to "set" the chalk.
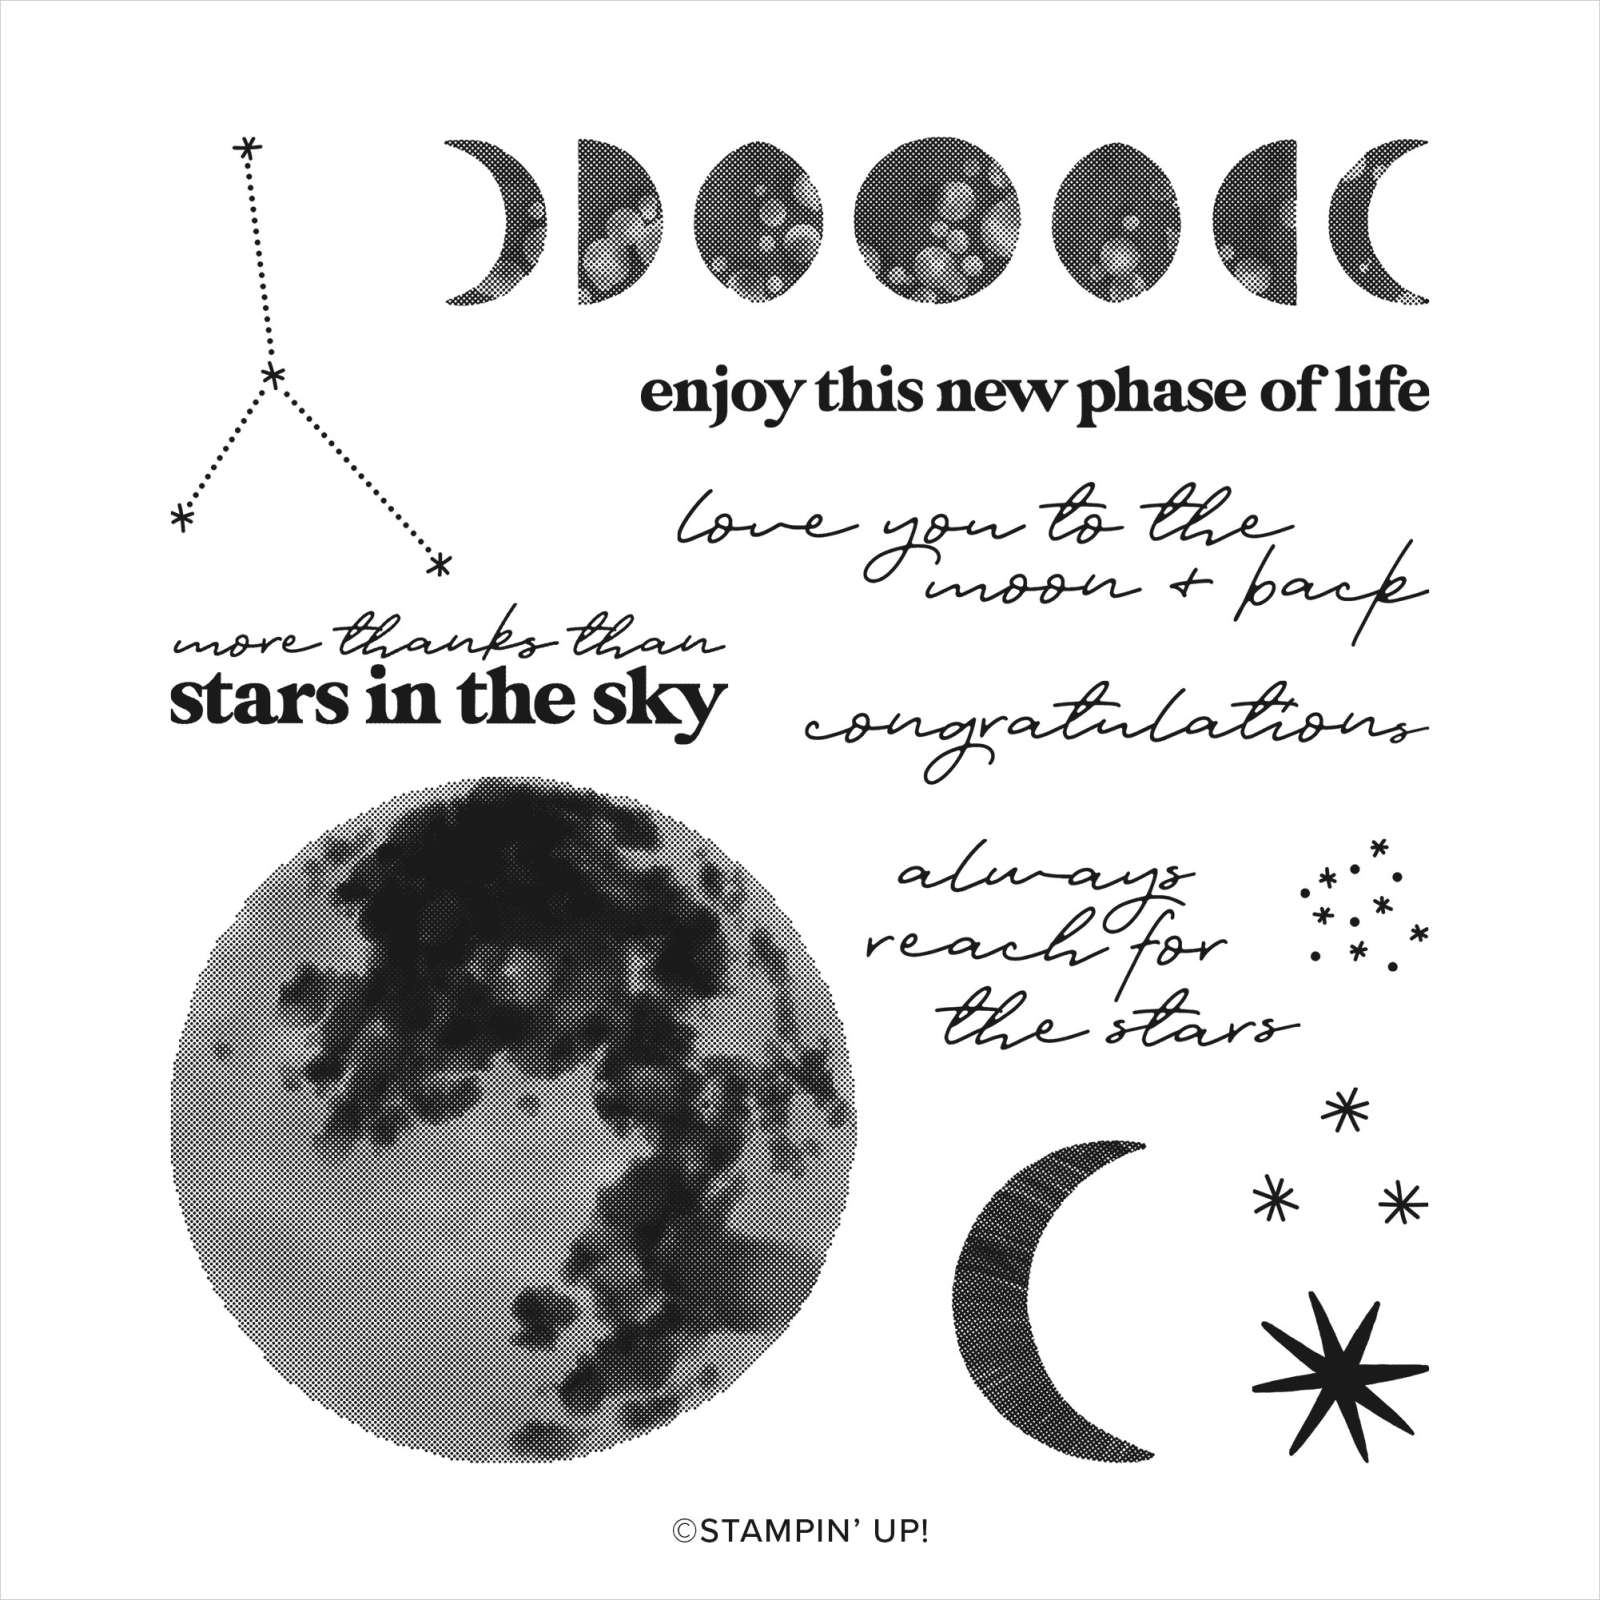
1. Stamp the moon from To the Moon on a scrap piece of Basic White card stock using VersaMark ink. Set aside to dry.
2. Rub the blue Soft Pastel on the image. Use a Sponge Dauber or similar to color the image. Wipe off any excess chalk.
3. Cut the moon out using a circle punch or die.
4. Stamp the mountain image from Mountain Air on a scrap piece of Basic White card stock using Night of Navy ink. Cut out using a die-cut machine and coordinating Majestic Mountain die. Cut another mountain out of Night of Navy card stock. Layer together using Mini Dimensionals in between.
5. To create the splatter background: On a scrap piece of Basic White card stock, create color swatches of Soft Pastels until you build some pastel dust of several colors. Lift the card stock with the pastel dust, tipping it slightly over the background (Balmy Blue). Tap the card stock to loosen the dust if needed.
6. Cover the dusted card stock with a scrap piece of paper. Hold the paper still and use a stamp block to press the pastel dust into the card stock with firm circular motions. Press all over the card stock.
7. Lift the scrap paper off and tap the background to shake off any excess pastel dust. Repeat if more color is desired.
8. Lightly spray the background with inexpensive aerosol hairspray to "set" the chalk.
9. Attach the moon to the background. Attach the mountains using Mini Dimensionals to pop them up.
10. Attach to Night of Navy mat. Attach to Basic White card base.
11. Stamp greeting using Night of Navy ink. Attach Blue Adhesive-Backed Gems to complete.
Supplies Used:
Stamp Set: To the Moon, Mountain Air
Ink: VersaMark, Night of Navy
Soft Pastels Assortment
Paper: Basic White, Balmy Blue, Night of Navy
Accessories: 2 1/2" circle punch, Stampin' Cut & Emboss Machine, Majestic Mountains Dies, Sponge Dauber, Mini Dimensionals, Blue Adhesive-Backed Gems, acrylic block, aerosol hairspray
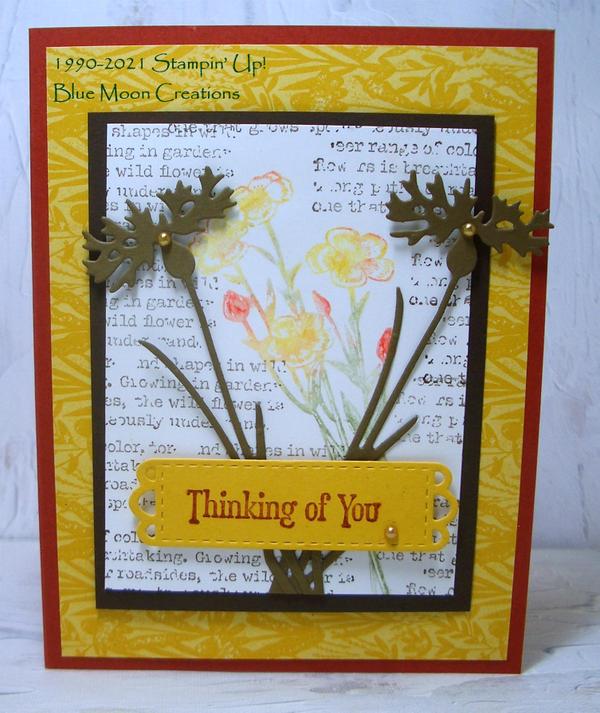
Quiet Meadow Watercolor Pastels
Spritzed Wet Stamping Technique
Use Soft Pastels for water coloring to create soft and subtle images. Use a solid or medium-detailed image. For this project, the water is used to "set" the chalk.
1. Lightly spritz the flower stamp from Quiet Meadow with water.
2. Color the stamp with the Soft Pastels.
3. Lightly spritz again with water and stamp on Basic White card front. Set aside to dry.
TIP: If you need to fill in areas of the image, use a Water Painter or similar to pick up color from the Soft Pastels. Then, fill in the image as needed.
4. Stamp words using Early Espresso ink. I inked the stamp, stamped it off, then stamped.
5. Cut flowers using a die-cut machine and coordinating Meadow Dies out of Soft Suede card stock. Attach to the card front.
6. Attach Harvest Meadow Designer Series Paper to Cajun Craze card base. Attach card front to Early Espresso mat. Attach to the card base.
7. Stamp greeting using Cajun Craze ink on a scrap piece of Bumblebee card stock. Cut out using a die-cut machine and the label die. Attach to card front using Mini Dimensionals to pop it up.
8. Attach metallic pearls to complete.
Supplies Used:
Stamp Set: Quiet Meadow
Ink: Early Espresso, Cajun Craze
Soft Pastels Assortment
Paper: Cajun Craze, Early Espresso, Basic White, Soft Suede, Bumblebee
Accessories: Stampin' Cut & Emboss Machine, Meadow Dies, spritzer bottle, Mini Dimensionals, metallic pearls
|
|
|
|
|