Hello ,
Be prepared to make a quick card by having a defined place to find your supplies quickly with effective paper scraps storage!
Here are some ways to store your paper scraps
-
Card bases -
When cutting your 5-1/2" x 8-1/2" card base or 4-1/4" x 11", either make two cards or save the second card base in a container with others. You could arrange them
by color family, if desired.
I recommend always having Basic White and Very Vanilla Thick Cardstock card bases pre-cut and ready to use.
Card fronts -
Whenever you have colored cardstock or Designer Series Paper scraps that can be cut into 4" x 5-1/4", make the card front and store in a container,
organized by color family or themes.
I recommend always having Basic White, Very Vanilla, and Basic Black cardstock card fronts pre-cut and ready to use.
Card inserts-
I recommend always having 4" x 5-1/4" Basic White and Very Vanilla cardstock pre-cut and ready to use for the inside of cards with colored card bases
(yes, these are the same size as the card fronts).
I also use these "card inserts" to put over the card front with higher embellishments when I put them in a medium - A2 envelope to protect them in the
mail.
Colored Cardstock -
I created a binder with a clear page
protector for each Stampin' Up! cardstock color that I have. I label the page with my PTouch labeler and put one piece of that cardstock in the page protector. I put the individual page protectors in a Heavy Duty 3" D-ring Binder in alphabetical order.
I store the colored cardstock scrap pieces in the protector that are a half piece of paper or smaller in this protector. When I need a colored piece of cardstock to add to a card design, I look in this binder for the cardstock before I use a new full sheet of cardstock (save$$$).
Designer Series Paper -
When I get a new Designer Series Paper (DSP) packet, I only slit one side of the packaging and keep the back piece of cardboard with the product information in the packaging. I write the "coordinating colors" on the product info
cardboard in larger handwritten notes, so I can easily read the colors that coordinate with the DSP without my glasses (haha)! I do this for my 12" x 12" and 6" x 6" paper packs.
As I use the DSP, I put any scraps that I leftover
when I complete a cardmaking session into the front of the DSP packet. This makes it easy for me to add a little something extra on a card that coordinates with the DSP that I already used in the card design but doesn't require me to cut into a new full sheet of DSP (save$$$)!
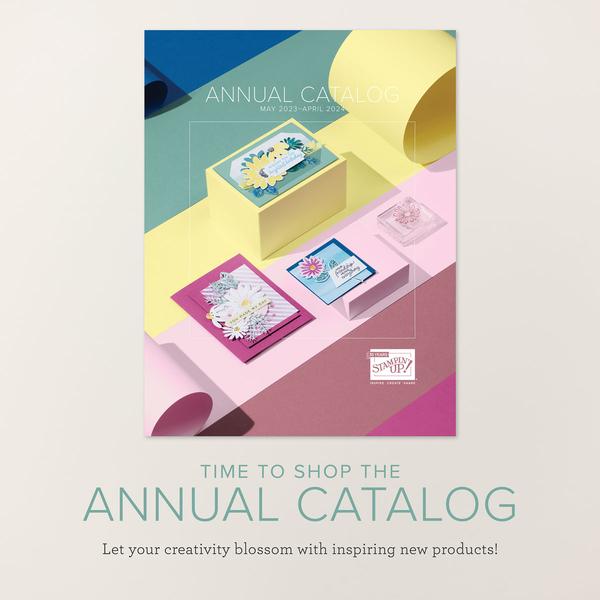
I organize the DSP packets in cardboard magazine holders by year and list the catalogs by type (Annual - Mini - SAB - Online Exclusive) and date where that DSP was featured on the front of the holder to easily find the DSP, when I need it.
I also keep a recipe card box of index cards with one packet of DSP described on an individual index card. The index card includes the DSP name, source of the DSP (catalog and date), cut out picture of the DSP or photocopy of the DSP, plus a list of the coordinating colors with the DSP. I use these cards as a reference when I am designing cards (quick way to be reminded of the DSP that I have to use for cardmaking).
Paper Strips -
I have a 3-1/4" wide x 10-1/4" long x 2-1/4" deep basket (measurements are just for
reference - you could use any size basket or container that you have) that I use to store my colored paper strips that are usually less than 2" wide (when they are more than 2", I usually store them in the color scrap cardstock binder).
I store Basic White and Very Vanilla Cardstock paper strips separately since they are the strips I usually use for stamping sentiments. I also store all sizes of Basic White and Very Vanilla paper scraps in the same or another basket since these are used for stamping images that will be die-cuts for cards.
Die-cuts or Fussy Cut Images/Punched Images-
Whenever I am making cards, I frequently cut extra images from DSP or when using a punch, I will punch an extra image when I have enough cardstock for "one more punch". One of the places to
store these images is with the stamp set that goes with the DSP or the stamped images that have been created. I put them in a small cellophane bag in the front of the stamp set case.
I also save these extra die-cuts, cut-outs or punched
images in a separate small box. If I have images that go together, I will put them in a small cellophane bag or other bag (from snack bags to small "jewelry bags" purchased at a crafting store or online).
When I am ready to make
cards, I will sometimes look in this small box for inspiration to make a new card design. Many times, this is the way that I can make a very quick but nice card, since the time-consuming image creation is already done.
Sentiments
and Sentiment Labels/Banners -
When I stamp sentiments, if I have enough cardstock to make more than one sentiment, I make extra to save time for the next time that I make a card.
I will also die-cut or punch out extra sentiment labels to use on future projects. I save them in the stamp set case or in a small box and use them when I am cardmaking for inspiration to start a card or a quick way to finish a card.
Note: Always separate Acid-free and Lignin-free paper from other less expensive or regular paper, so you can use the proper paper when scrapbooking to protect your photographs (requiring the acid-free and lignin-free paper).
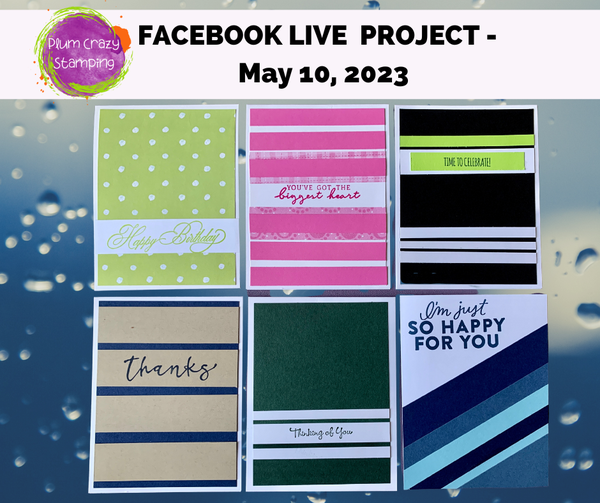
If you found these scrap paper storage ideas helpful, I will be showing you the actual storage of my supplies during the Plum Crazy Stamping Facebook Live Broadcast on Wednesday, May 31st at 6:00 pm.
Mark it on your calendar and see additional ways to store your supplies - that I know you will love, !