Supplies
Stamp Sets: Joy of Noel* (161959)
Inks: Tuxedo Black Memento (132708)
Paper: Basic White (159276), Berry Burst (144243), Brushed
Metallic Cardstock (153524), Bright & Beautiful 6” x 6” Designer Series Paper (161449), More Dazzle 6” x 6” Specialty Paper (161749)
Other: Stampin’ Cut & Emboss Machine (149653), Joy of Noel Dies* (161965), Deckled Circle Dies (162286), White ½” Iridescent Ribbon (161955), Pastel Adhesive Backed Sequins (160387), Berry Burst Stampin’ Blends Combo
Pack (161681), Bubble Bath Stampin’ Blends Combo Pack (161675), Soft Sea Foam Stampin’ Blends Combo Pack (154902), Granny Apple Green Stampin’ Blends Combo Pack (154885), Wink of Stella Glitter Brush (141897), Paper Snips Scissors (103579), Foam Adhesive Sheets (152815), Stampin’ Dimensionals (104430), Mini Glue Dots (103683), Stampin’ Seal (152813), Bone Folder (102300),
Measurements
- Berry Burst (card base): 8 ½” x 5 ½”; scored
at 4 ¼”
- Ombre Designer Series Paper: 5 ¼” x 4”
- Basic White (circle): 4” x 4”
- More Dazzle Paper (letters): 3 x
3”
- Ribbon: 6” & 10”
Instructions
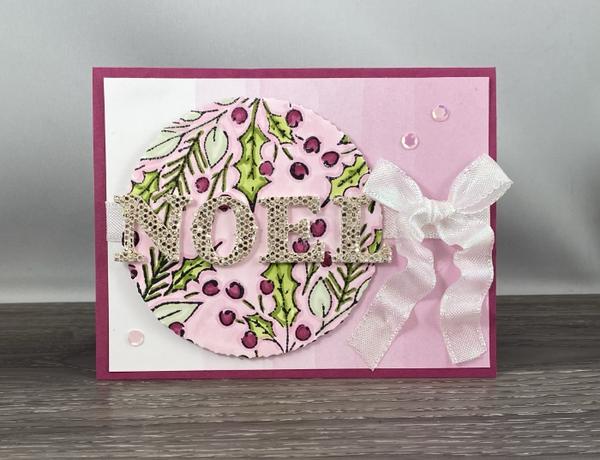
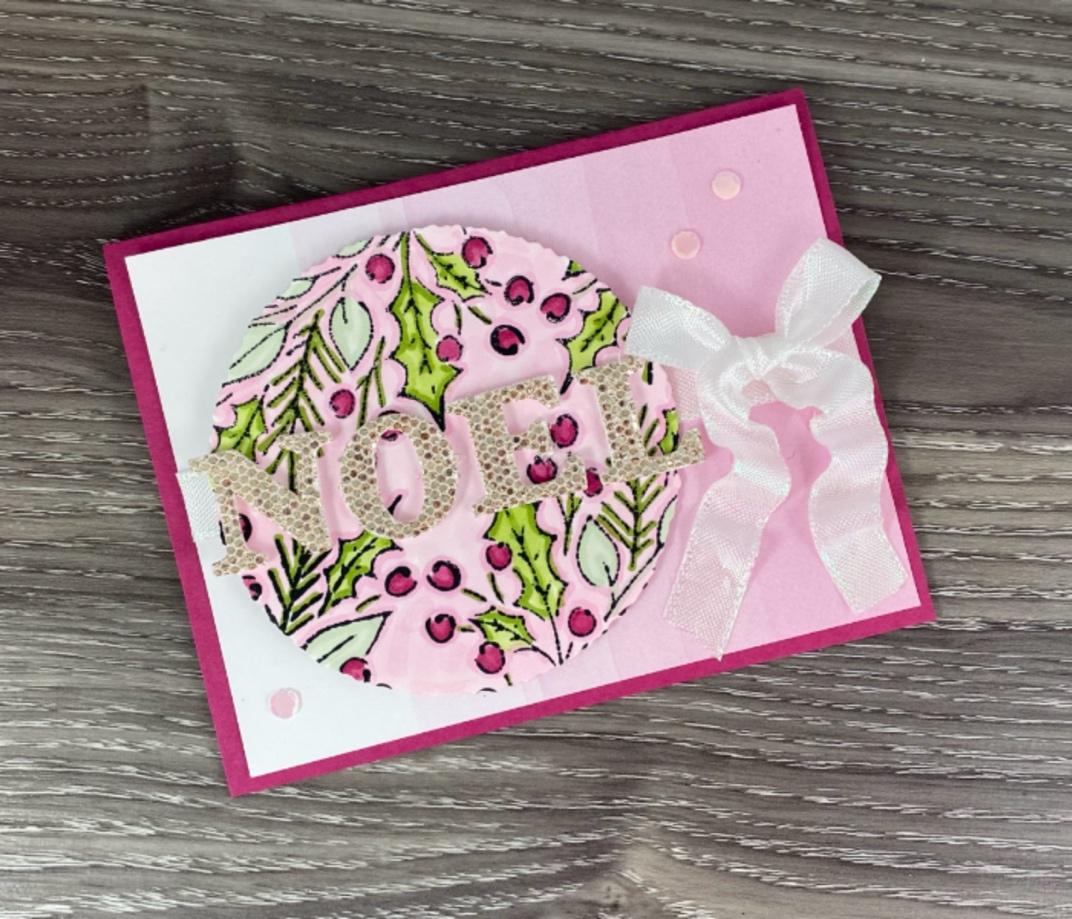
- Fold the Berry Burst cardstock in half to form the card base. Use the Bone Folder to get a good crease.
- On the Stampin’
Cut & Emboss Machine, die cut out the 7th largest circle from the Basic White cardstock, using the Deckled Circle Dies.
- Stamp the leaves and holly image on the circle several times using the Tuxedo Black Memento Ink.
- Colour in the images using the Blends markers.
- Add Wink of Stella to all of the coloured berries.
- Add a piece of 3” x 3” sheet
of Foam Adhesive to the back of the silver coloured piece of More Dazzle 6” x 6” Specialty Paper.
- On the Stampin’ Cut & Emboss Machine, die cut out the Noel from the More Dazzle Specialty Paper.
- Peel off the adhesive backing on the letters and attach the letters to the circle. They will overhang the circle just a little bit at the front and the end of the word.
- Wrap the 6” piece of ribbon around
the Bright & Beautiful Designer Series Paper and secure it at the back.
- Attach the Designer Series Paper and ribbon to the front of the card base with Seal Adhesive.
- Attach the circle/Noel layer to the front left side of the card using Stampin’ Dimensionals.
- Tie the remaining piece of ribbon into a bow and attach it to the right side of the card over top of the ribbon strip using Mini Glue
Dots.
- Use a couple of glue dots to secure the bow in place. Add a few Mini Glue Dots to catch spots in the
the ribbon so it looks like a ruffle.
Add three of the pink Pastel Adhesive Backed Sequins to the front of the card.
| |
| | 
|