Trouble reading today's article? Click
here: Issue
#244 - Sunday, December 18, 2016
Dear Fellow Grower,
In today's
issue... - Check out a guest article by Mr Green on how to clone your cannabis to get quick roots and vibrant plants every time!
- Get the supplies you need to clone your plants successfully without leaving things up to
chance!
- This week's trophy pic features a sea of happy, rooted clones!
Nebula Haze & Sirius Fourside (founders of
GrowWeedEasy.com) "Joy in looking and comprehending is nature's most beautiful gift."
~ Albert Einstein
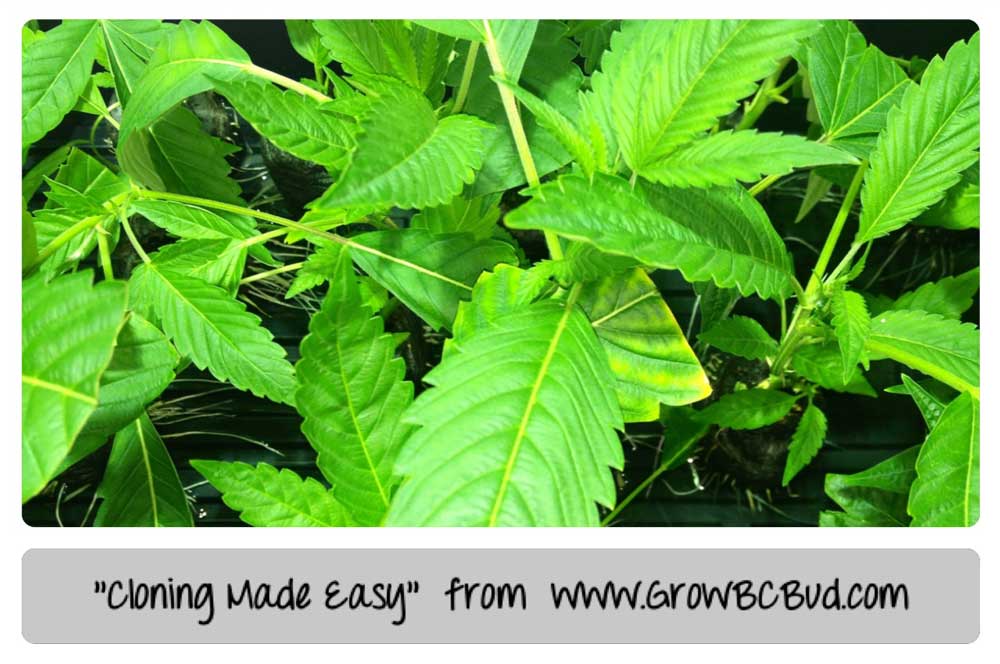
Cloning Made Easy... Roots in 7-10 Days! by Mr Green |
Hey everybody, it's Mr Green here from www.GrowBCBud.com with some free advice about making cannabis cloning as easy and quick as possible.
I've been growing marijuana on a large scale since 1990 and have made thousands of clones over the years. The following is my best advice to get your clones rooted fast, in just 7-10 days.
|
View Mr Green's video version of this cloning tutorial!
- Cloning Tray (with ridges at the bottom, no holes)
& 7” Vented Dome
- Razor Blade or Exacto Knife & Scissors
- Cloning Gel and Cloning Powder
Note: Any brand rooting powder and gel will work for cloning
- 2 small plastic buckets (or large mixing bowls - to be filled with water)
- Spray Bottle/Mister
- "Jiffy 7" Compressed Peat Pellets (Recommended)
Note: Rockwool Cubes or Rapid Rooters can be substituted
- Grow Lights: Fluorescent Lights or Metal Halide lights (250w, 400w or 600w) seem to work best for cloning, however any quality grow light can be used.
DAY 1
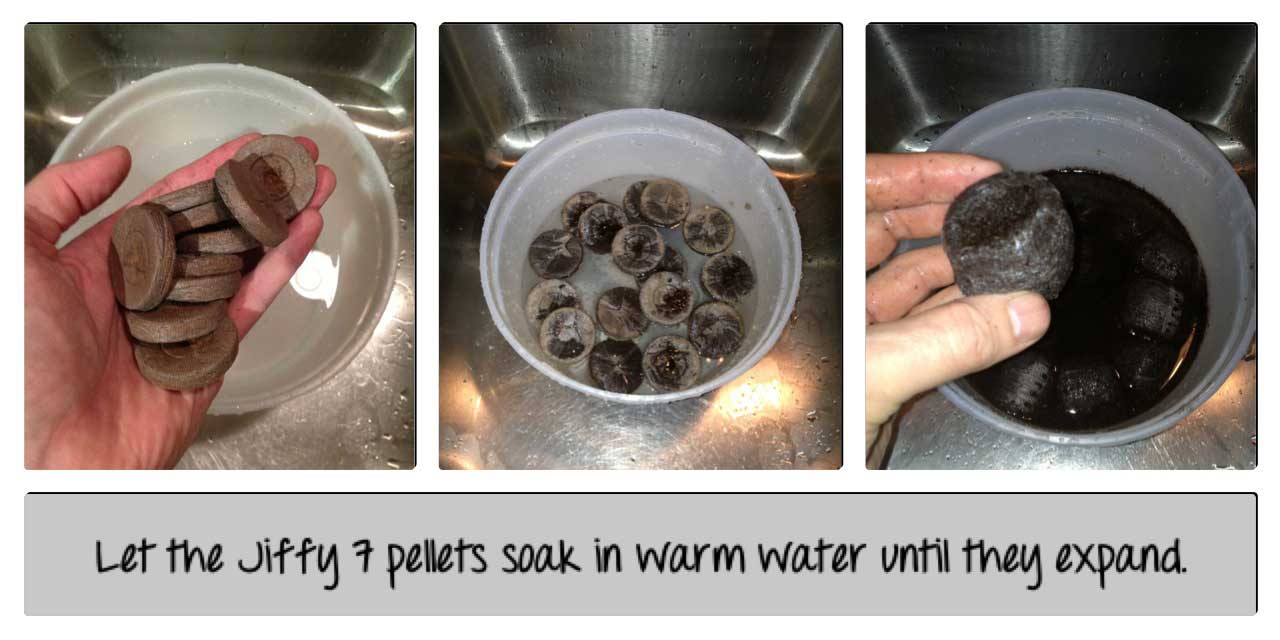
To begin we will fill one of the small buckets with warm water. Put the other bucket aside for now,
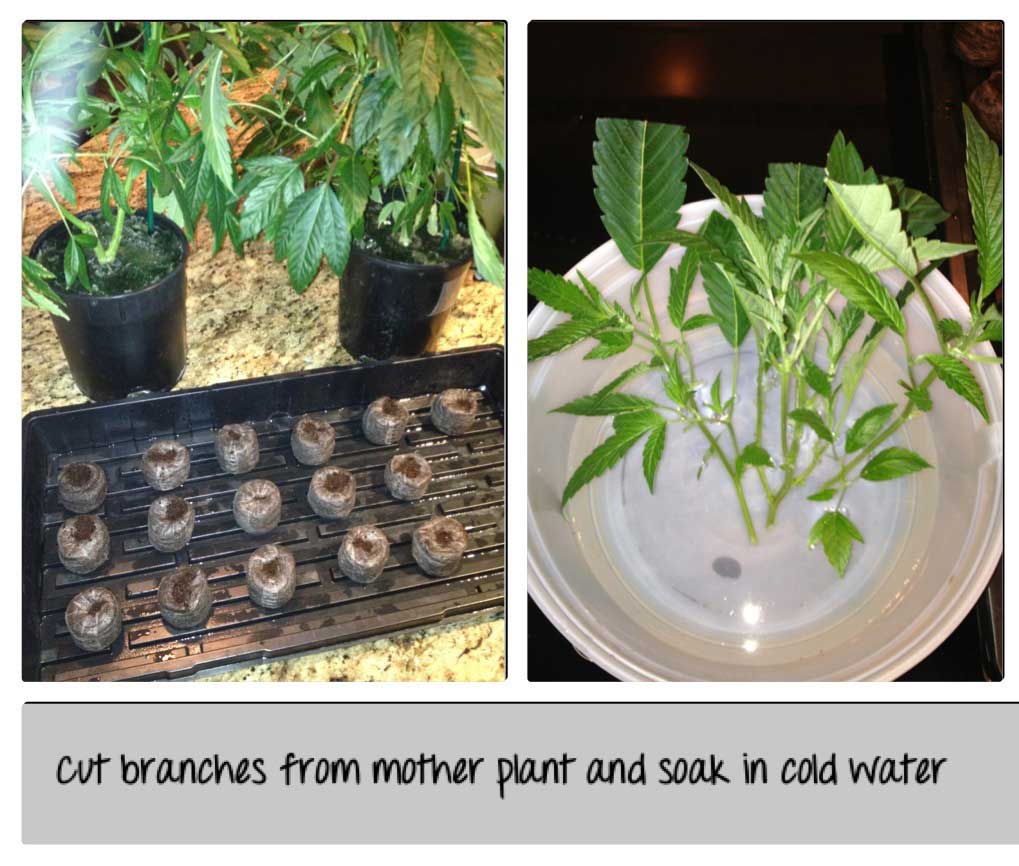
as we will use it in a moment. Next we soak the Jiffy 7 compressed peat pellets in the warm water, which makes the pellets expand in size, as pictured below. Once the compressed Jiffy 7 peat pellets have expanded in warm water, we remove them one at a time.
Gently
squeeze excess water from each pellet before placing in cloning tray.
Once the cloning tray is filled with expanded warm wet Jiffy pellets, we are ready to begin cutting our cannabis clones.
Let's fill the other bucket with cold water now. We will use this to hold our new
clones.
Where to cut?
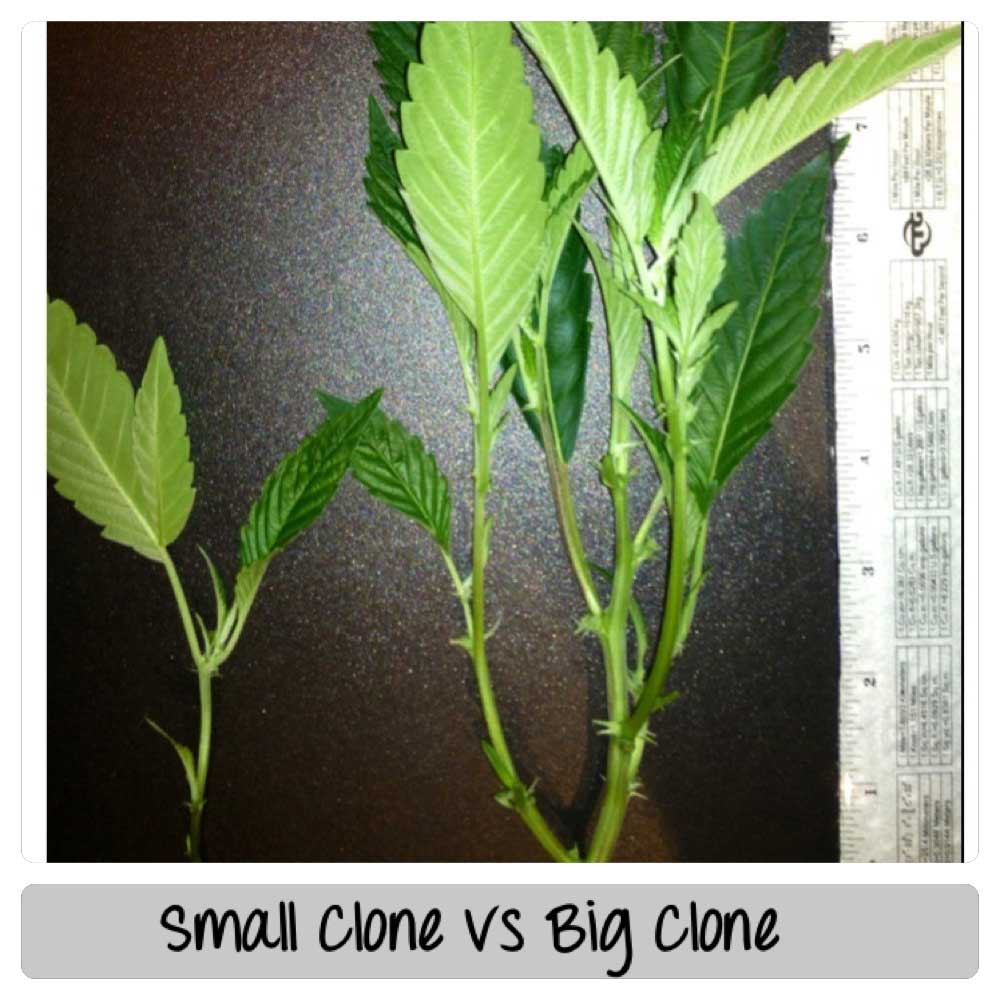
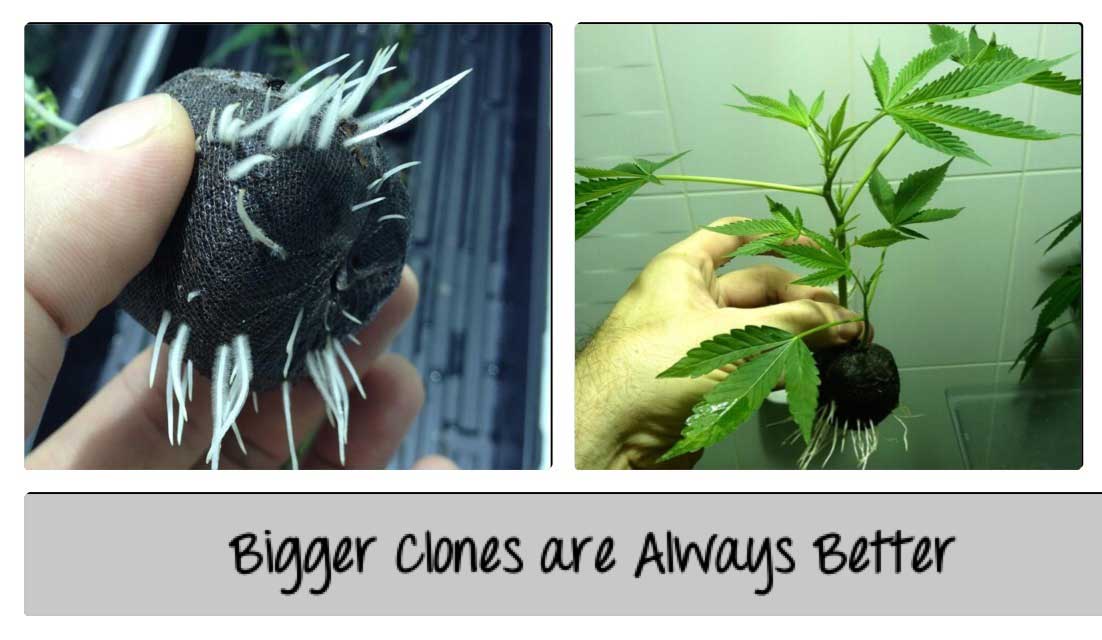
When cutting clones from a mother plant it is better to cut a large section of a branch with multiple branches and bud sites.
Bigger branches will support bigger buds. Small clones
may take a week or two before multiple branches appear.
This photo shows the difference between a small cannabis clone vs a big clone. You will get faster growing and more vibrant plants by choosing big clones! Using a new razor blade, cut the branch of the mother plant at a 45 degree angle.
Place the new cutting in the
small bucket of cold water you just prepared.
The stem of the cut branch will absorb some water while soaking. This prevents air bubbles from getting trapped in the stem.
If your cutting has large fan leaves you should cut the blades of the leaves shorter to fit in the cloning
tray.
This way the fan leaves will still remain and speed up the growth of the new clone. Once you have all the branches cut and soaked we are ready to dip the tip of each of the cuttings (soon to be clones) into the rooting gel.
Dipping the clone in gel first will protect the stem from getting clogged.
After the clone is dipped in rooting gel we will dip the tip into the rooting powder.
This method is what I call "Double Dipping the Clones". I do this because some strains root better in gel, while others root better with rooting powder. This way they always root no matter what. Any brand rooting
powder and gel will work for cloning.
After the clone has been double-dipped, you will insert the cutting into the Jiffy 7 peat pellet.
Gently press the peat in the Jiffy 7 around the base of the stem to ensure a snug fit and to ensure contact of the peat with the stem. We don't want the stem loose or
falling out of the peat.
Note if you're using Rockwool: Rockwool cubes usually have a small hole for the clone to be inserted. Just be sure you have a snug fit between the stem and the cloning cube.
Once all the clones are inserted in the pellets I add a teaspoon of water to the base of each stem to activate the rooting gel and
powder.
The next step is to spray the clones with water before moving the clones under the light.
When spraying the clones with water make sure
you spray the inside of the dome and the base of the cloning tray. Fresh cuttings need high humidity to encourage root growth.
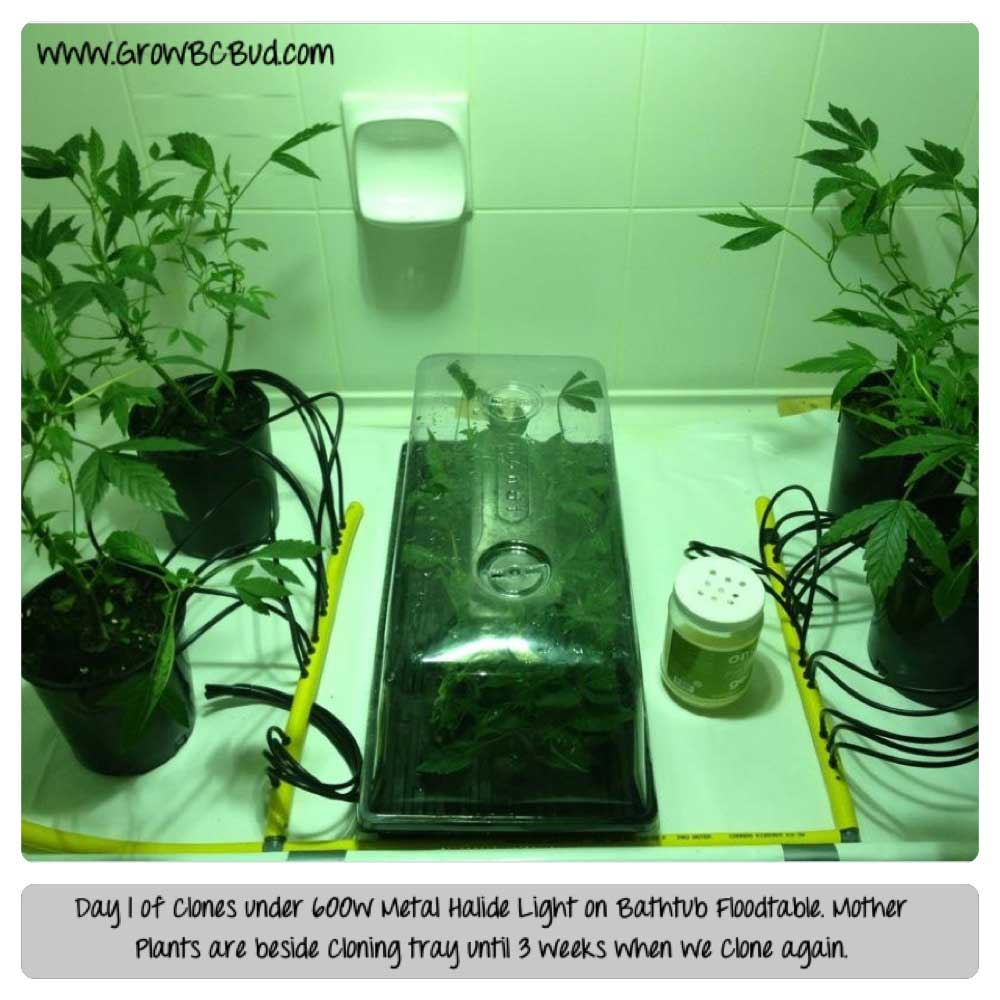
Now place the dome on the cloning tray with the new clones inside. Leave the light on 18 hrs per day for
cloning. Try to give the clones as much light as possible. More light makes clones root faster.
About the lights:
- If
using fluorescent lights or CFLs you can keep the light 1 or 2 inches over the top of the dome.
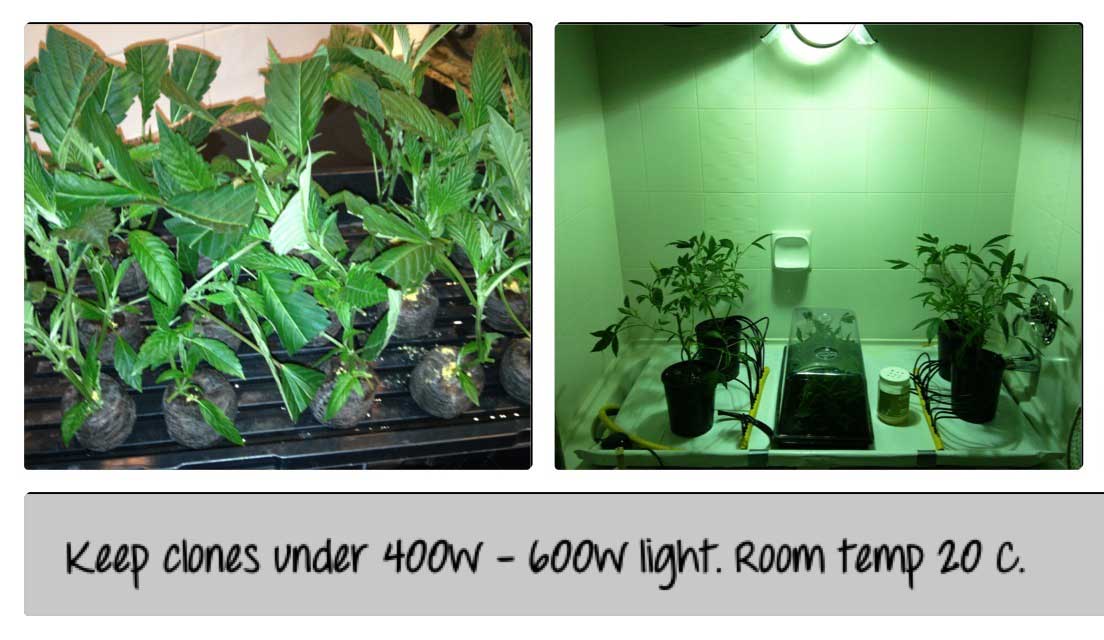
- If using a horizontal 400w or 600w Metal Halide light keep the light about 24 inches away from the top of the dome.
Make sure the vents of the dome are closed for the first 2 days.
Keep the room temperature slightly warm, above 20 Degrees Celsius (68 degrees Fahrenheit). That's it for now! You've made it through the first day, which means you've made it through the toughest part of
cloning!
DAY 2
Remove the clear plastic dome from the cloning tray and spray the clones and inside of the dome with
water.
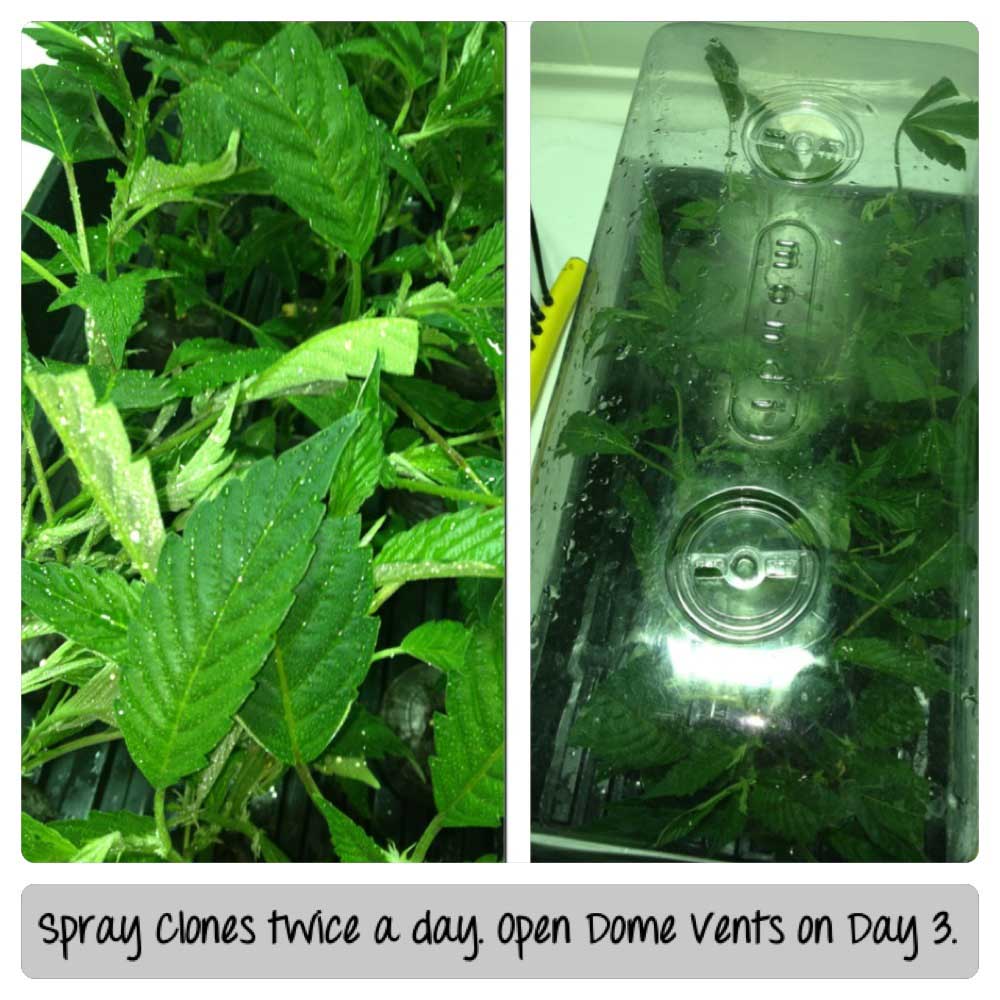
Place the dome back on the tray when done. It is best if you spray the clones in this way at least 2 times per day.
Spraying the clones with
water dilutes the nutrients in the leaves. The clone will be forced to search for nutrients once the leaves have low nutrient levels. Misting also helps maintain water levels in the plant since it can't drink through the roots. DAY 3
Spray clones once in morning and once at night.
Open the vents in the dome of the cloning tray today.
We want the moisture to escape now which will dry out the Jiffy 7 pellets.
The drying of the pellets will force the small bits of root to grow quickly in search of
moisture. DAY 4
Keep Vents on dome open and spray clones once in morning and once at
night.
DAY 5
Keep vents on dome open and check to see if pellets are dry.
If the Rockwool or Peat Pellets are dry to the touch we will add half a litre (~2 cups) of water to the cloning tray
itself which will fill the grooves in the bottom of the cloning tray.
Important: If you add water, add it to the cloning tray itself to fill in the grooves at the bottom of the tray. Do not add water to the tops of the pellets at this point, or roots will take longer to form!
The pellets will absorb the
water from the bottom of the cloning tray. We want the roots to search for the moisture, and forcing them to move downwards to find water will force the plant to root more quickly.
Adding water over the top of stems now will make it take longer for clones to root. Do not add water to the tops of your pellets!
DAY 6
Close the dome vents on Day 6.
Keep spraying clones once in morning and once at night. You should now see some roots breaking through the Jiffy 7 peat pellets for several of the clones.
We have closed the dome vents again on Day 6 because we want extreme humidity now that roots are starting to show. Trapping the water in the tray with vents closed creates the best environment for roots to grow rapidly.
DAY 7
Continue spraying clones
twice a day.
By day 7, roots should be showing on at least 50% of the clones. Keep the vents closed on dome. We need to maintain high humidity until day 10.
DAY 8 & 9
By Day 8 or 9 you should see roots on 90% or more of the clones. At this time you
should add half litre of water (~2 cups) that has been infused with a light concentration of grow nutrients to the grooves in cloning tray.
Keep vents closed on dome which will add nutrient to the humidity in the cloning tray. Over the next
day roots may triple in size.
Continue spraying with water for day 8 and 9.
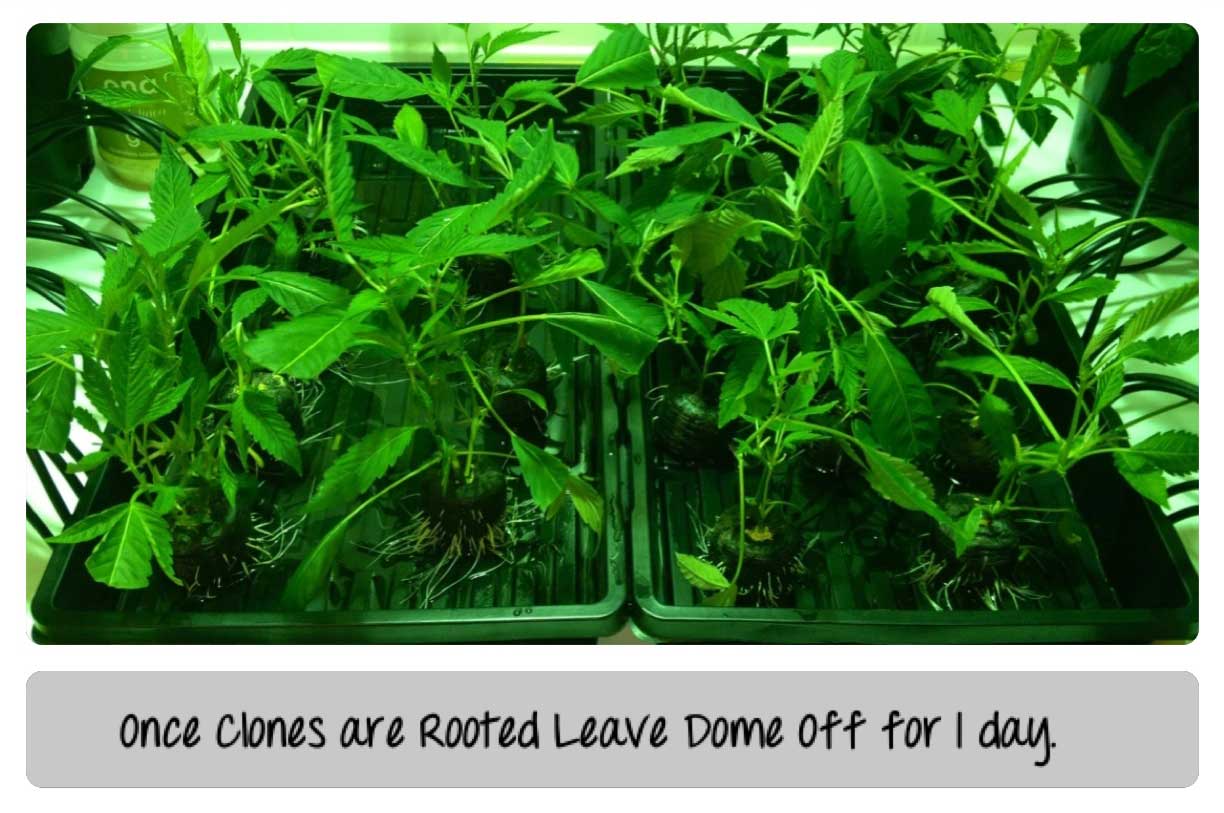
DAY 10
Remove the dome on the cloning tray today to allow clones a chance to adjust to normal humidity. Clones
may be transplanted to dirt or Rockwool anytime when you see roots.
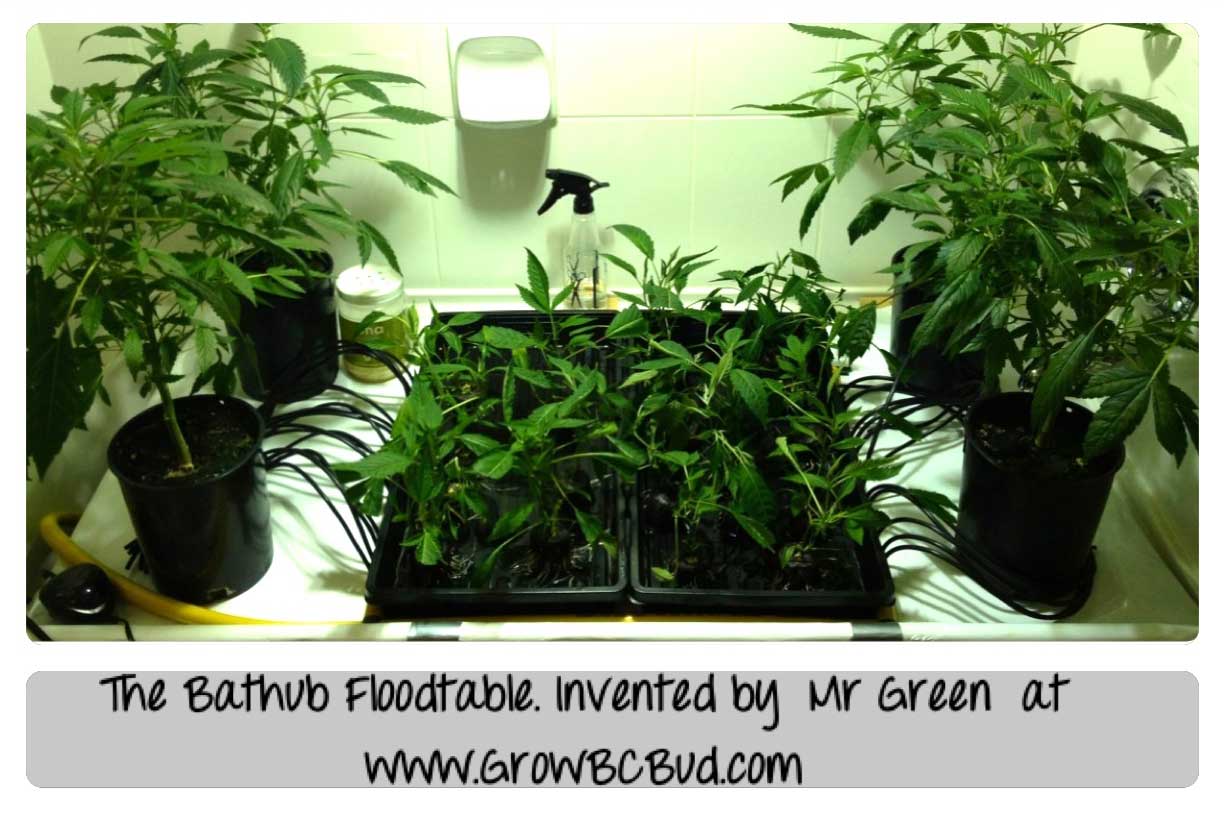
If you want bigger plants, take bigger clones! About the Bathtub Floodtable
I've recently been growing marijuana at
home in my new condominium apartment. As a result I needed a place to keep Mother Plants, Clones and a place to Veg the Clones.
I discovered that my spare bathroom is the perfect place for the job. The bathtub floodtable is a piece of plywood 2ft x 4ft in size. I've covered the plywood with 2 layers of B&W Plastic.
The plywood is raised 2 inches at the front edge of the bathtub which makes the water run downhill towards the tile wall at the back of the bathtub. The nutrient drips off the floodtable into the bathtub to be recirculated again.
View a video featuring Mr. Green's Bathtub Floodtable
The bathtub acts as the reservoir holding the hydroponic nutrients. A submersible water pump forces the nutrients up onto the floodtable through 1/2 inch tubing that leads to spaghetti hose for each plant. Nutrients
drain out of the pots while plants are being fed. This method is what I call "Flush & Feed".
Excess nutrients are being Flushed out of the Rockwool while the Plants are being Fed nutrients.
Plants cannot be overfed with this method of hydroponic growing.
Plants are fed several times per day as programmed by a
digital timer. I also have an air pump with air stone in all my reservoirs keeping oxygen in nutrients at maximum levels.
More information and instructions how to build custom floodtables are included in my Youtube videos and in
my book "Marijuana Mass Production Made Easy".
Get the Supplies to Start Cloning Today! |
If you read today's article and want to start cloning, here's a list of everything you need to follow this tutorial!
|
|
You Might Find the Following Links Helpful! |
|
Hey. I just wanted to say thanks for all your research and to keep updating this site the way you have been. You show a lot of things that most sites don't want to tell you. As a fellow enthusiast i find your articles easy to understand, thought
out, and to the point. I also love how u have been adding more and more stuff like the rare plant symptoms page with clear labels and pics. So keep up the good work. I'm a supporter and you rock
~Steven
|
|
These beautiful cannabis clone pictures were sent in by one of our readers!
|
Check Out Our New Grow Forum! |
We opened a free public forum in September 2016 so growers like you can ask questions and talk with each other anonymously! If you sign up to join, please be patient because it may take us a few hours to let you in, but we'll accept you as soon as humanly possible!
Ask Questions and Get Answers From Real Growers!
|
We encourage you to forward this email to a friend in need!
Who Runs This
Newsletter? |
Nebula Haze:
I'll be honest with you, when I first started growing, I struggled. Now, it is my mission to make it easier for new growers to
get started as well as help advanced growers get bigger, better yields with less time and money. We are updating and adding articles every single week and our goal is to eventually build a comprehensive growing resource so anyone and everyone can grow if they want to! If we all share the knowledge there's more buds in the world for everyone :) |
|
Learn which seed sources are personally recommended by Nebula Haze |
Sirius Fourside:
Sirius Fourside is a hobbyist grower who has gained the bulk of his experience growing in water as a medium (deep water culture,
bubbleponics).
"Growing cannabis is a relaxing hobby in and of itself, but it also saves you money and keeps you from having to deal with shady characters. Cannabis is much
easier to grow than people give it credit for, and growing in water doesn't increase the difficulty much, if any. But whether you want to grow in water, coco, or a different medium, we'll show you how easy it can be!"
Get Your Seeds Delivered
Safely! |
|
GrowWeedEasy.com has put together a hand-picked list of all the available seed banks including what type of payment they accept and where they ship in the
world!
List of trusted seed sources:
http://www.growweedeasy.com/seeds Get Seeds!
|
Copyright (c) 2016 GrowWeedEasy.com
Disclaimer: Grow Weed Easy only recommends products that we've either personally checked out ourselves, or that come from people we know
and trust. For doing so, we may receive a commission. Nothing in this e-mail should be considered personalized Financial, Legal, or Medical Advice. The contributors to this magazine grow legally under their local laws but are not lawyers or medical professionals. Any decision to grow marijuana should only
be made after consulting with an experienced lawyer or other legal adviser. Any medical decisions should only be made after speaking with a doctor or other medical professional. Be safe!
How Did I Sign Up For This Newsletter?
Our records indicate that requested to be added to the GrowWeedEasy.com weekly newsletter at
.
Date:
To unsubscribe: |
|


